Next week is teacher appreciation week, so we are sharing four fun crafts that will show your kiddo’s teachers how much you appreciate them!
Craft 1.
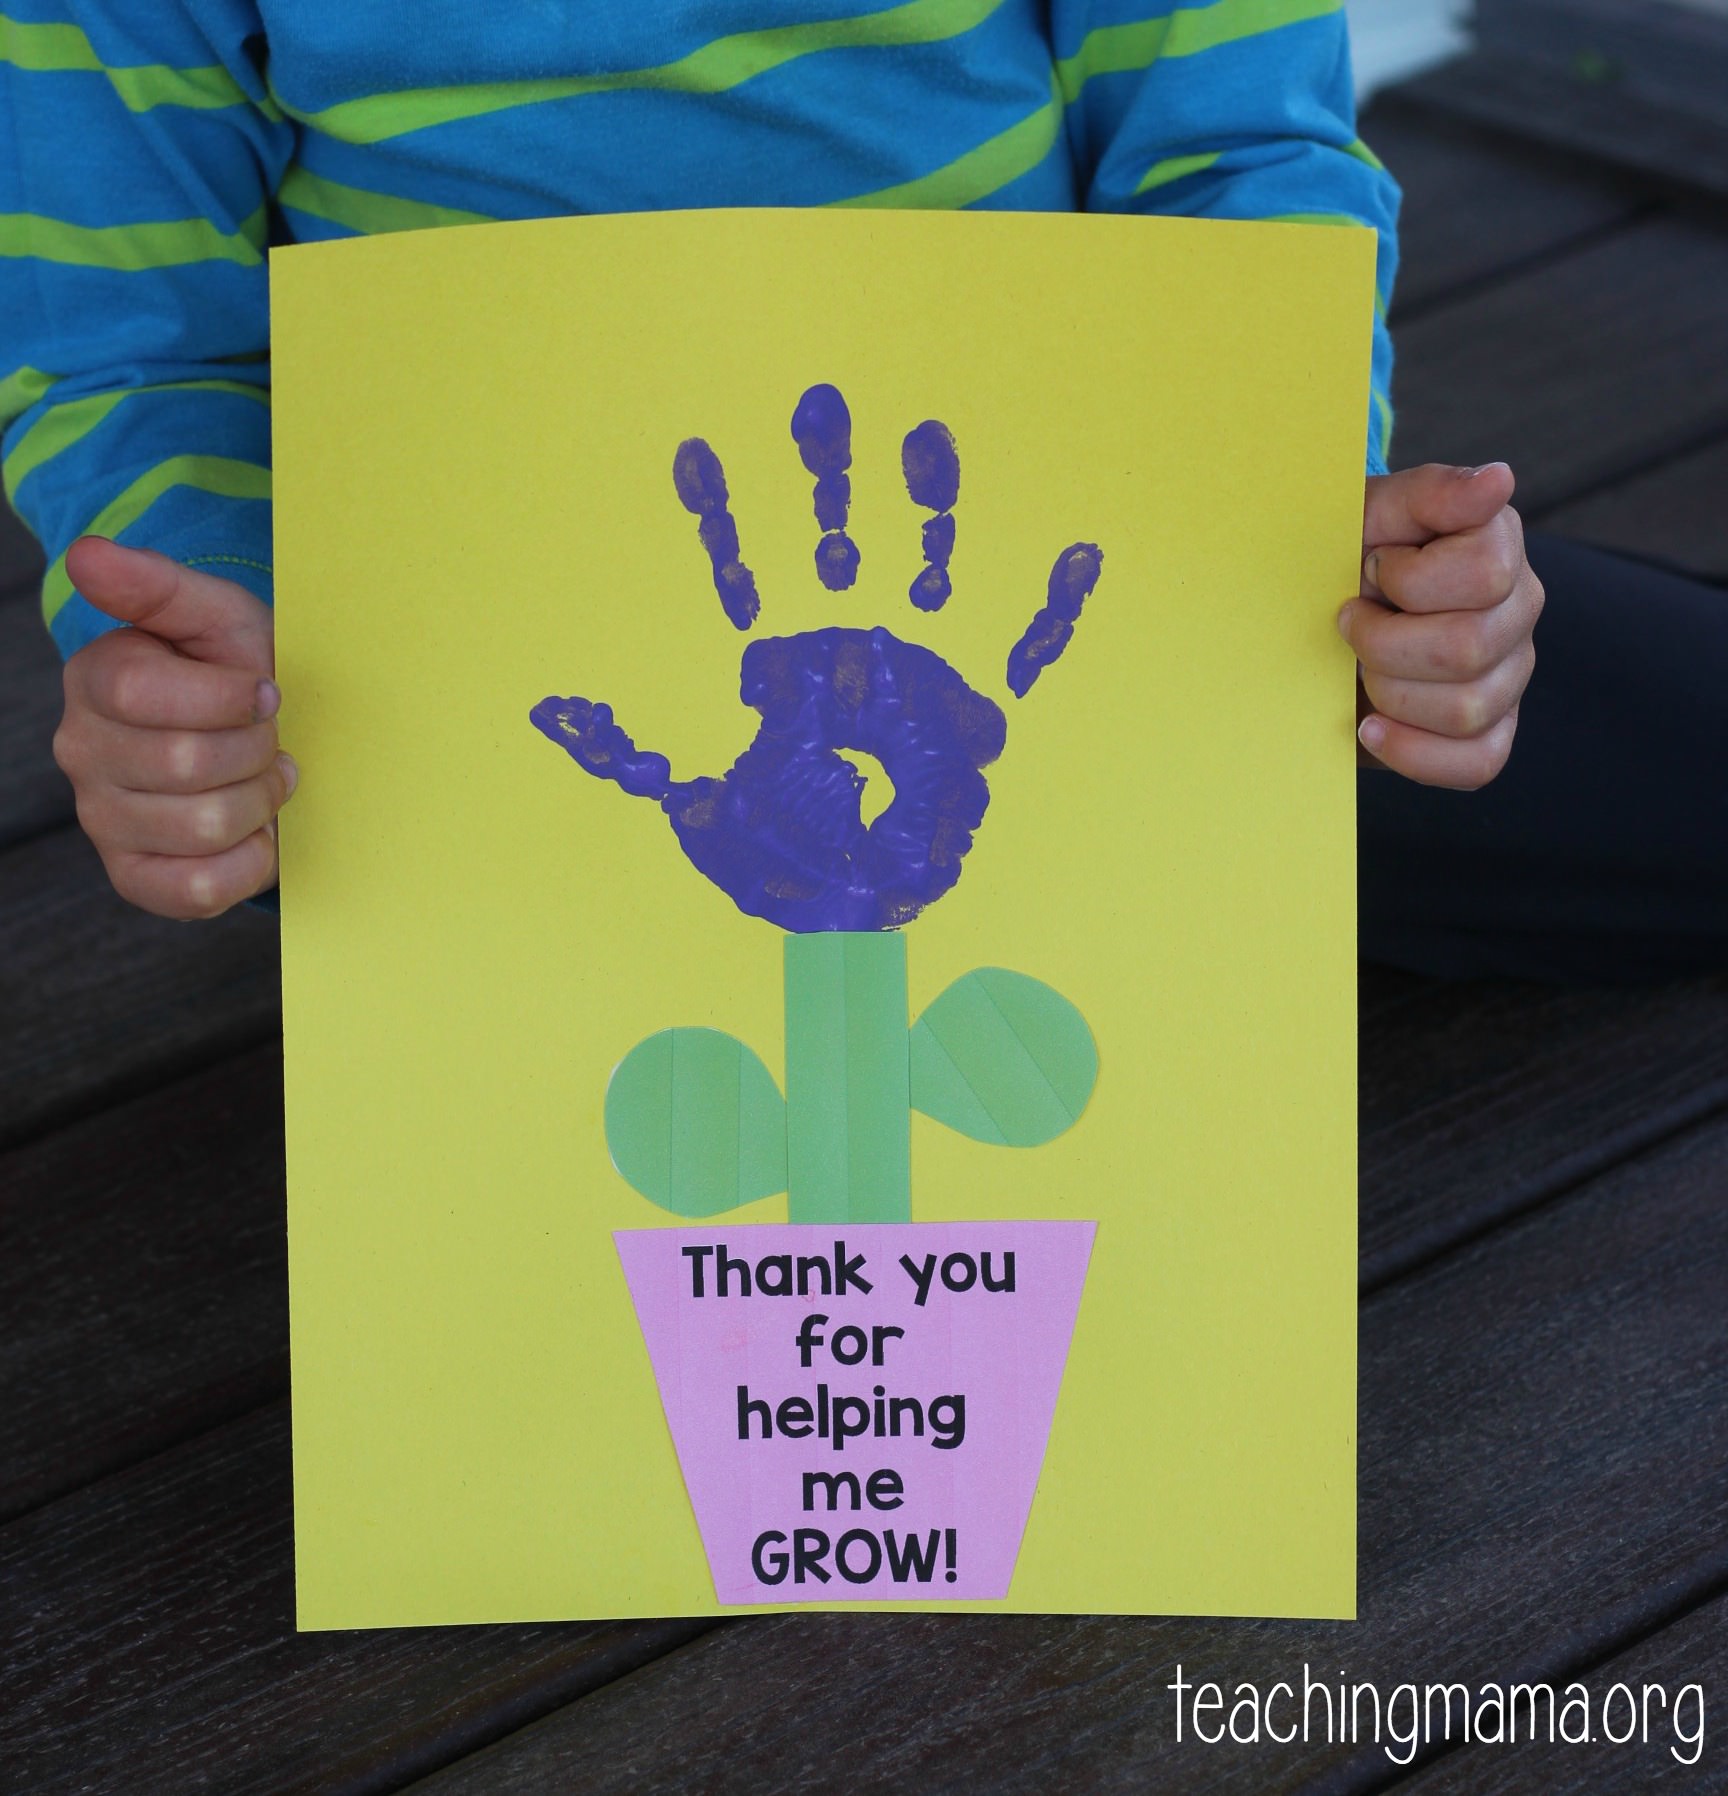
Show your kiddo’s teachers how much they have helped them grow with this fun hand-print flower craft!
It will turn out super adorable and the kiddos will love the paint on their hands!
Original Link: https://teachingmama.org/thank-you-for-helping-me-grow-craft/
Craft 2.
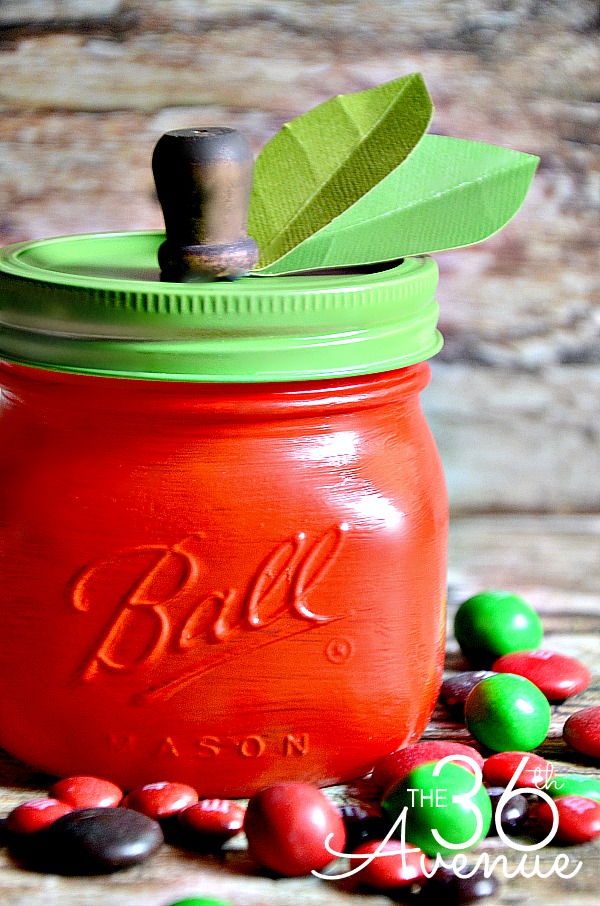
Let the kiddos show their appreciation for their teachers with this cute apple mason jar.
Teachers can fill this jar up with class goodies and will always remember your student for crafting such a sweet gift!
Original Link: https://www.the36thavenue.com/diy-apple-mason-jar-tutorial/
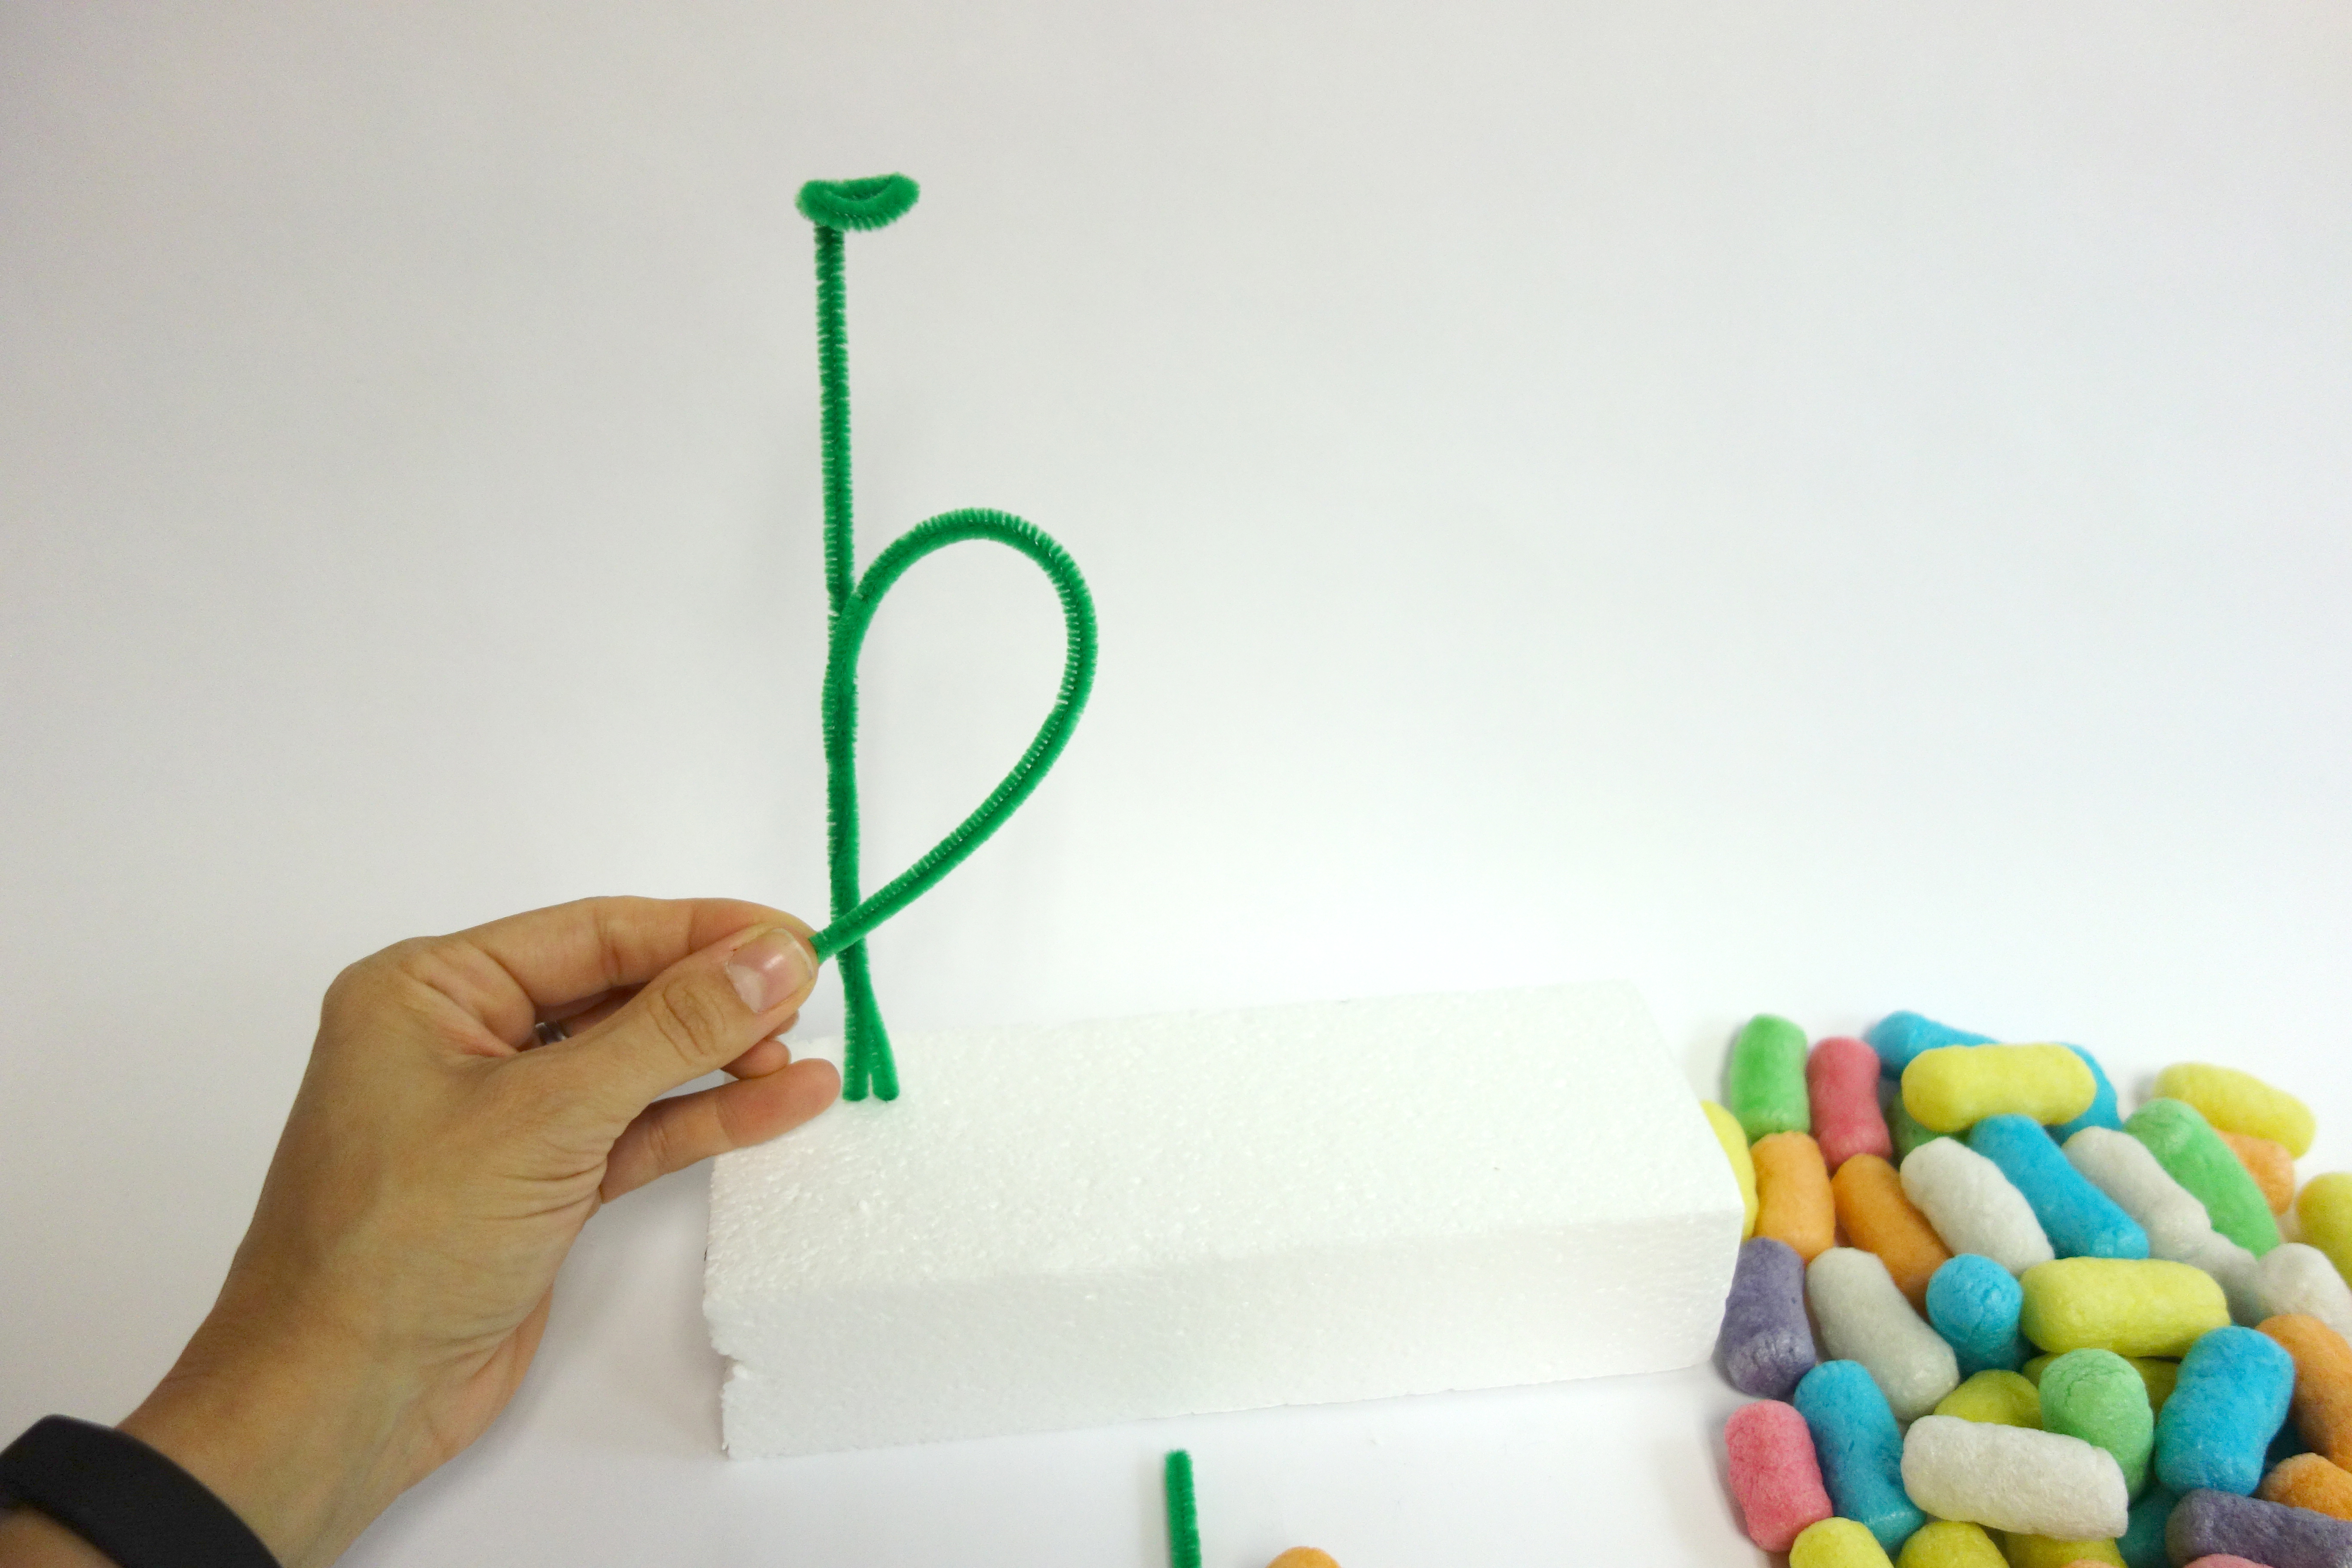
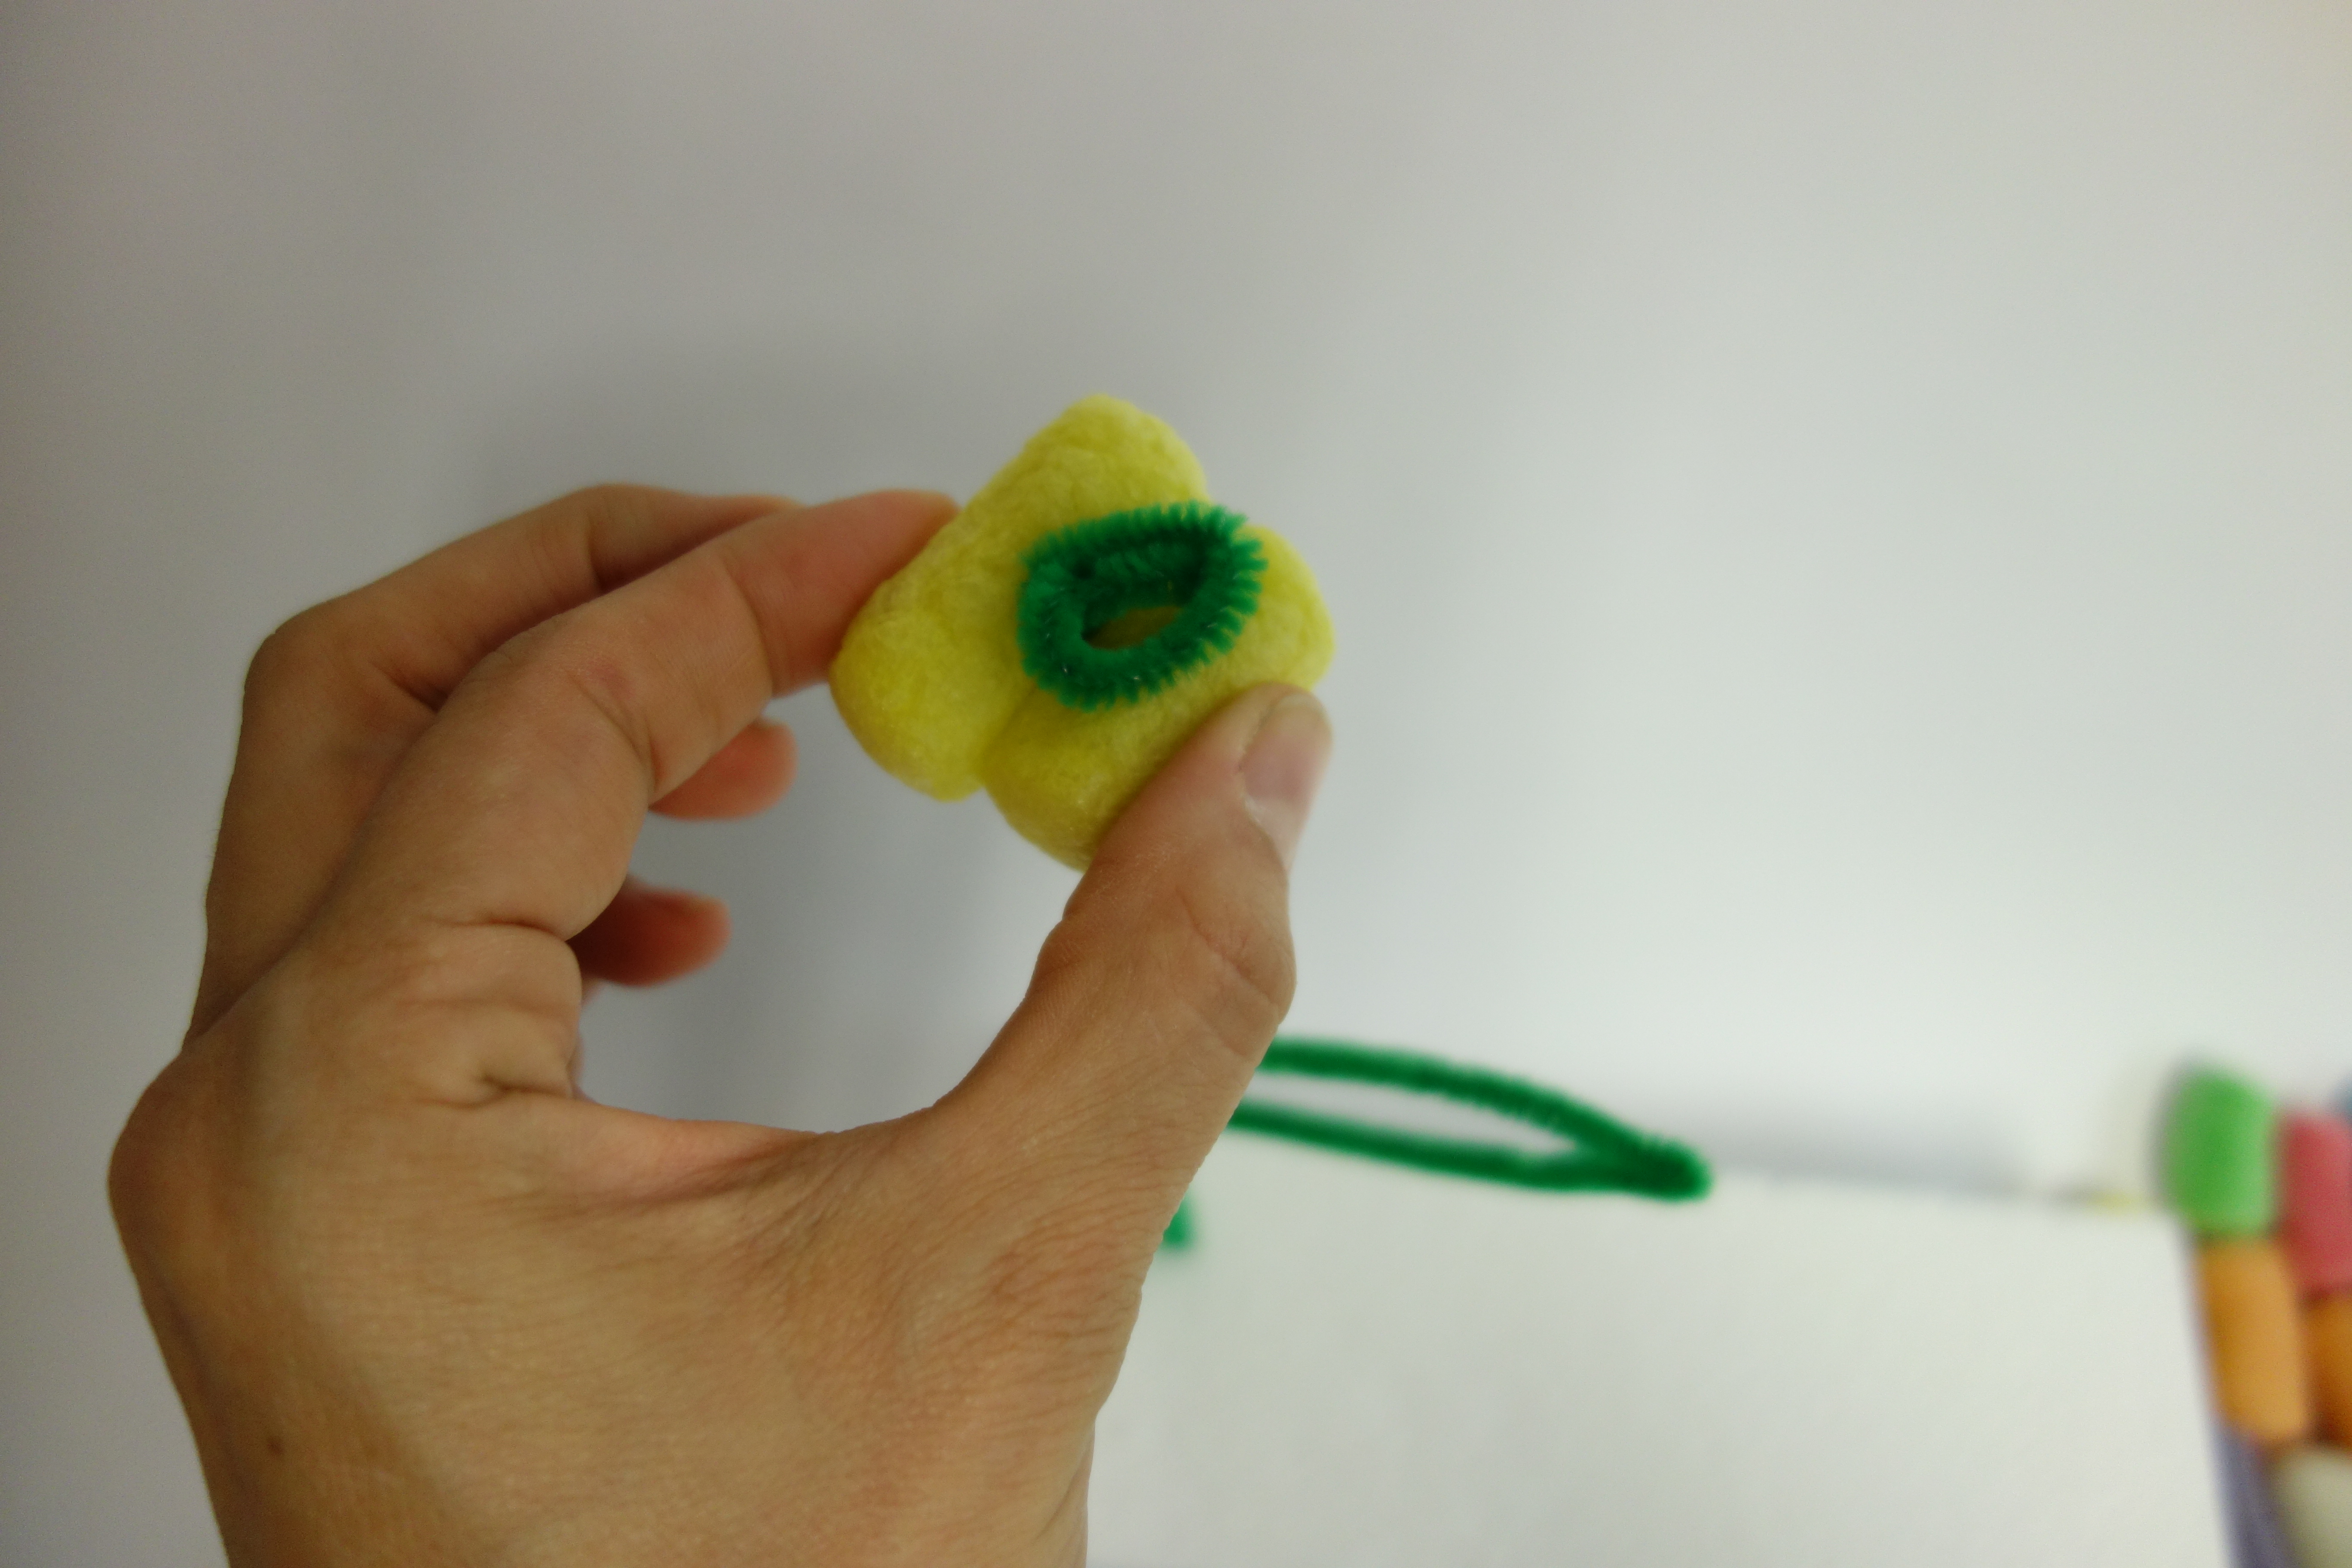
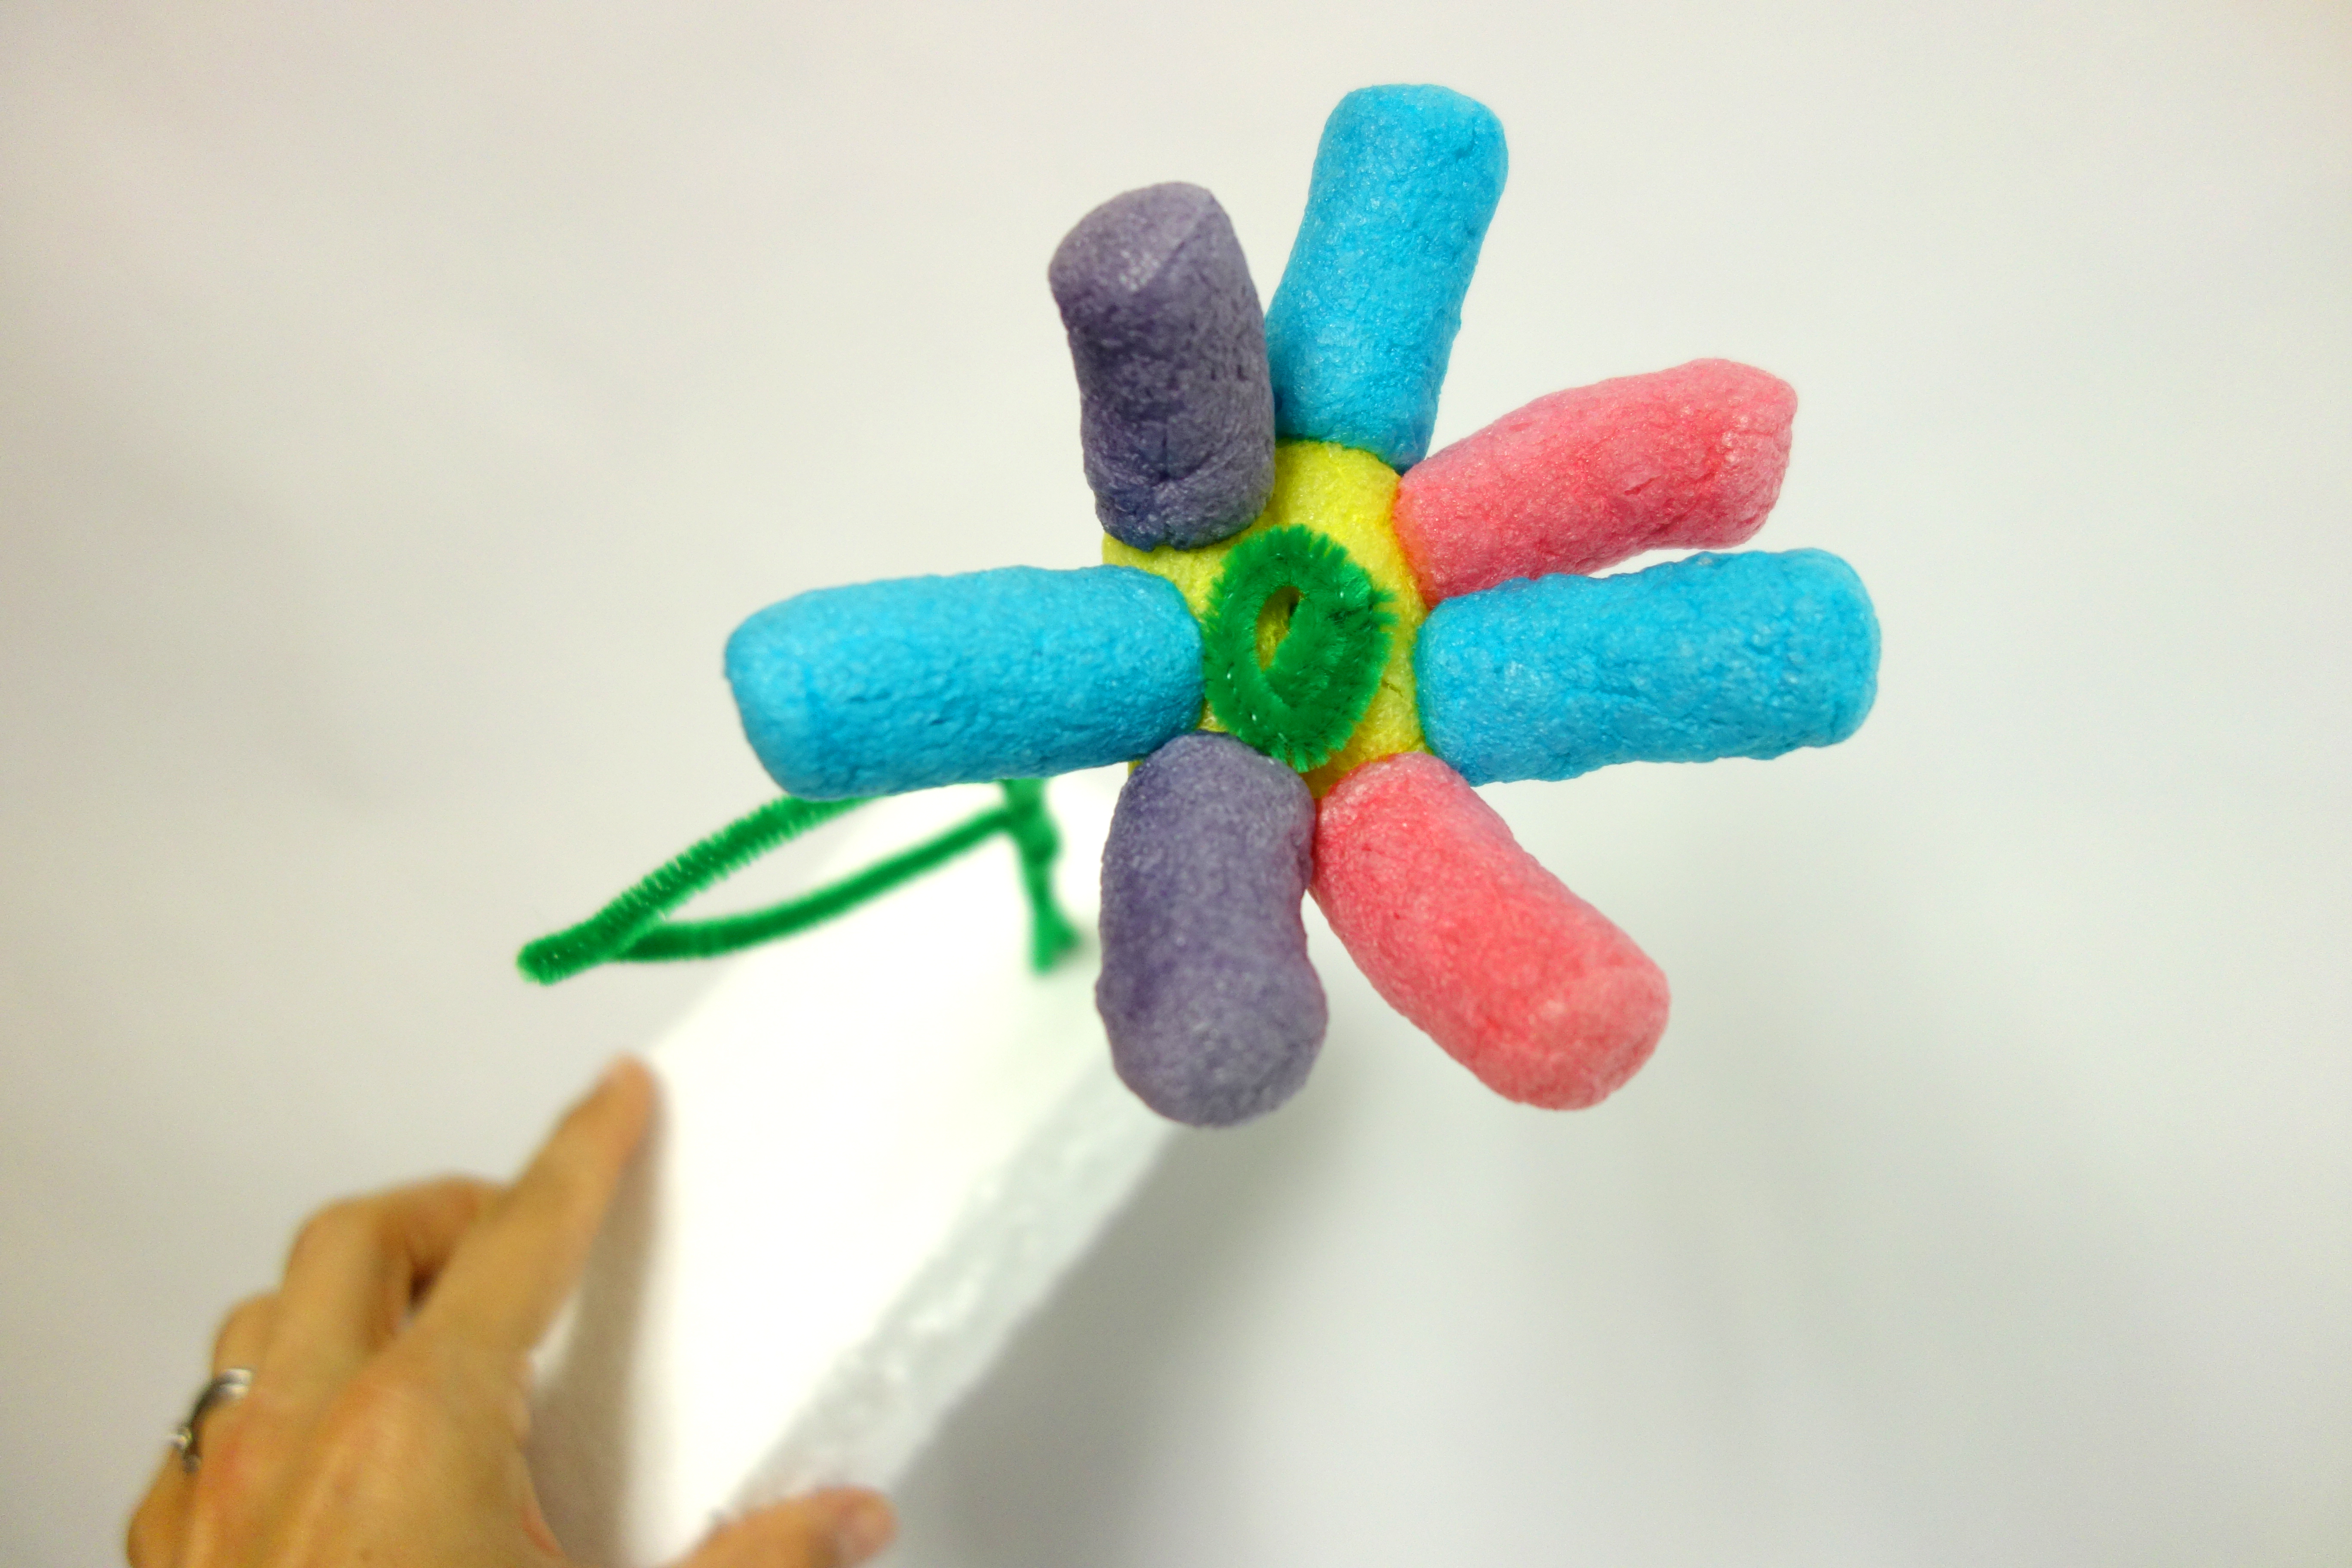
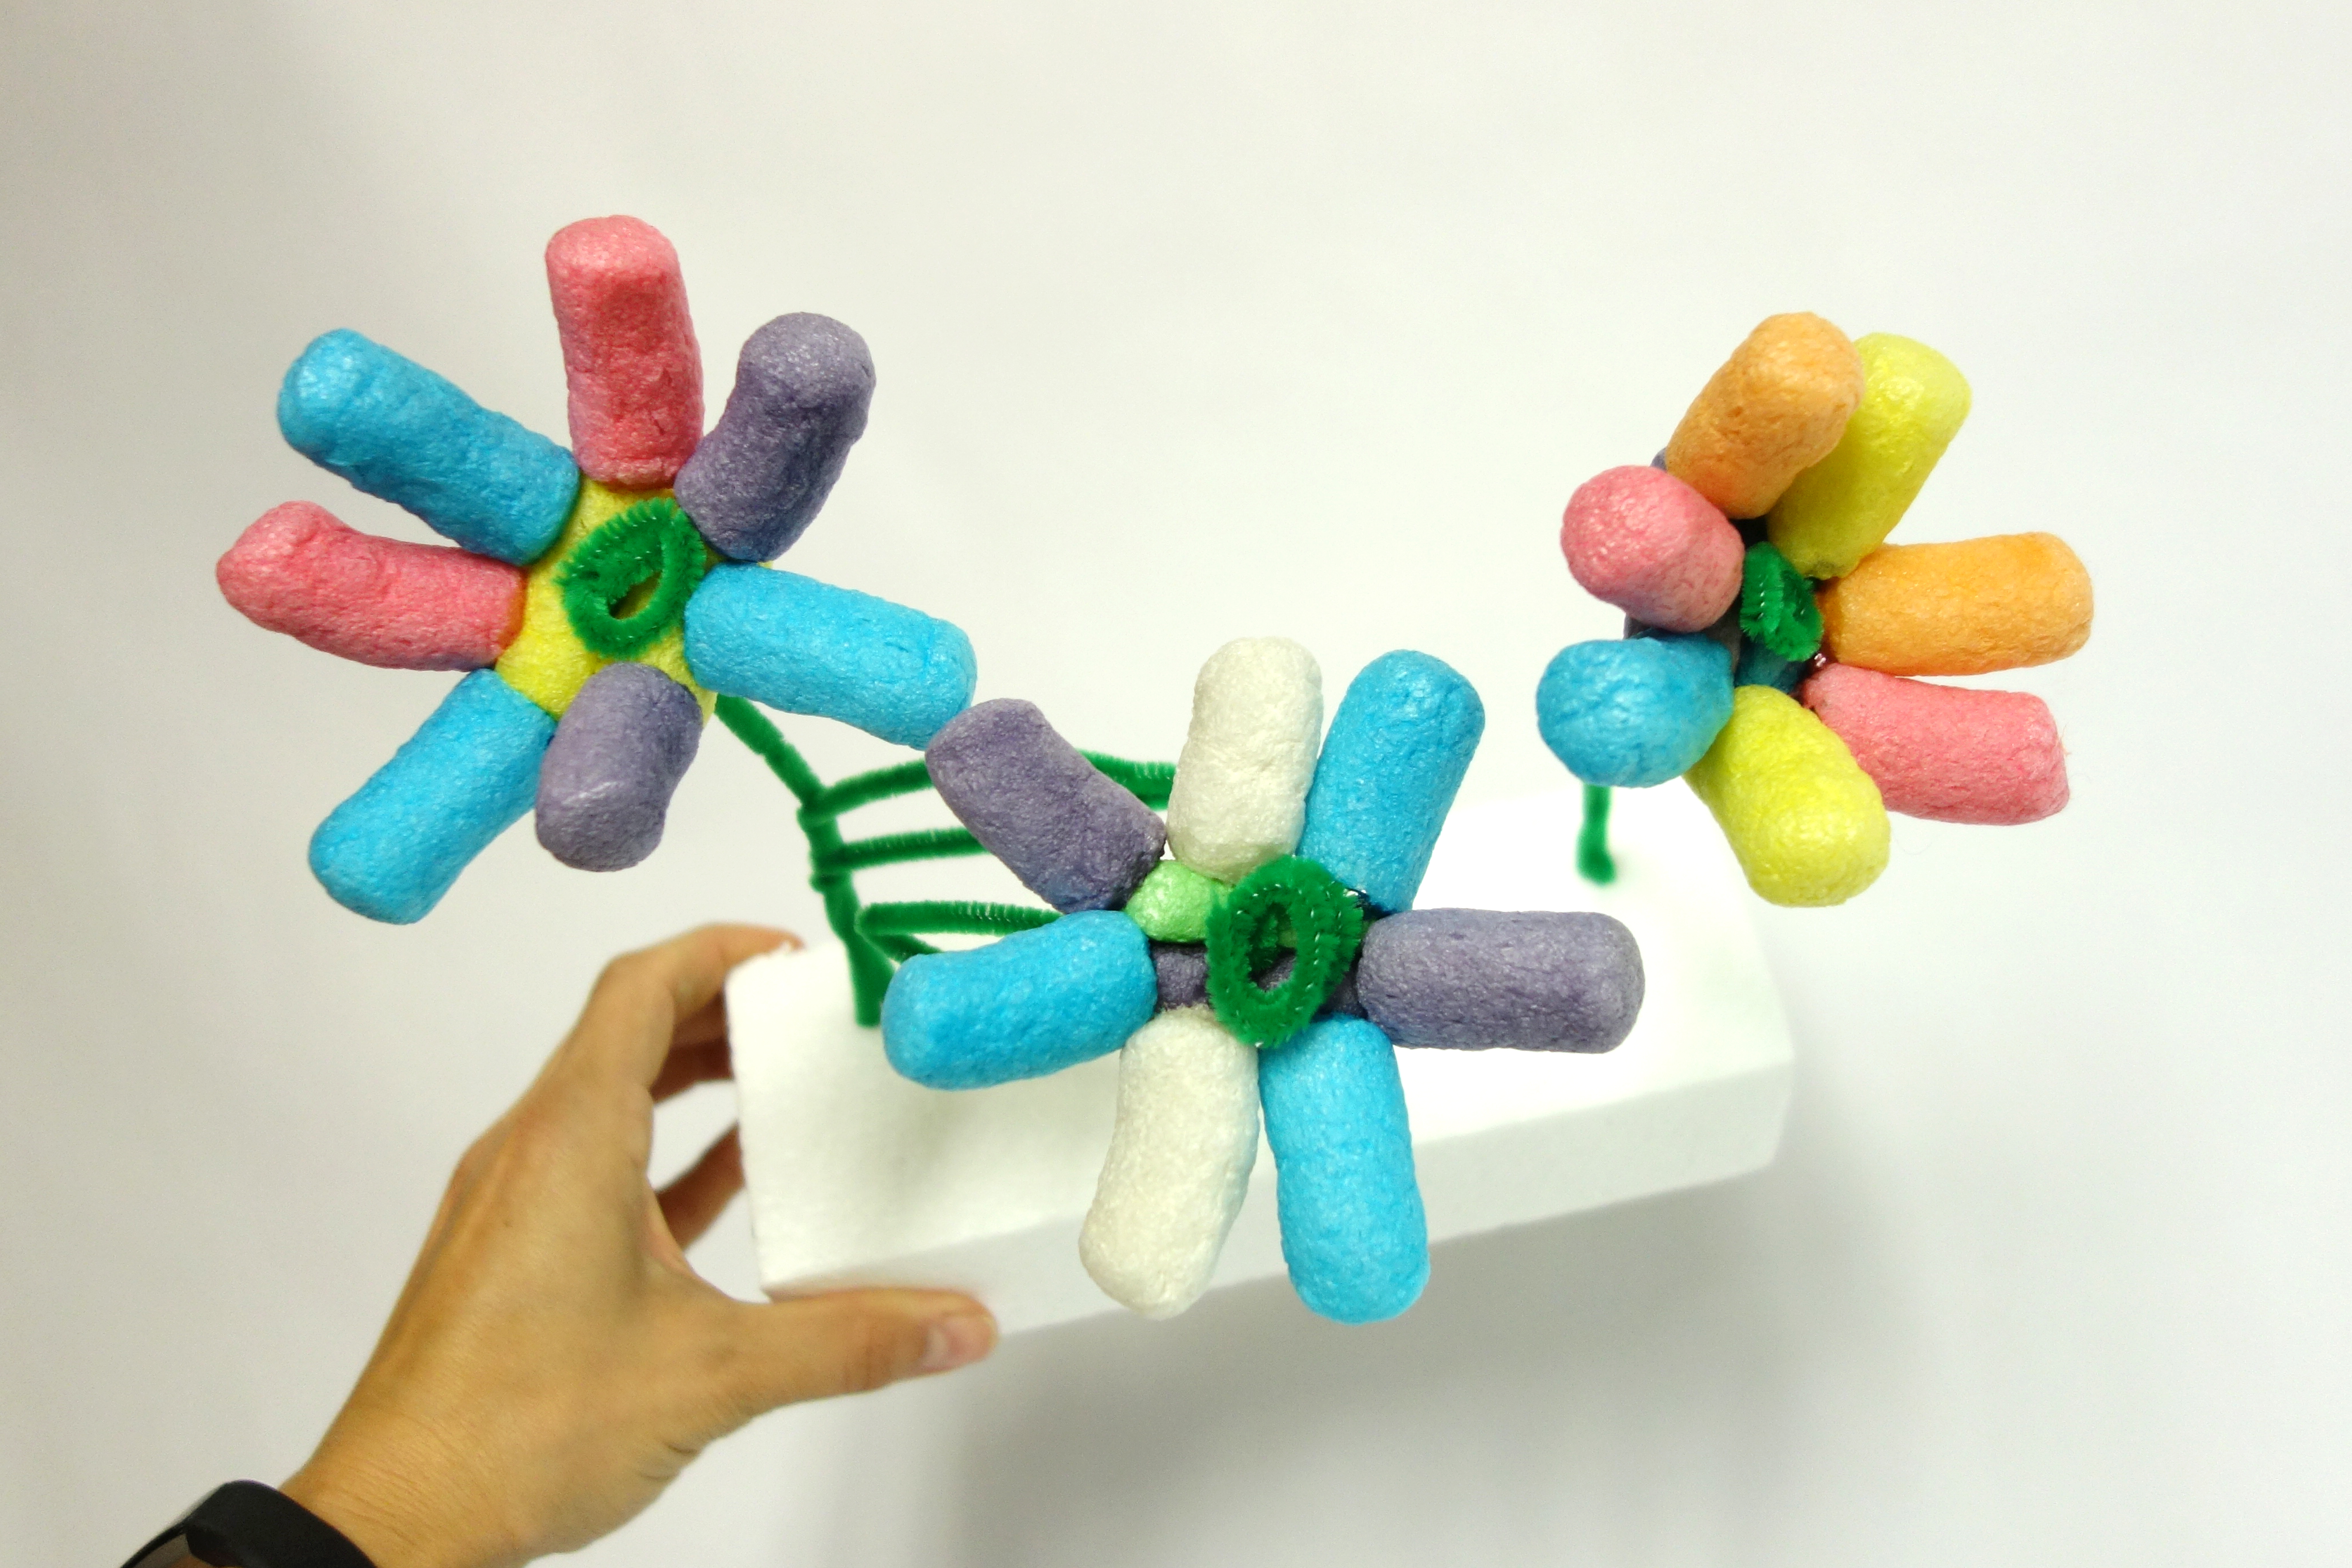
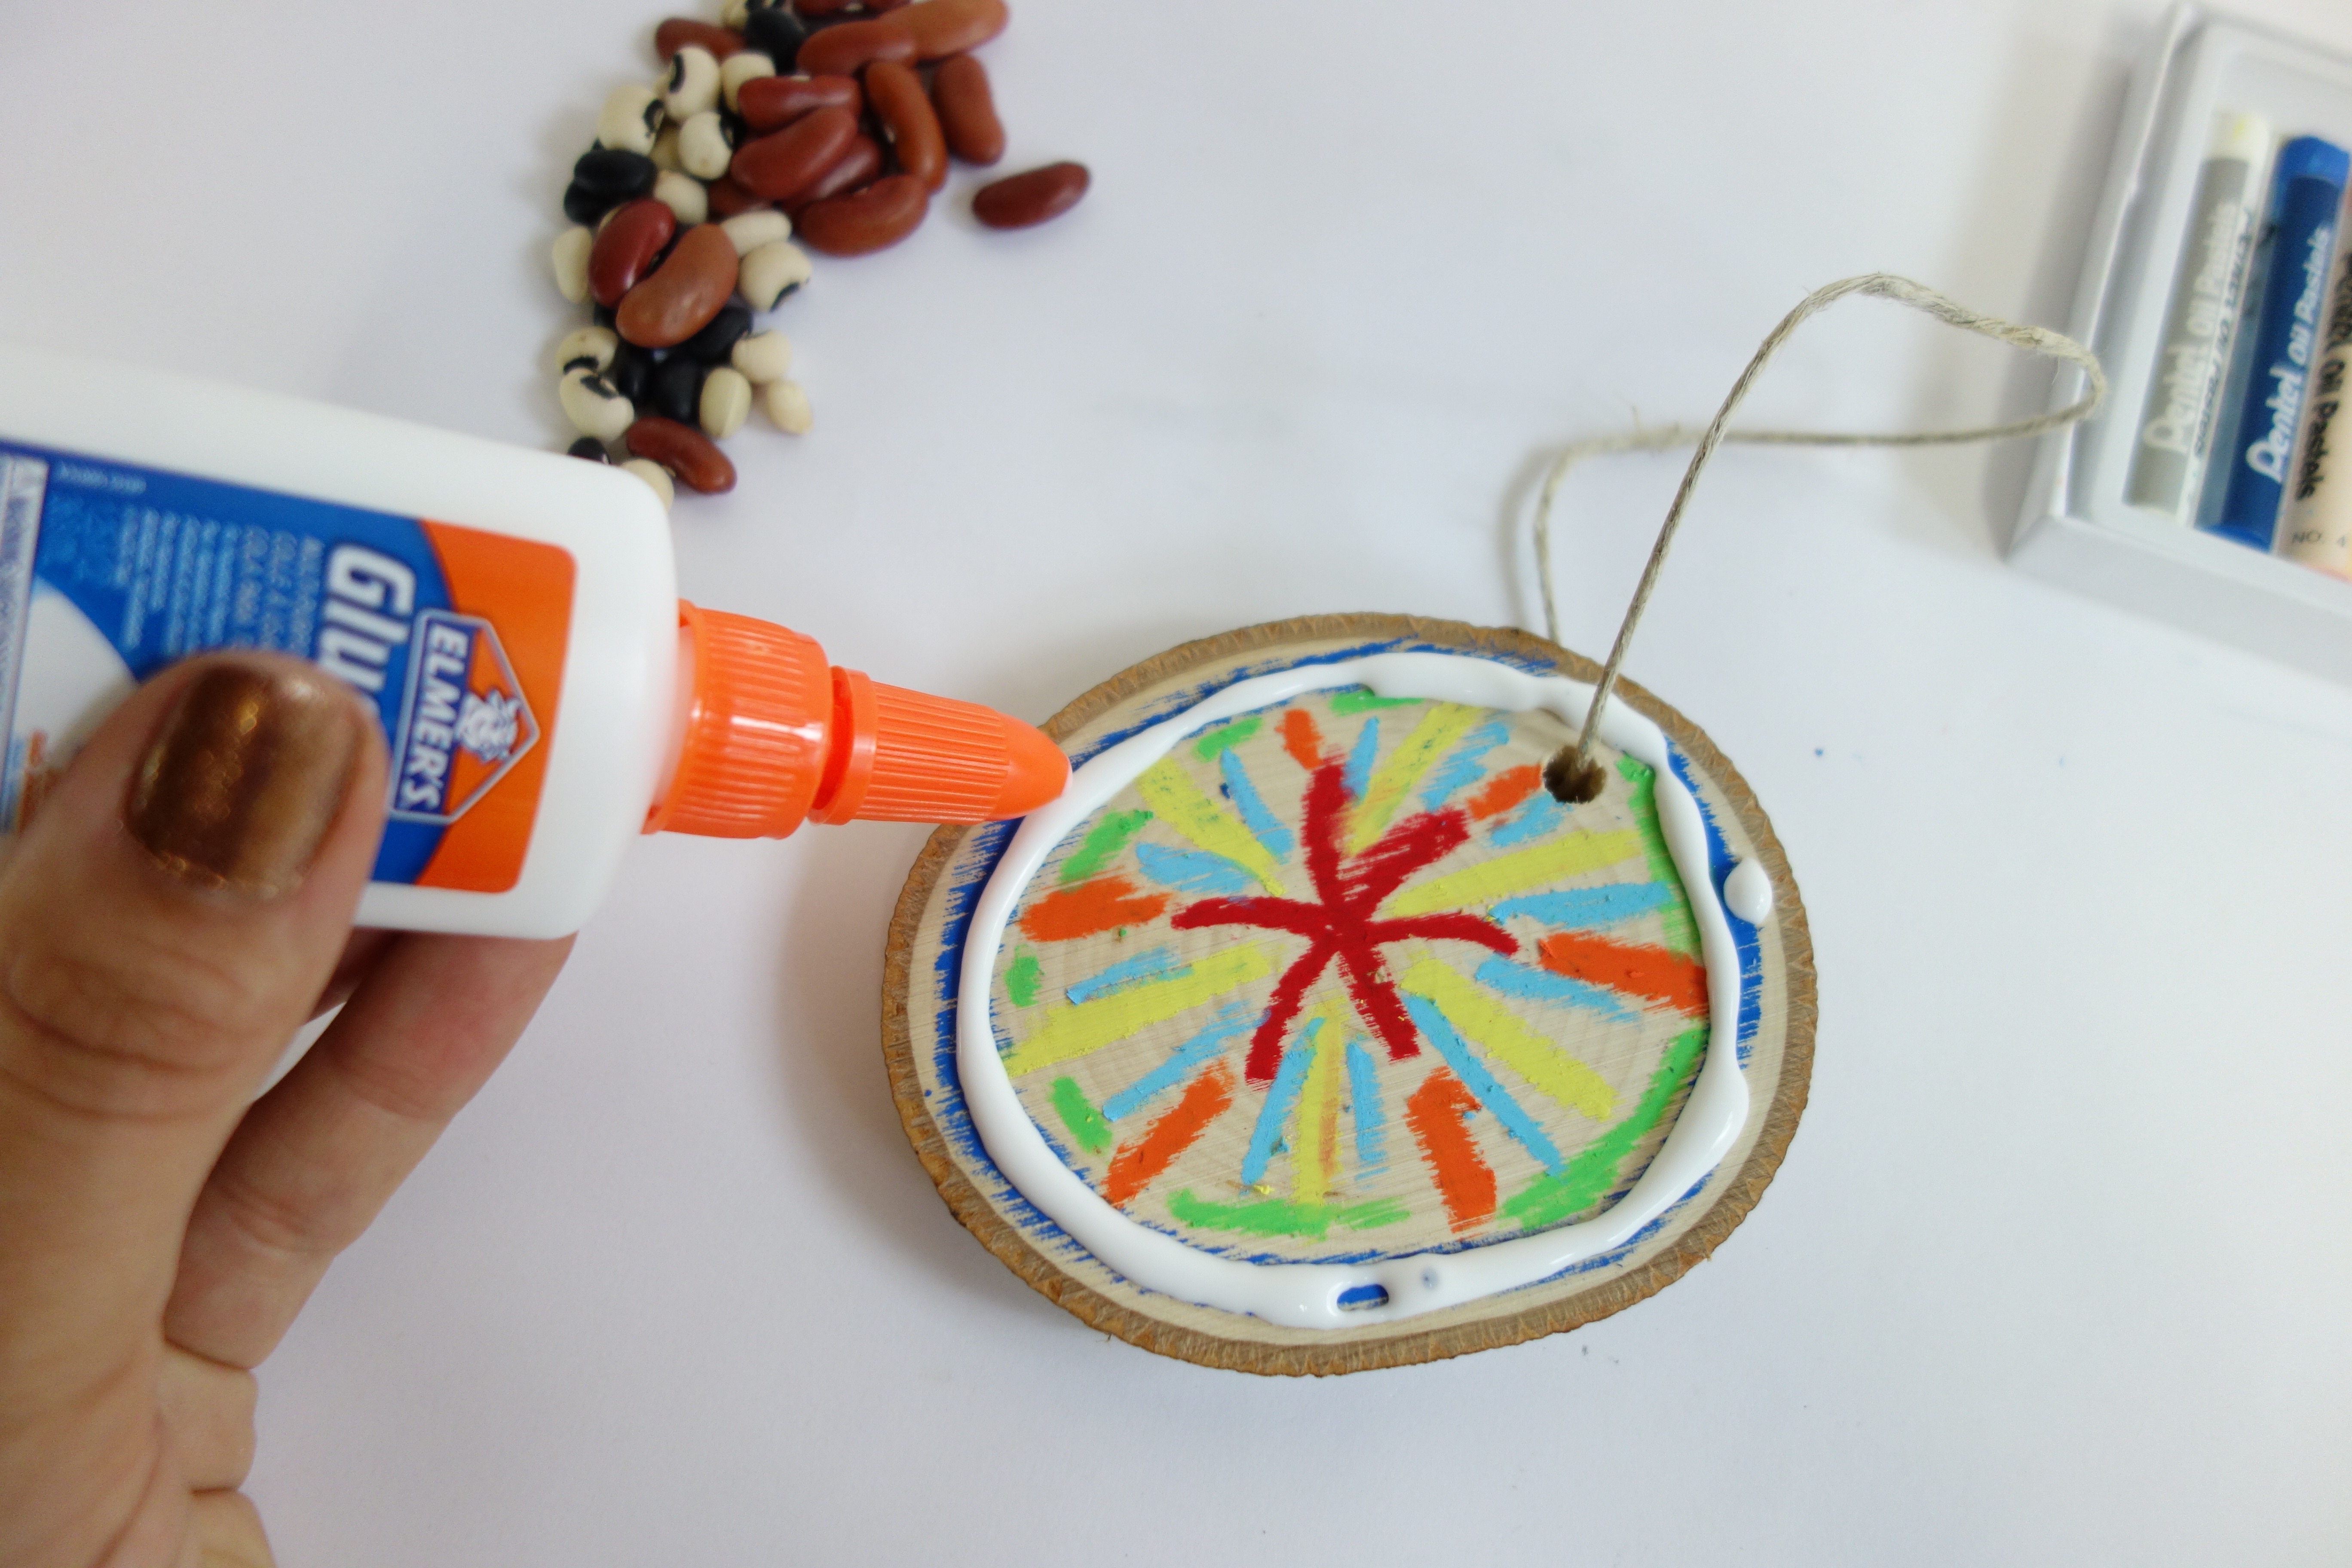
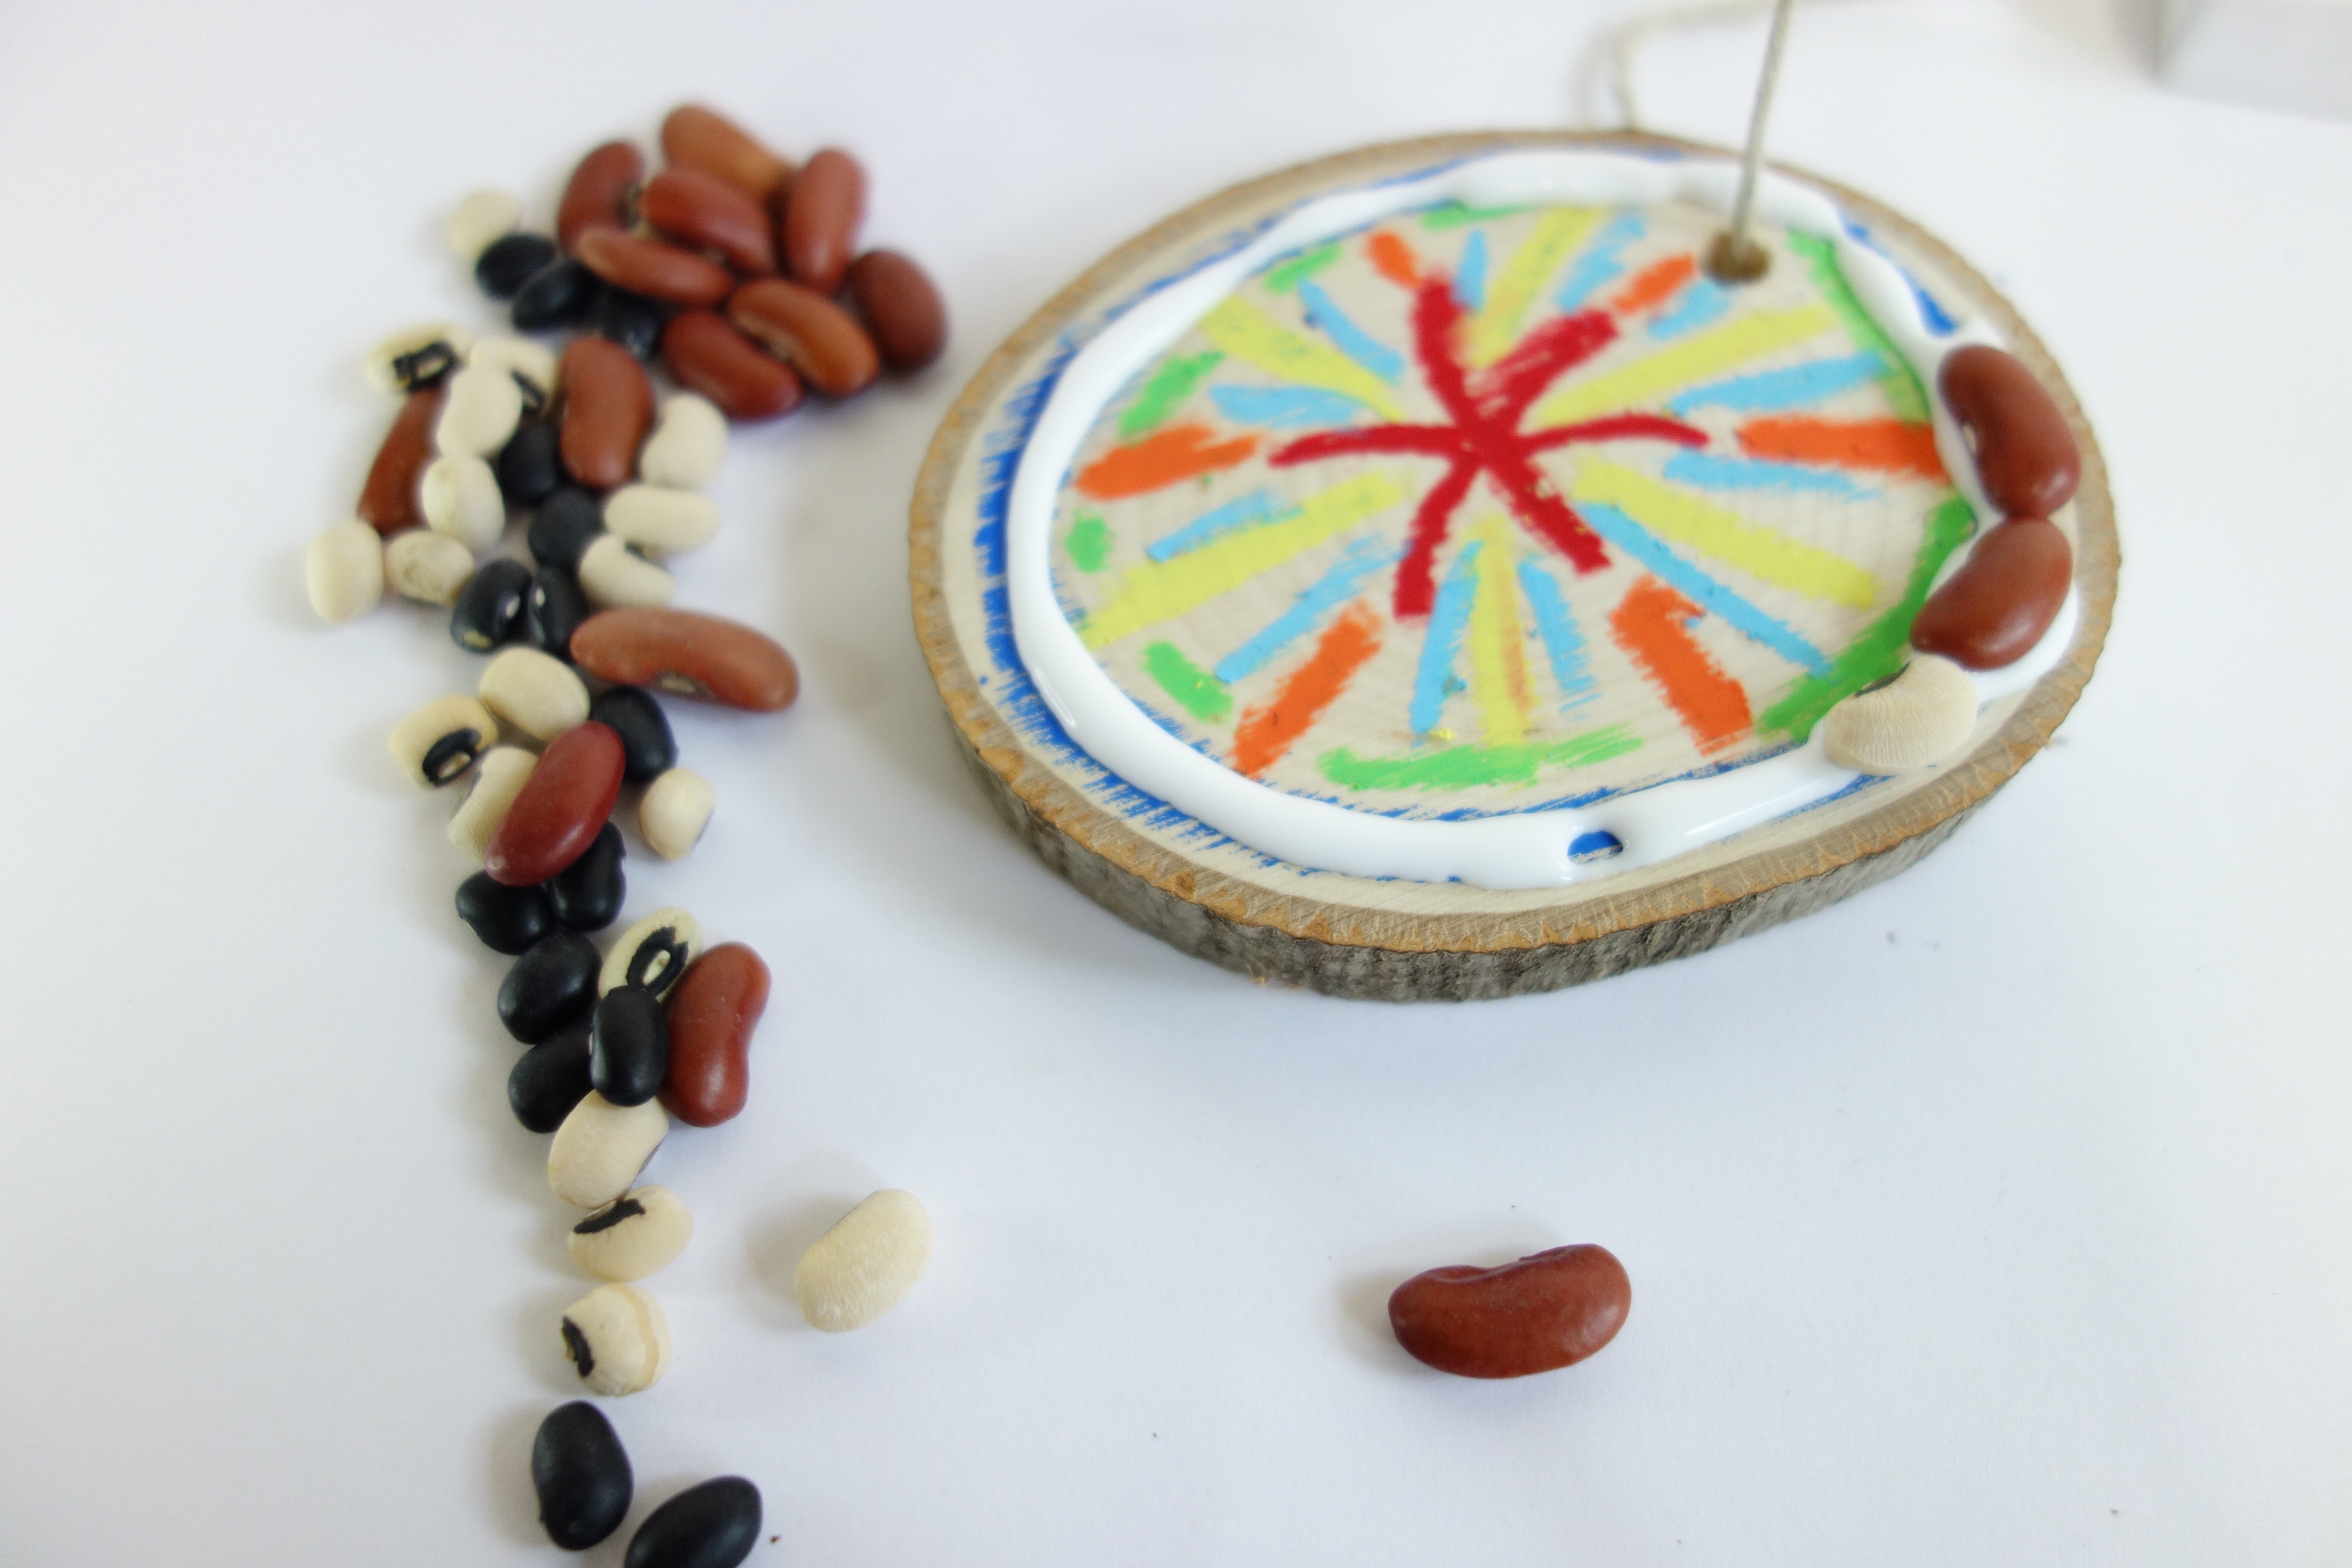
Craft 3.
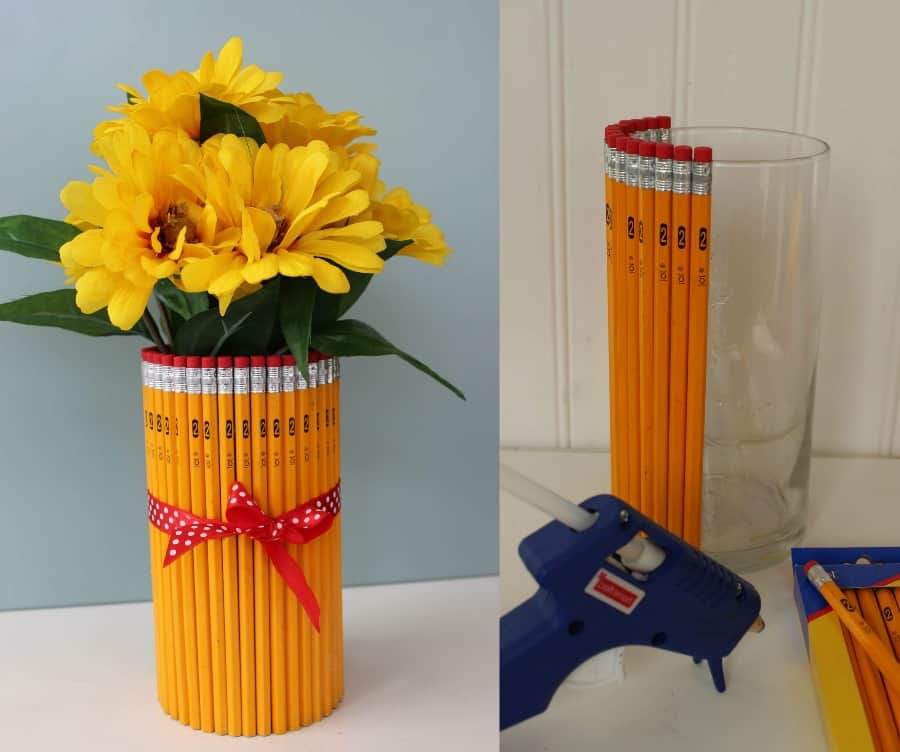
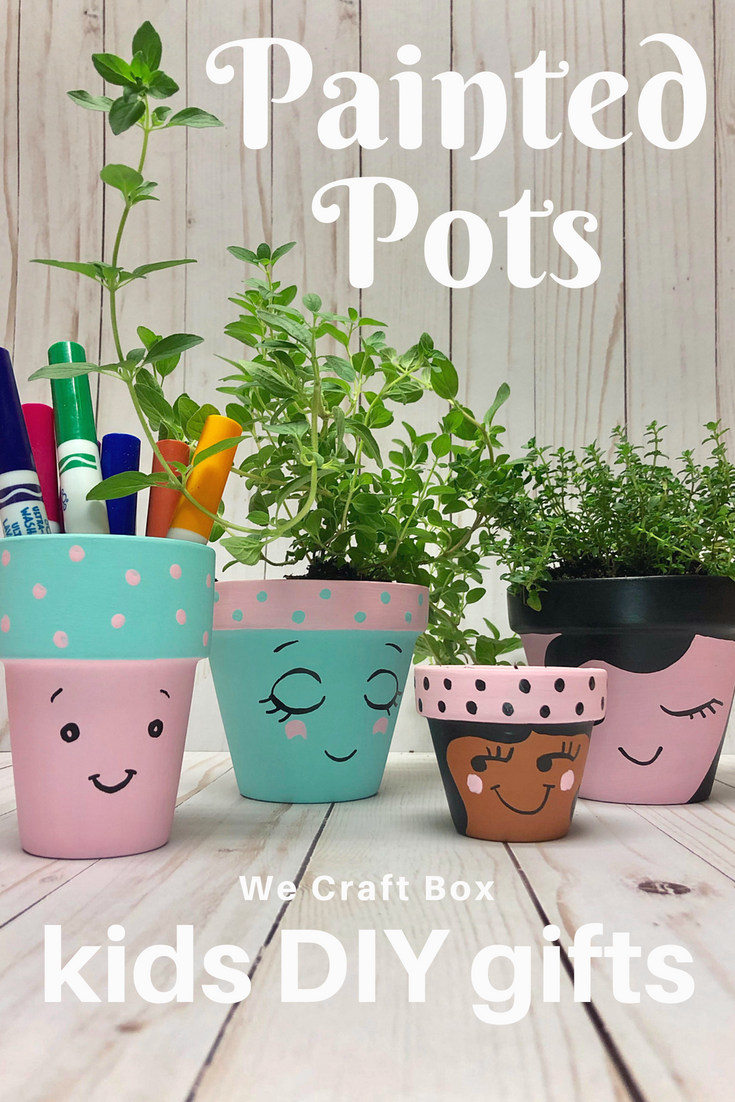
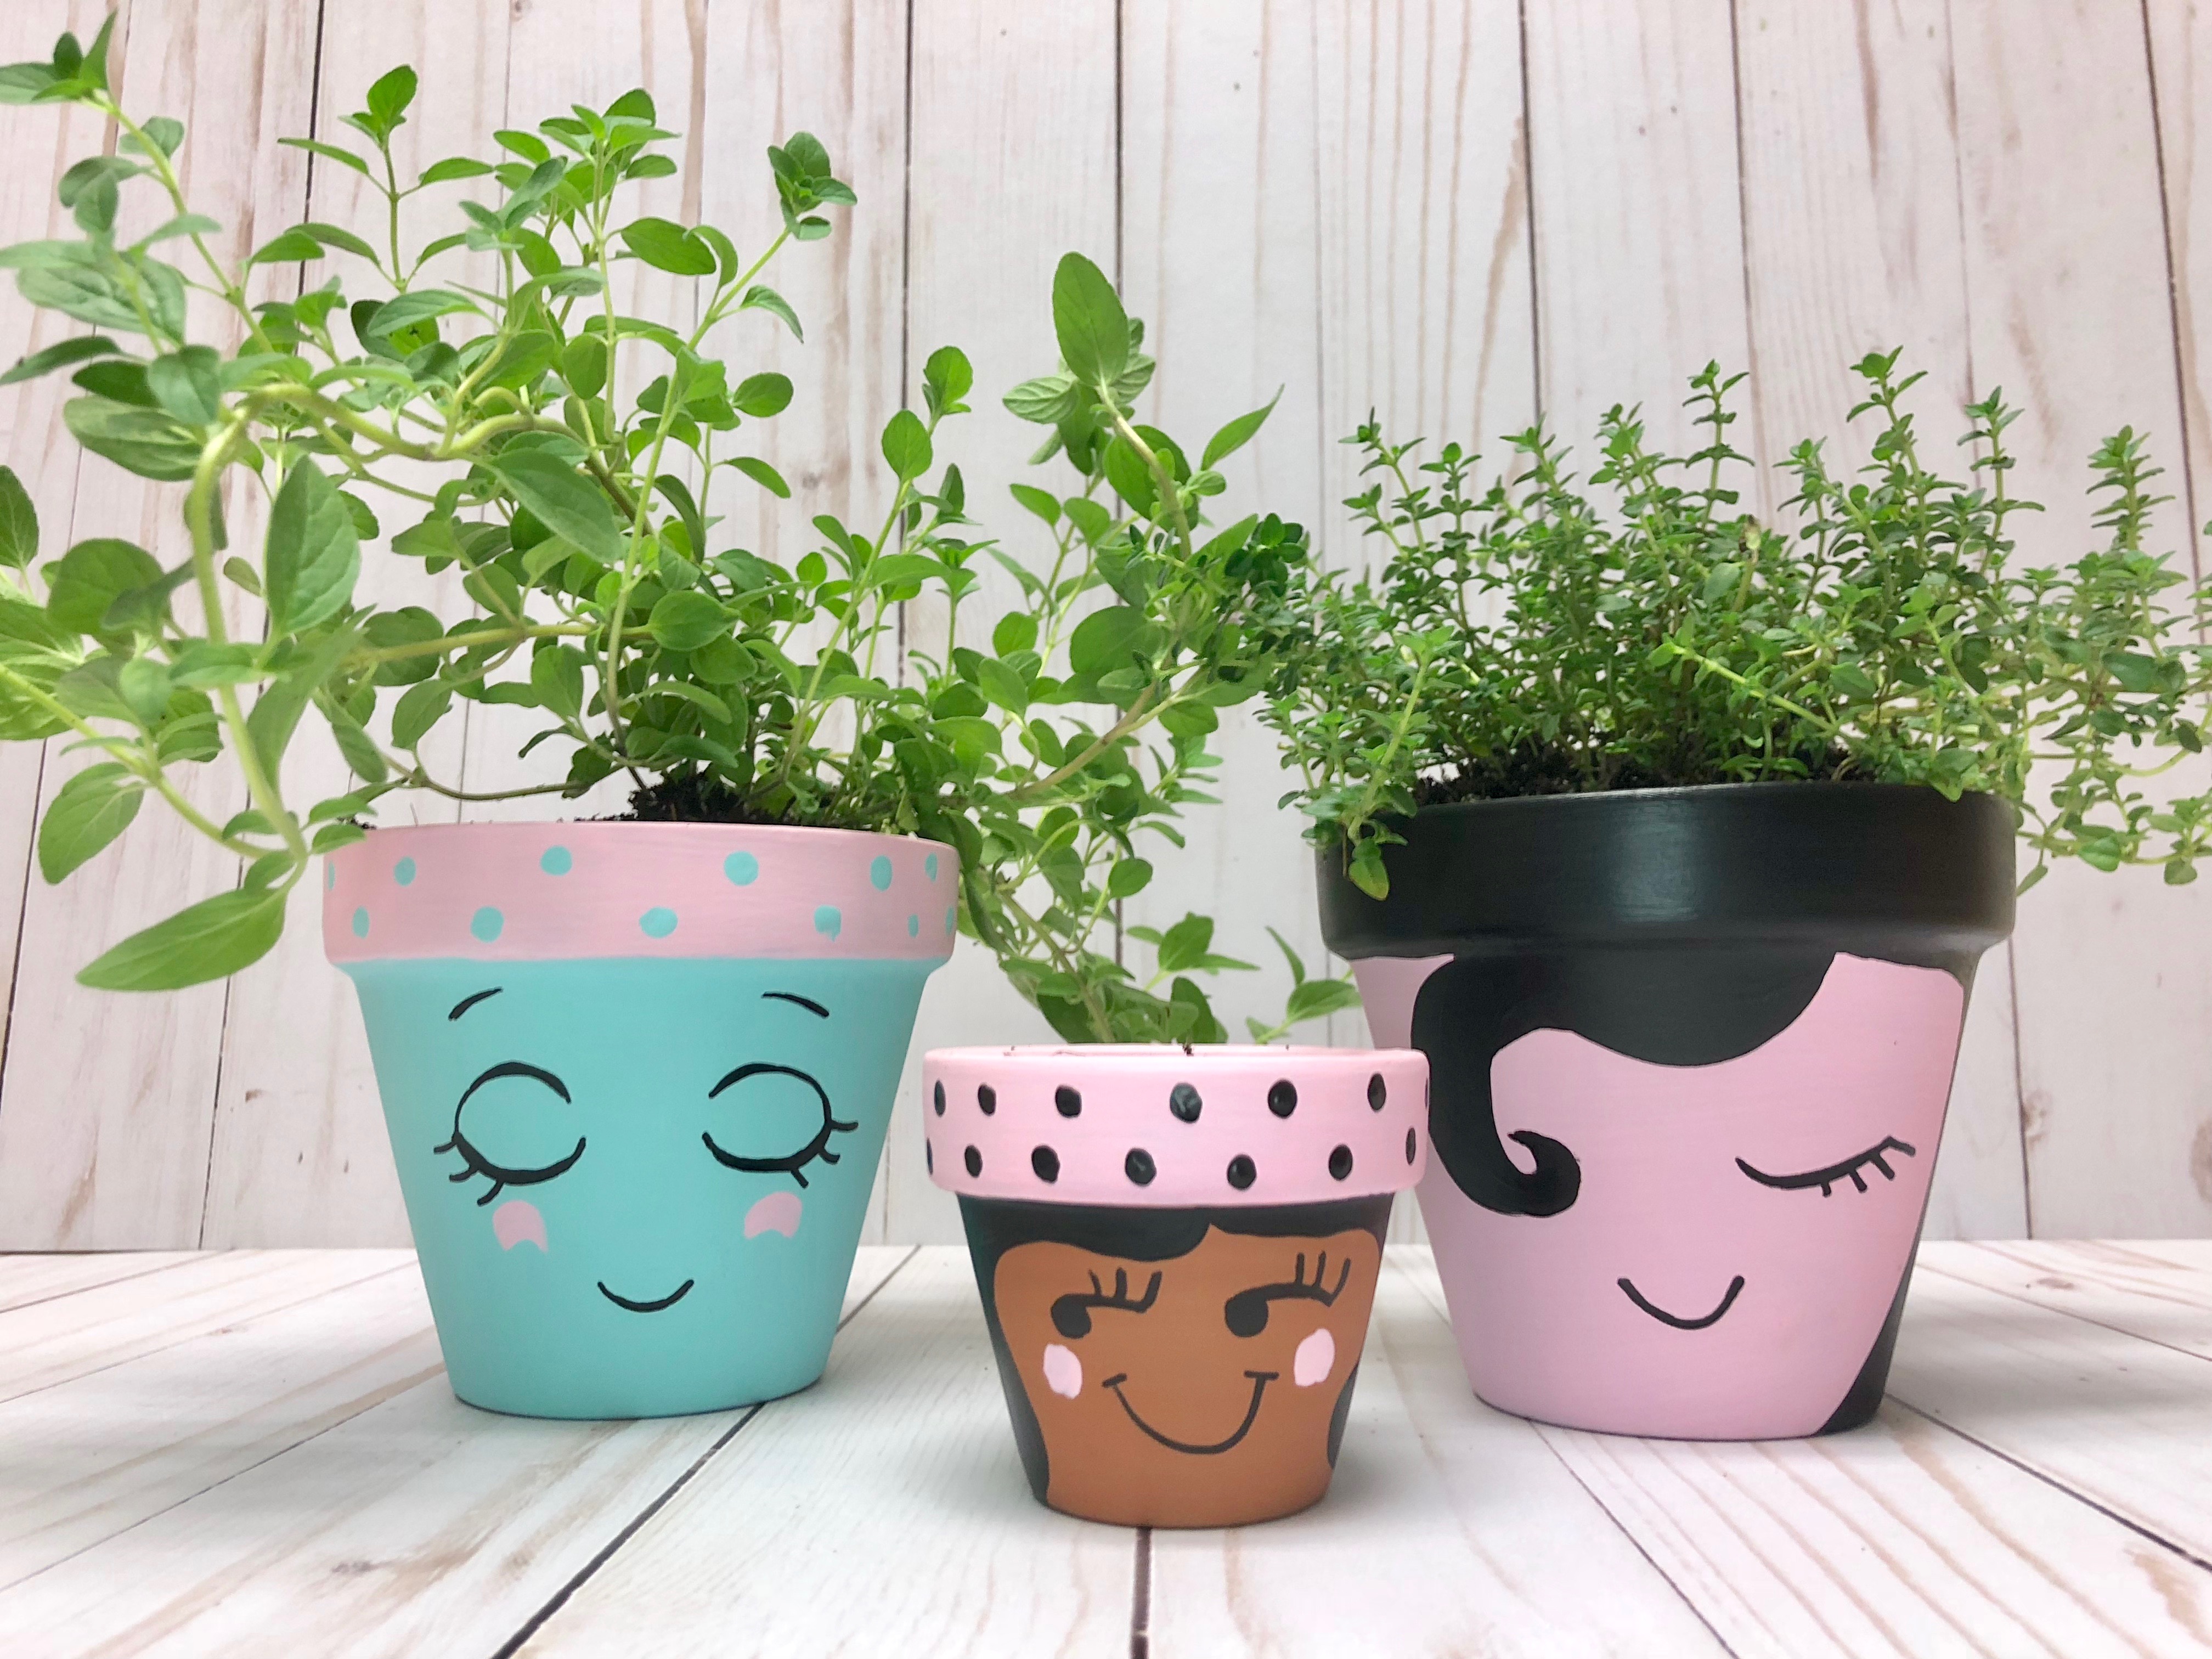
This pencil flower vase is perfect for any teacher and will be an awesome decoration for the classroom!
Original Link: https://savingdollarsandsense.com/teacher-appreciation-gift-pencil-vase/#_a5y_p=3738405
Craft 4.
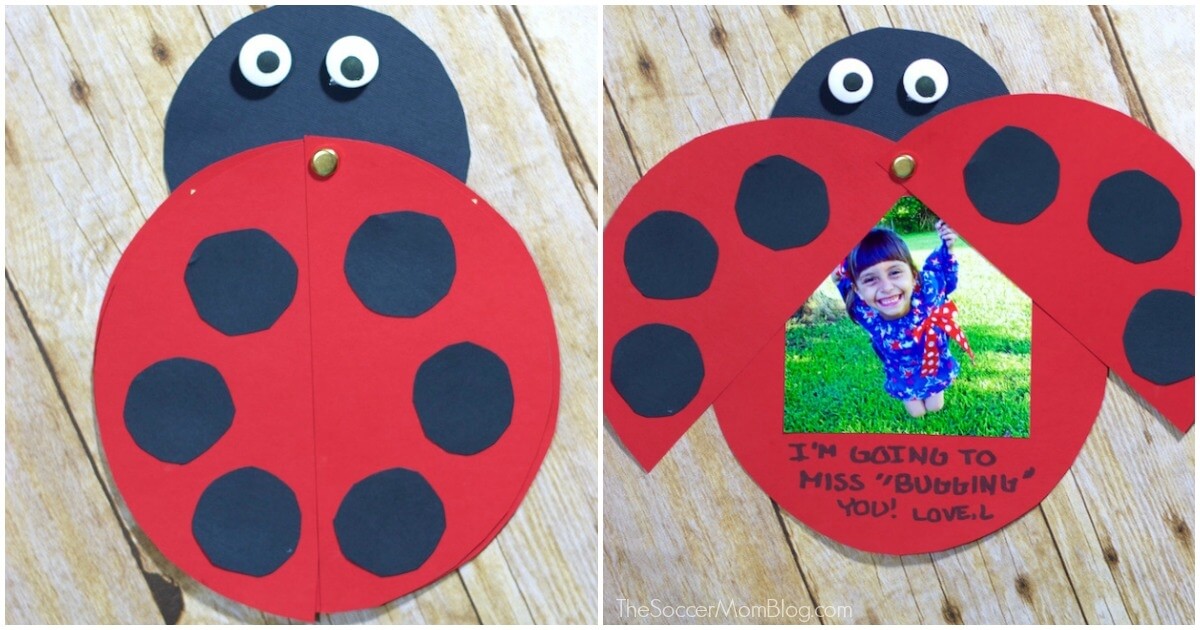
Say thank you to the teachers with this cute lady bug thank you card!
It will certainly buzz around in the teacher’s heart and make them feel loved!
Original Link: https://thesoccermomblog.com/ladybug-teacher-thank-you-card/
Happy Teacher Appreciation Week to all of our crafters and thank you to all of the wonderful teachers out there!


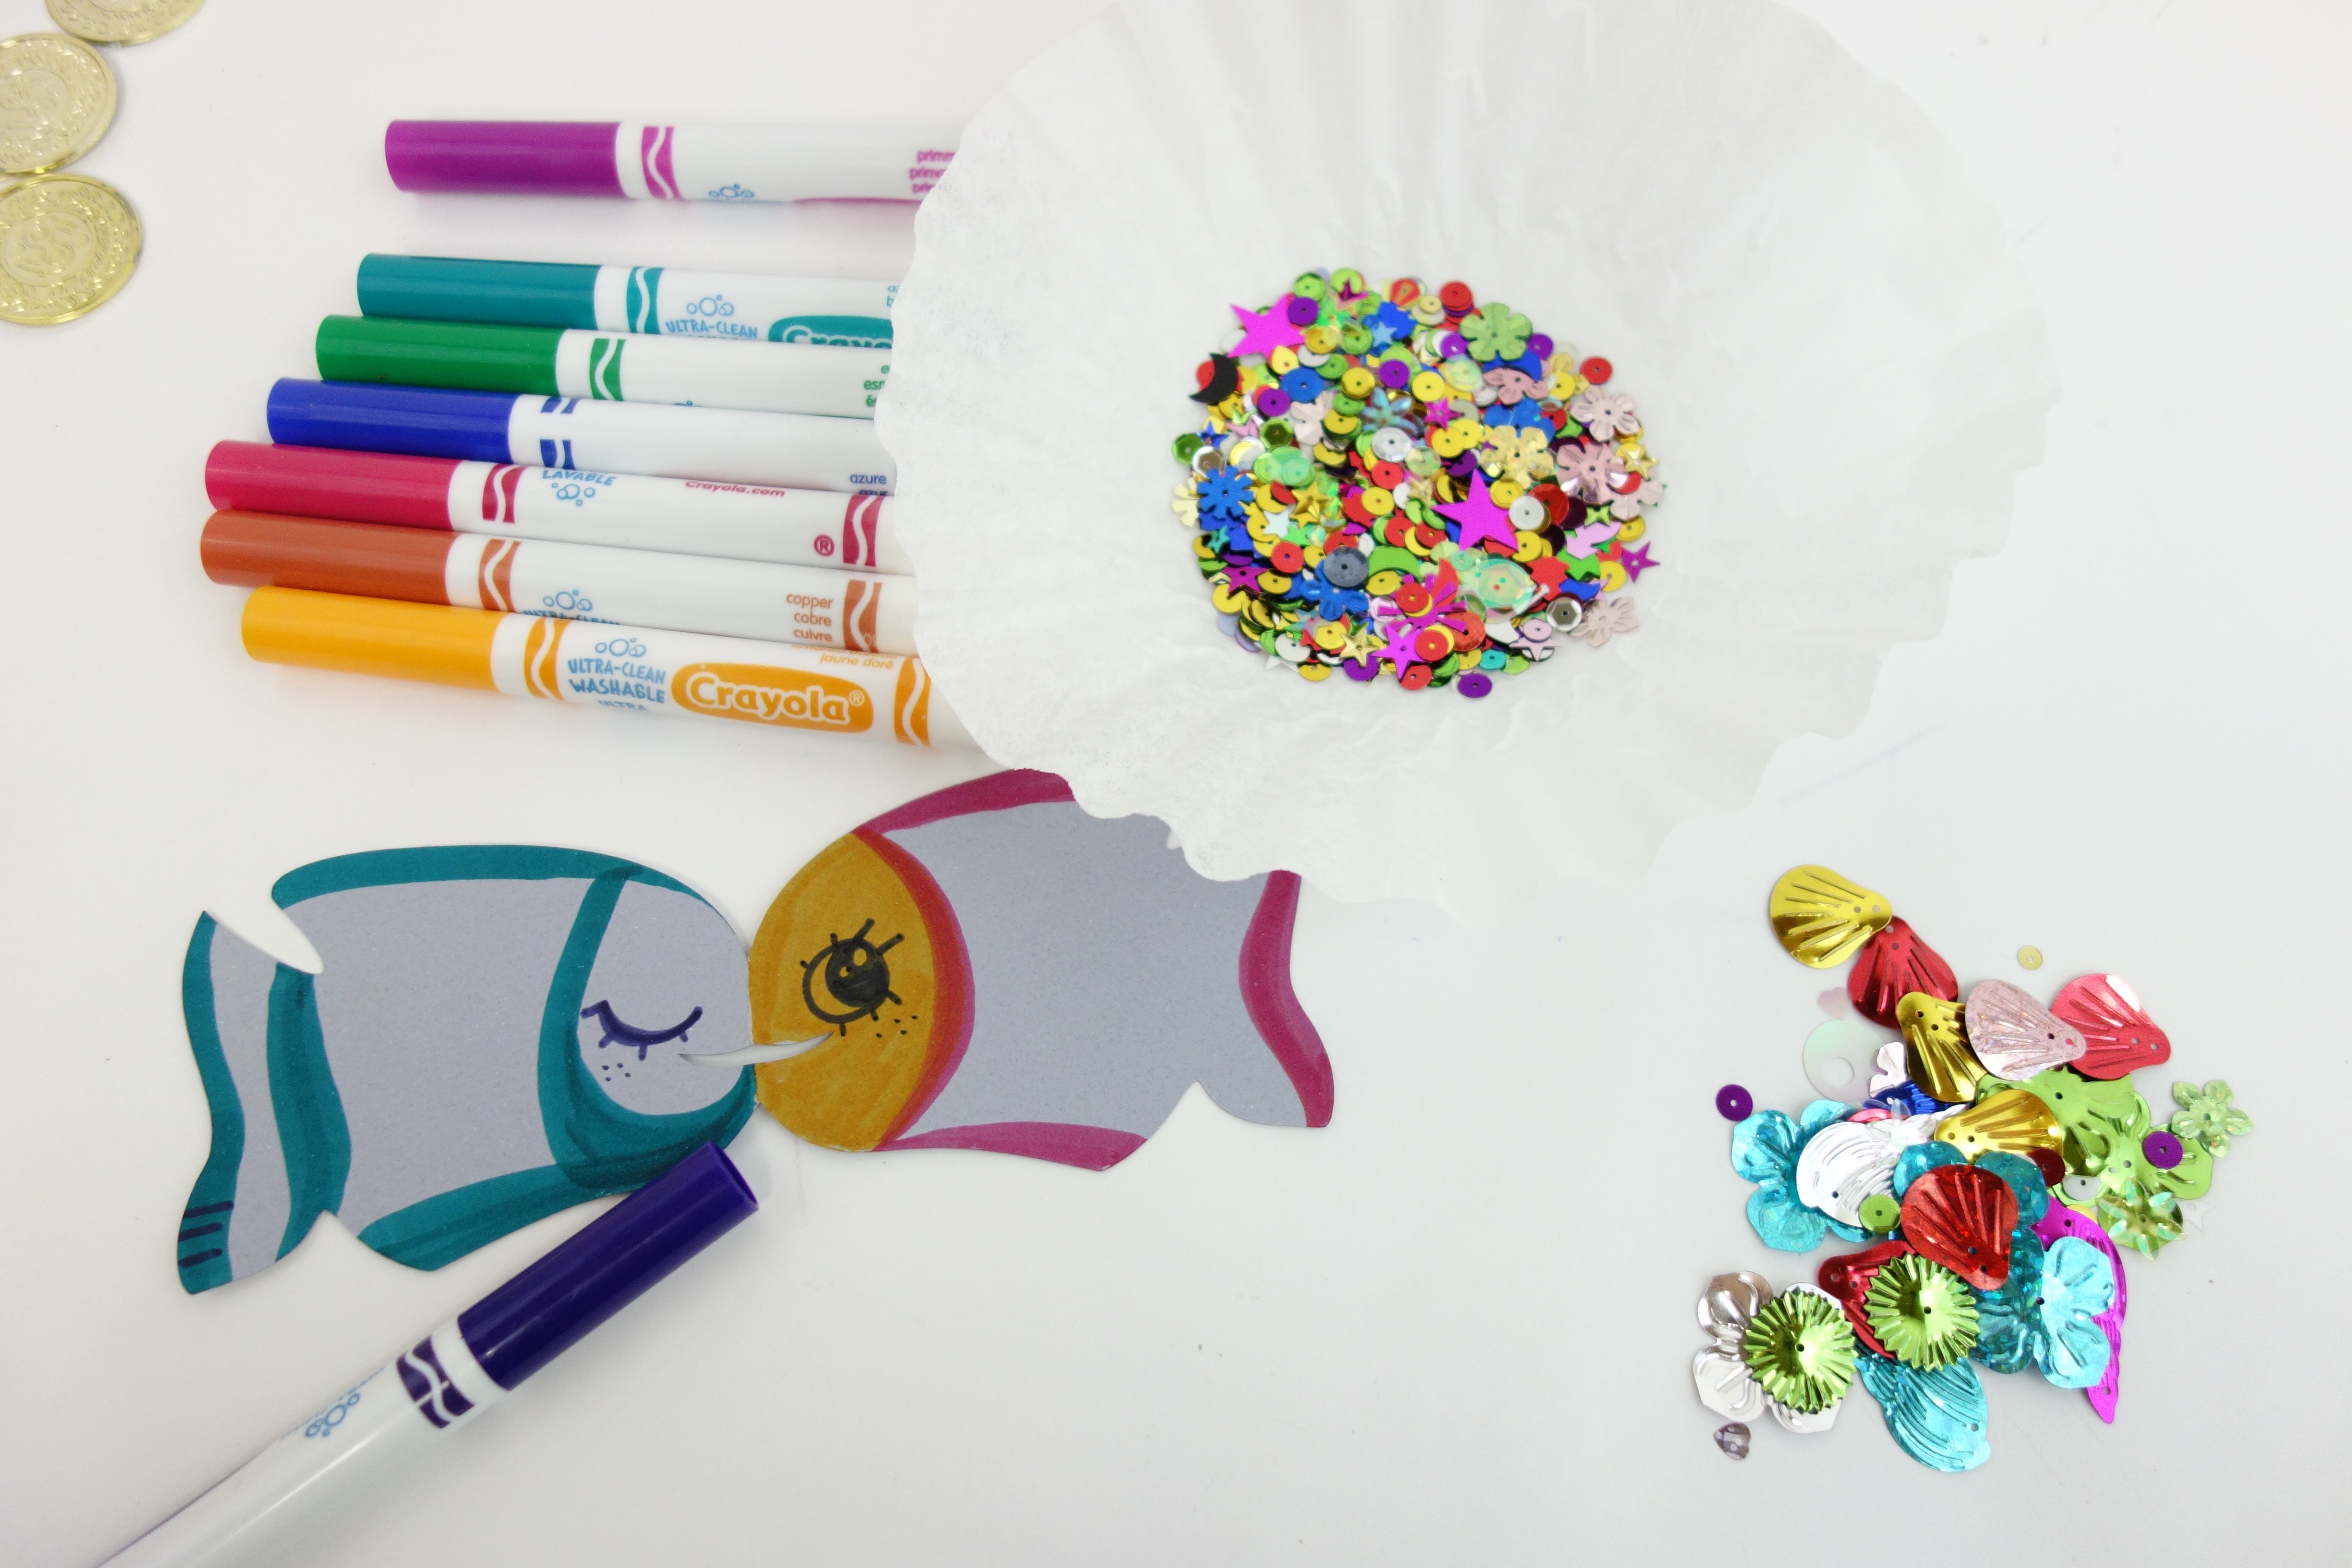


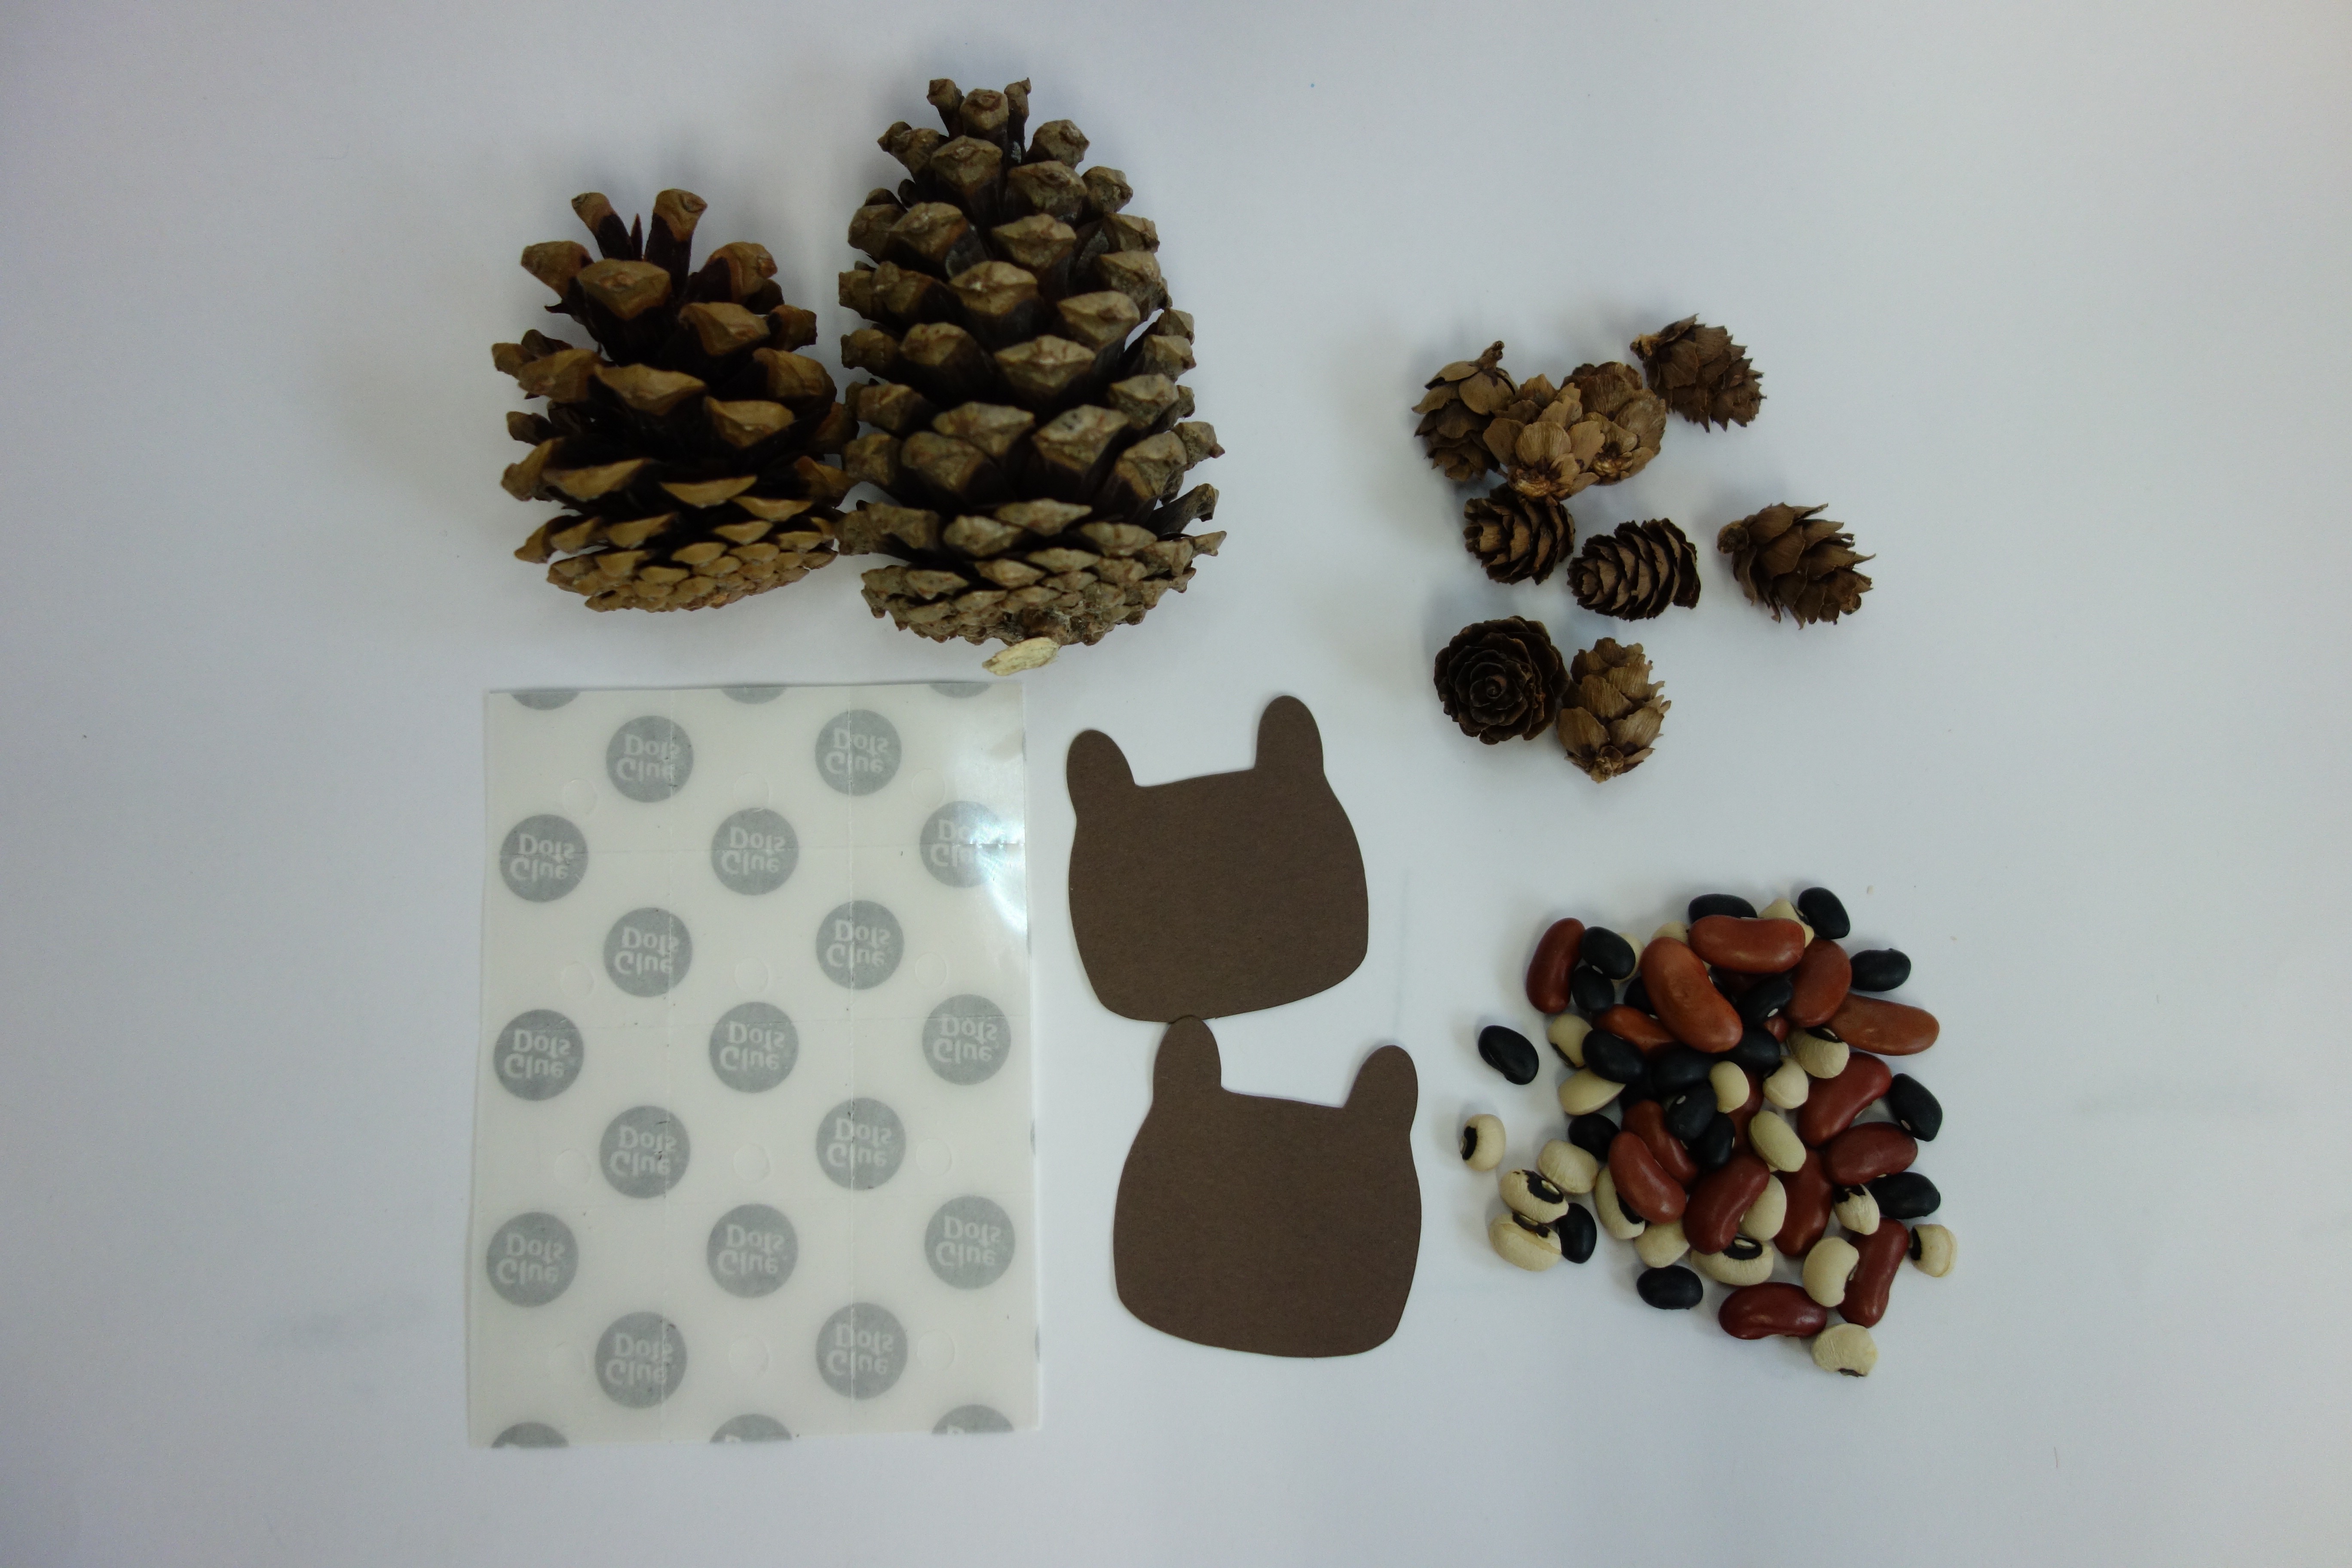


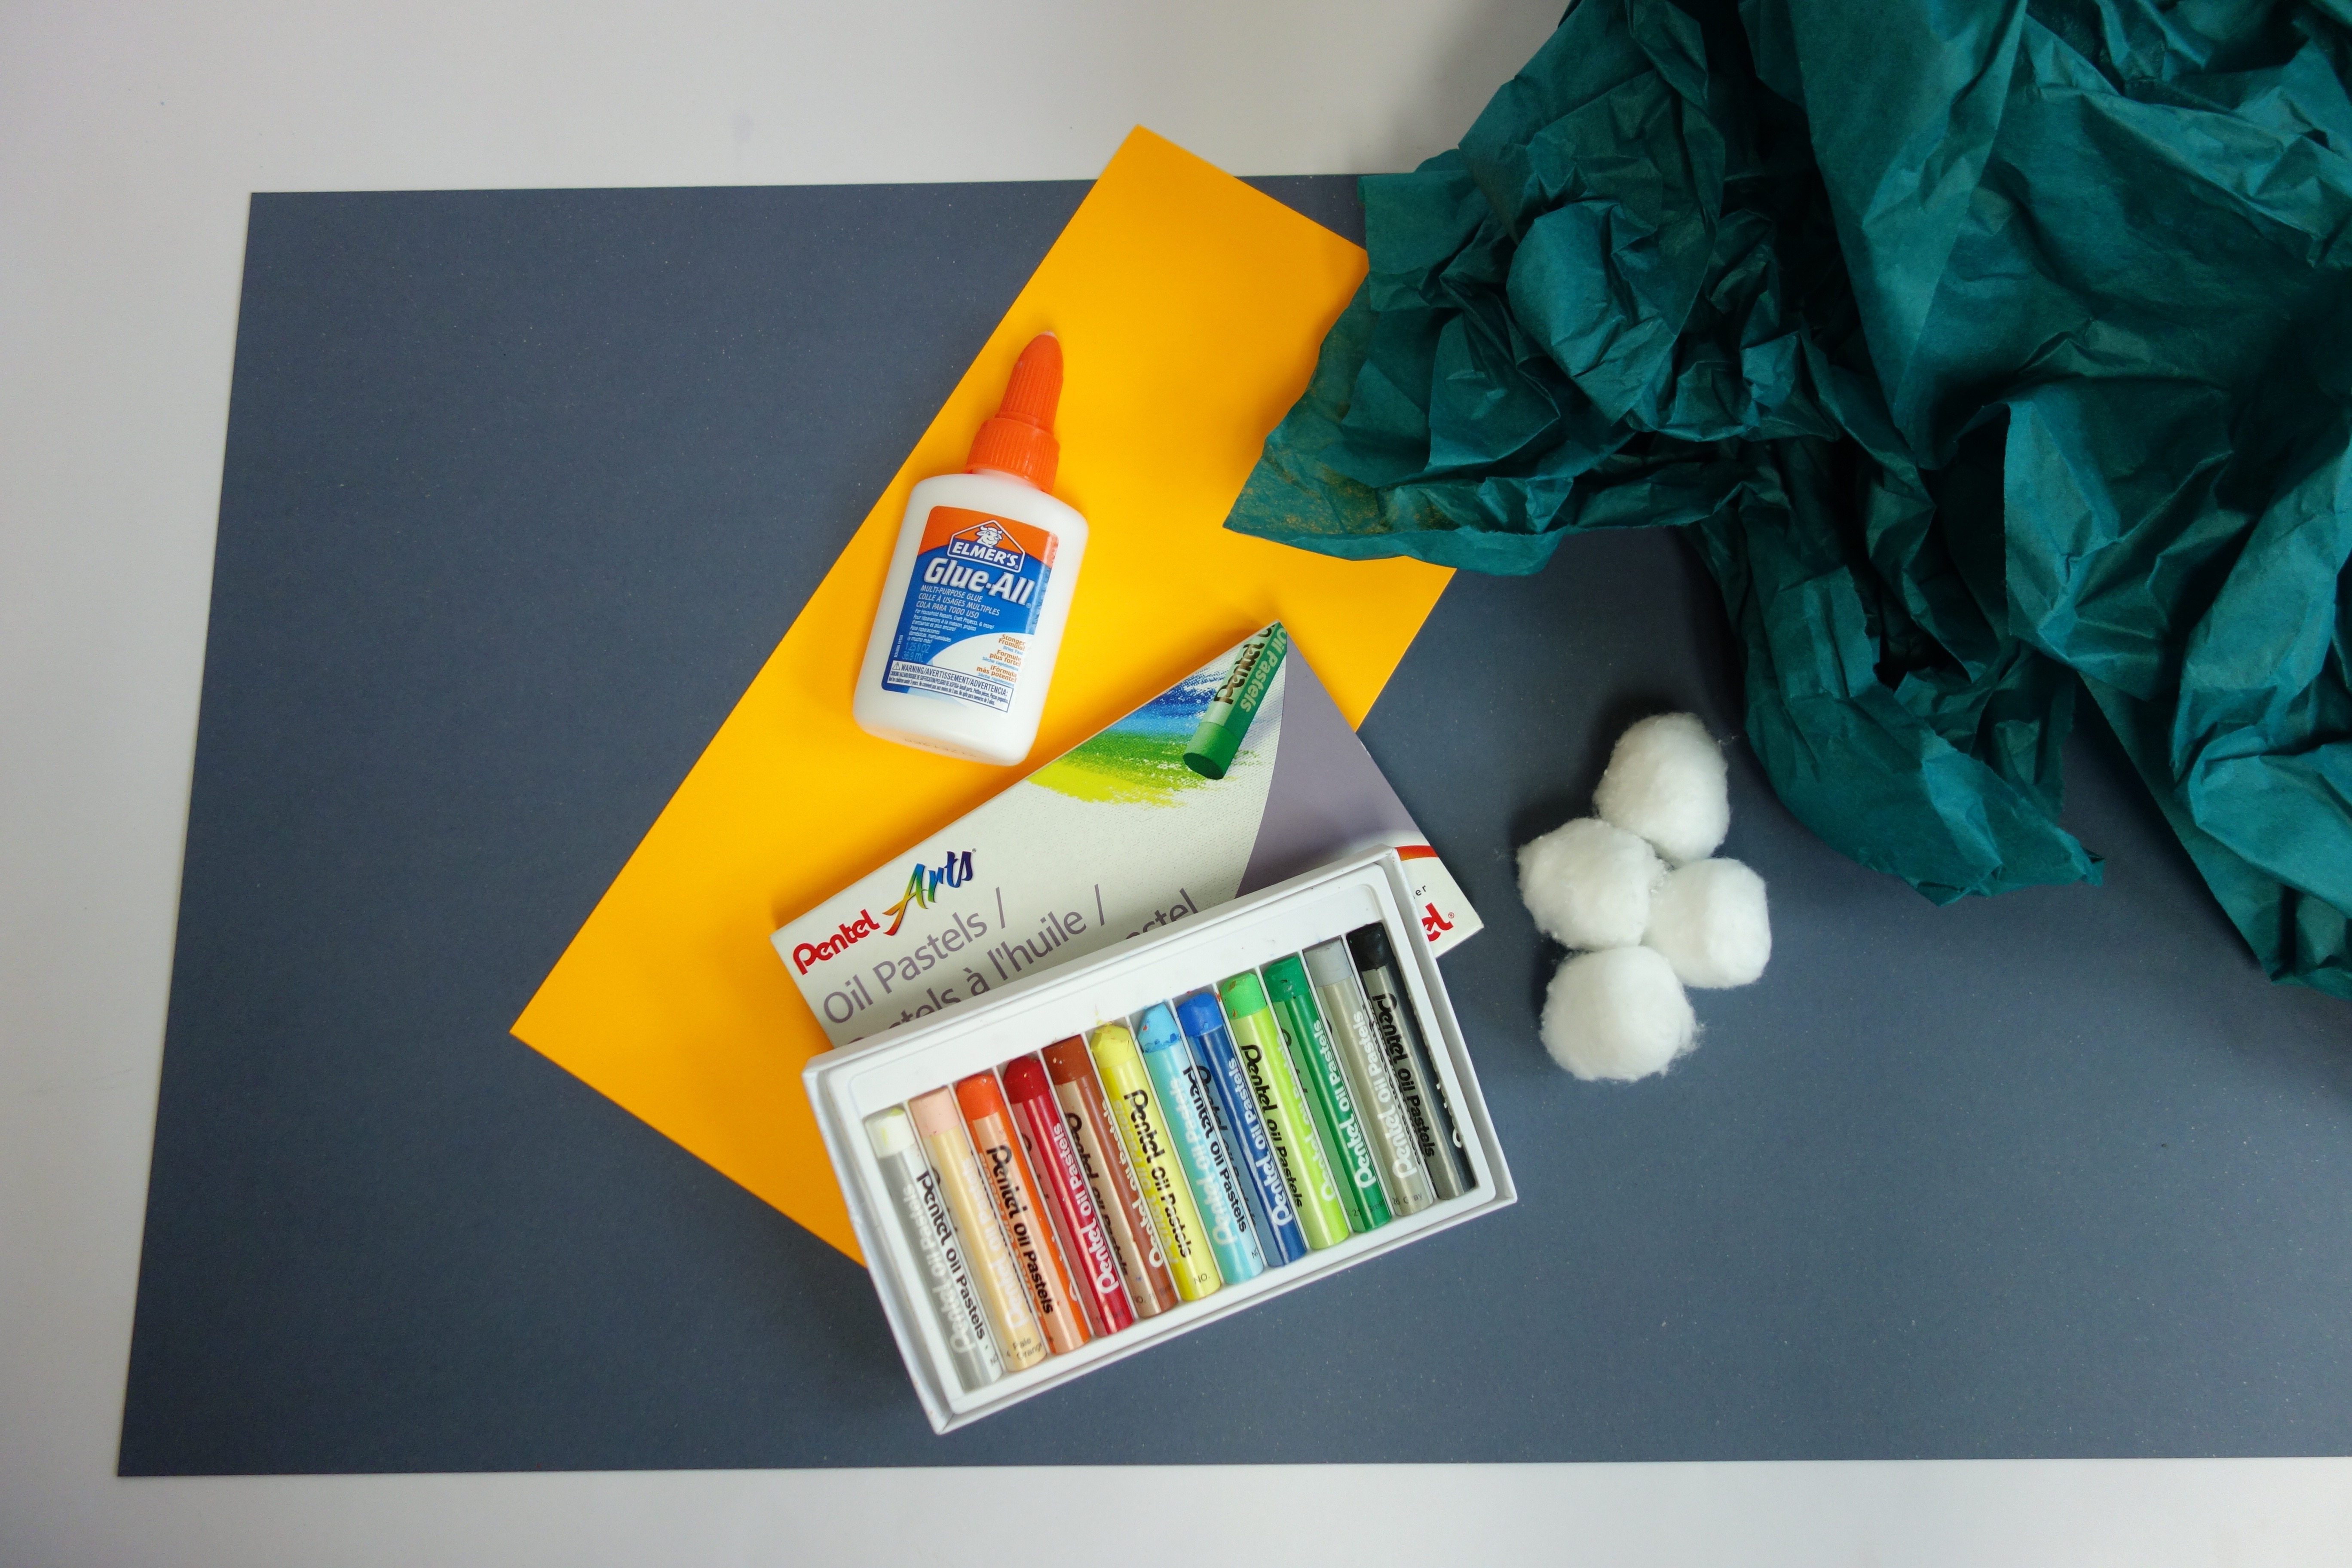


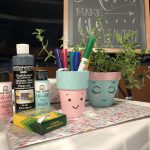


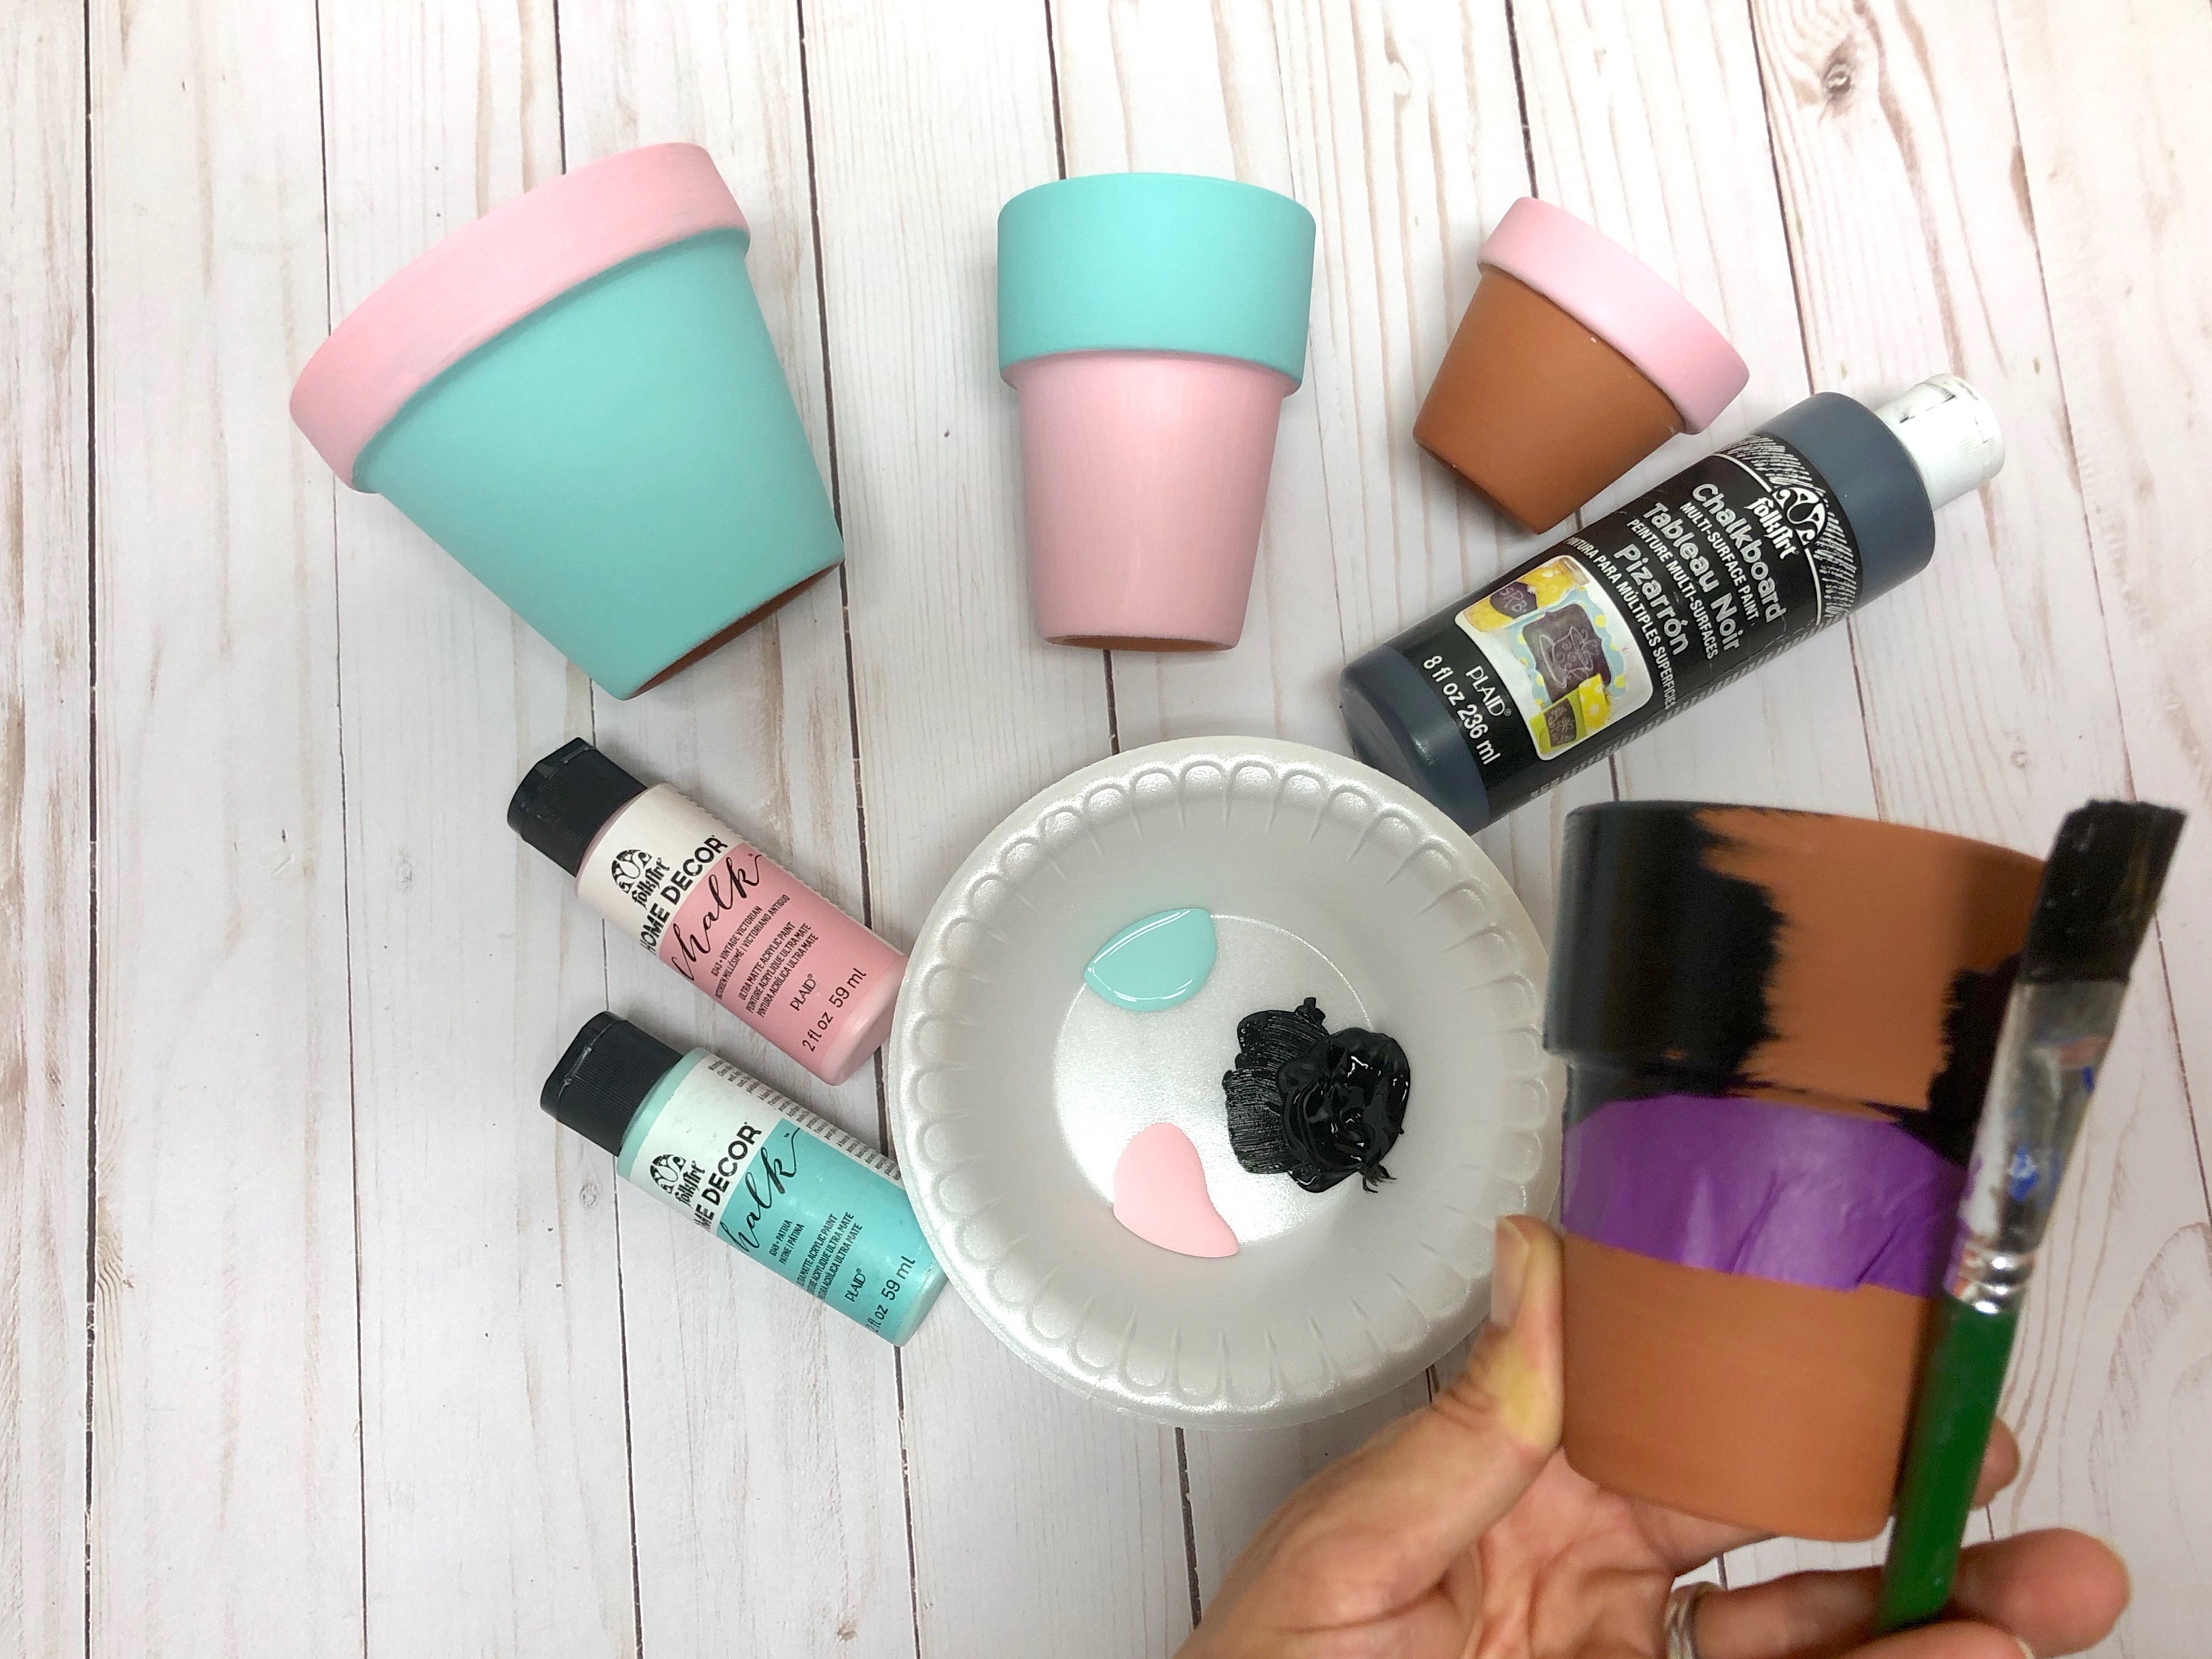
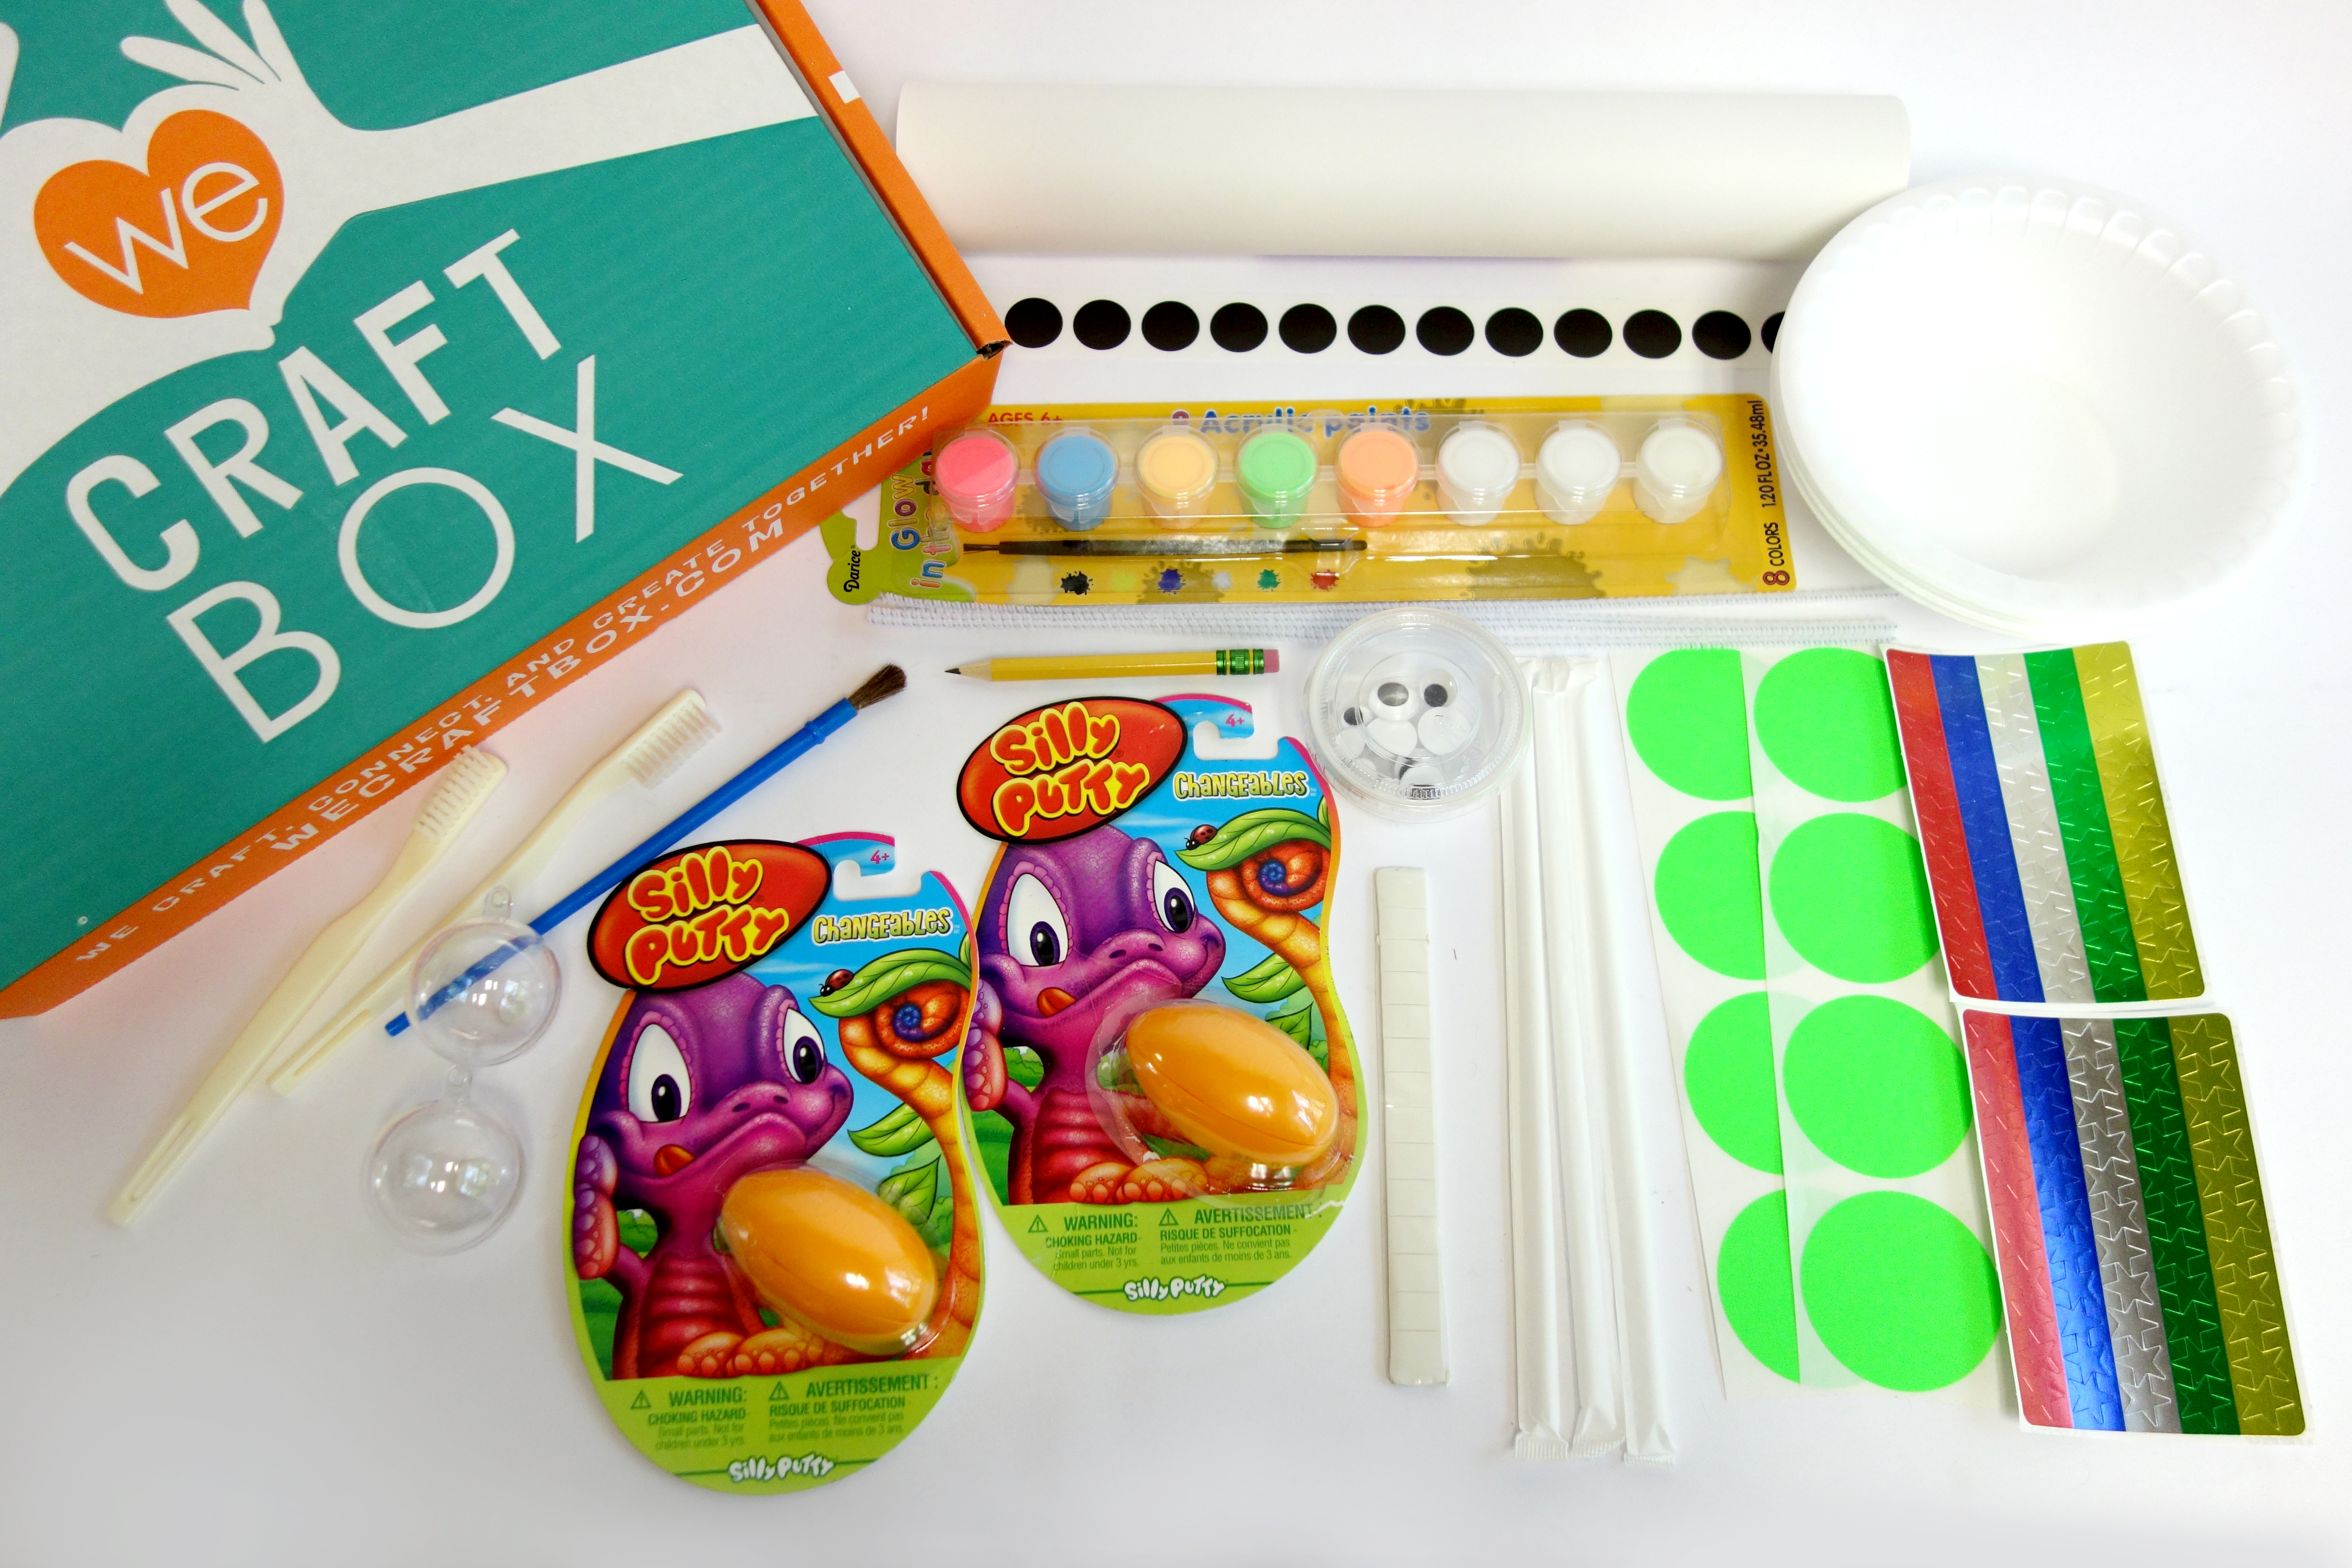
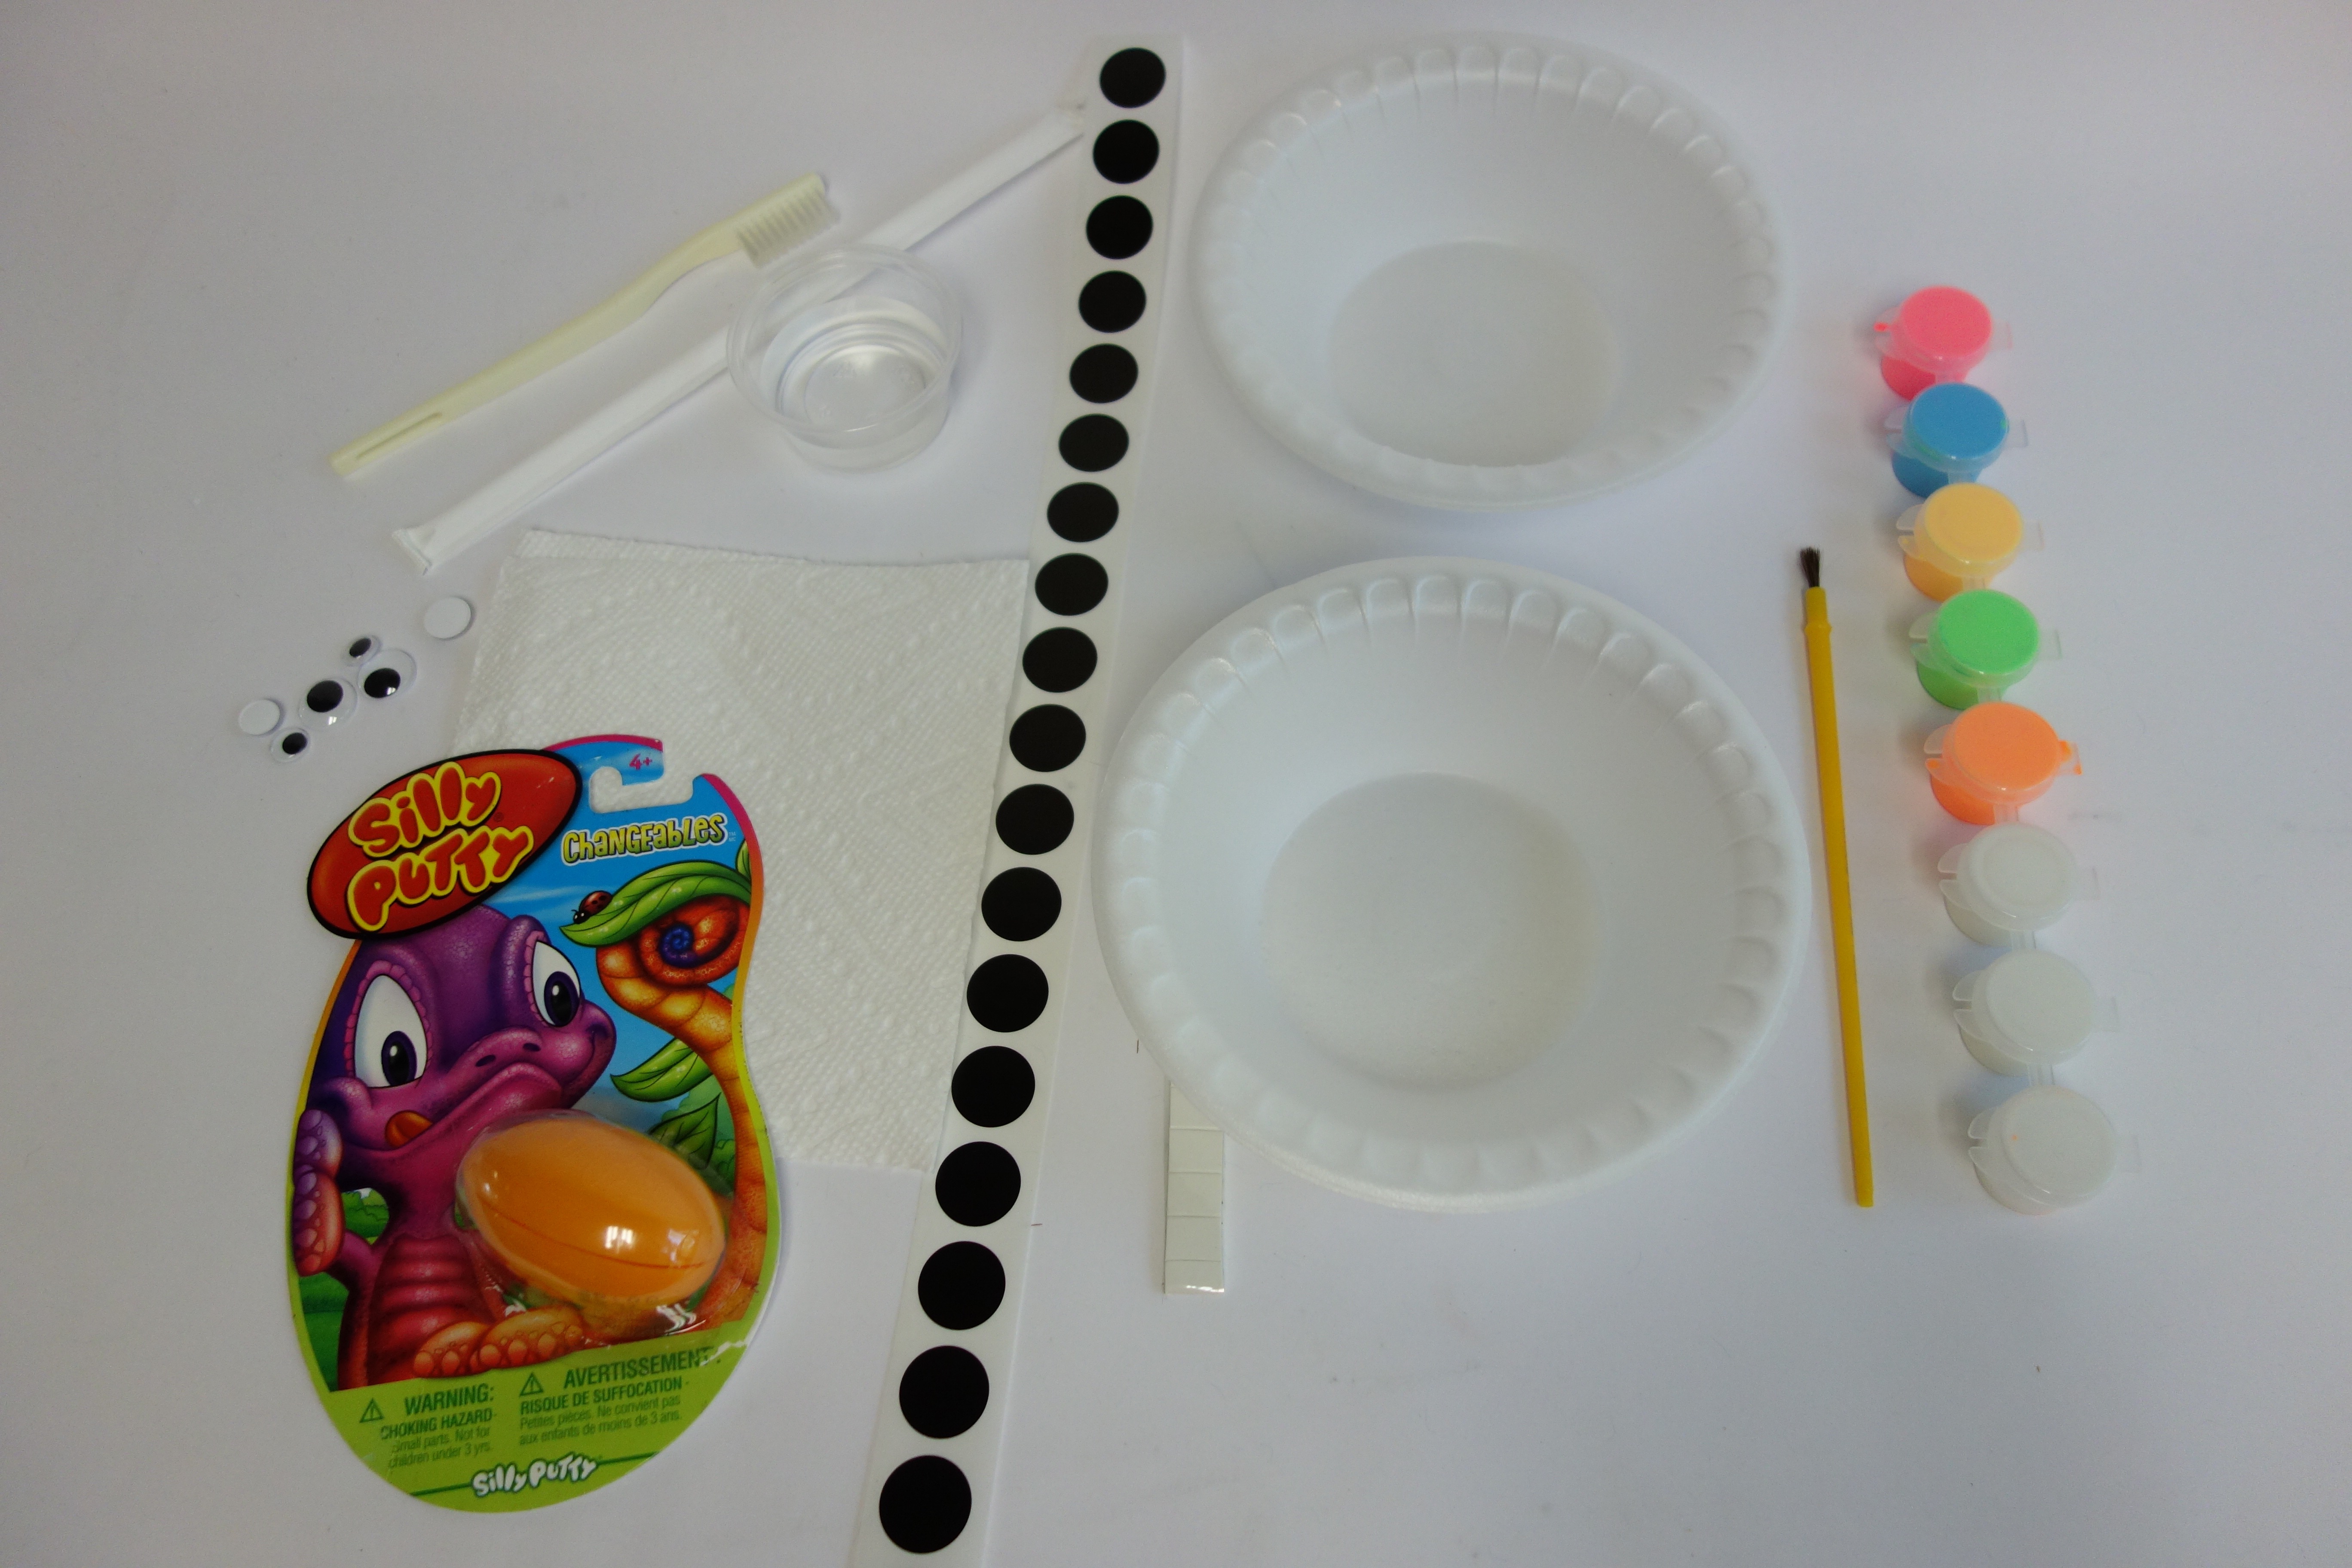
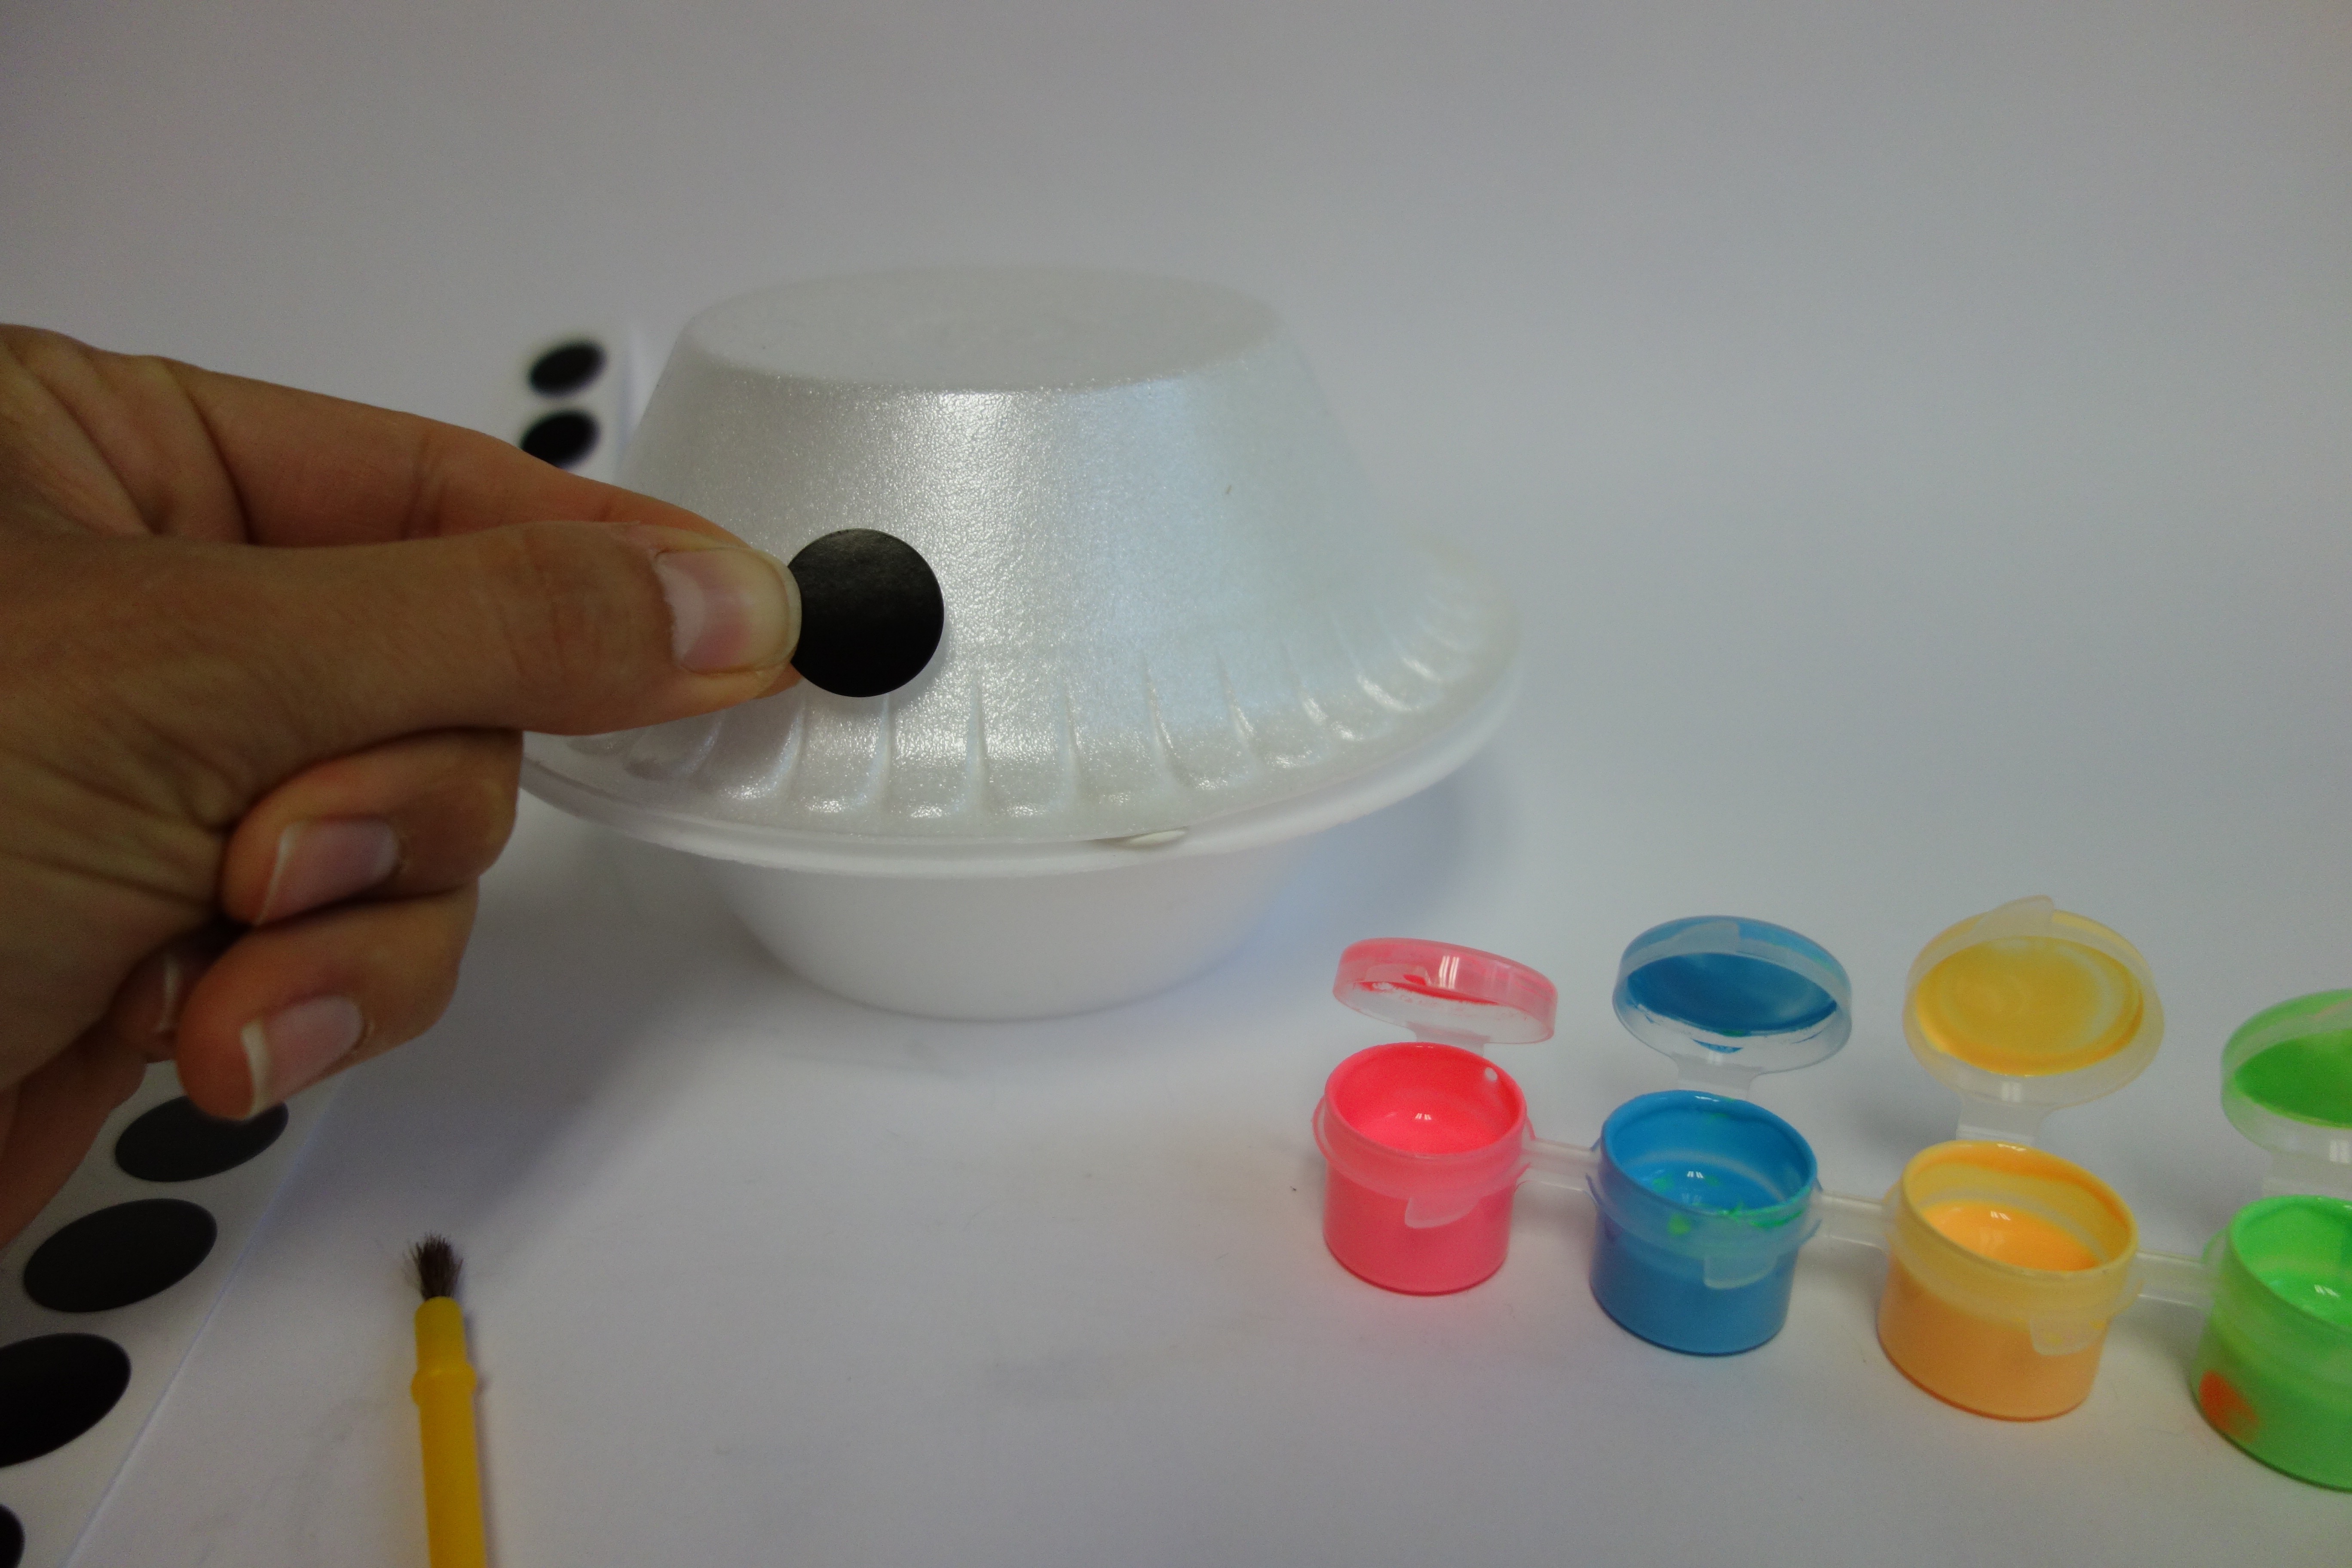
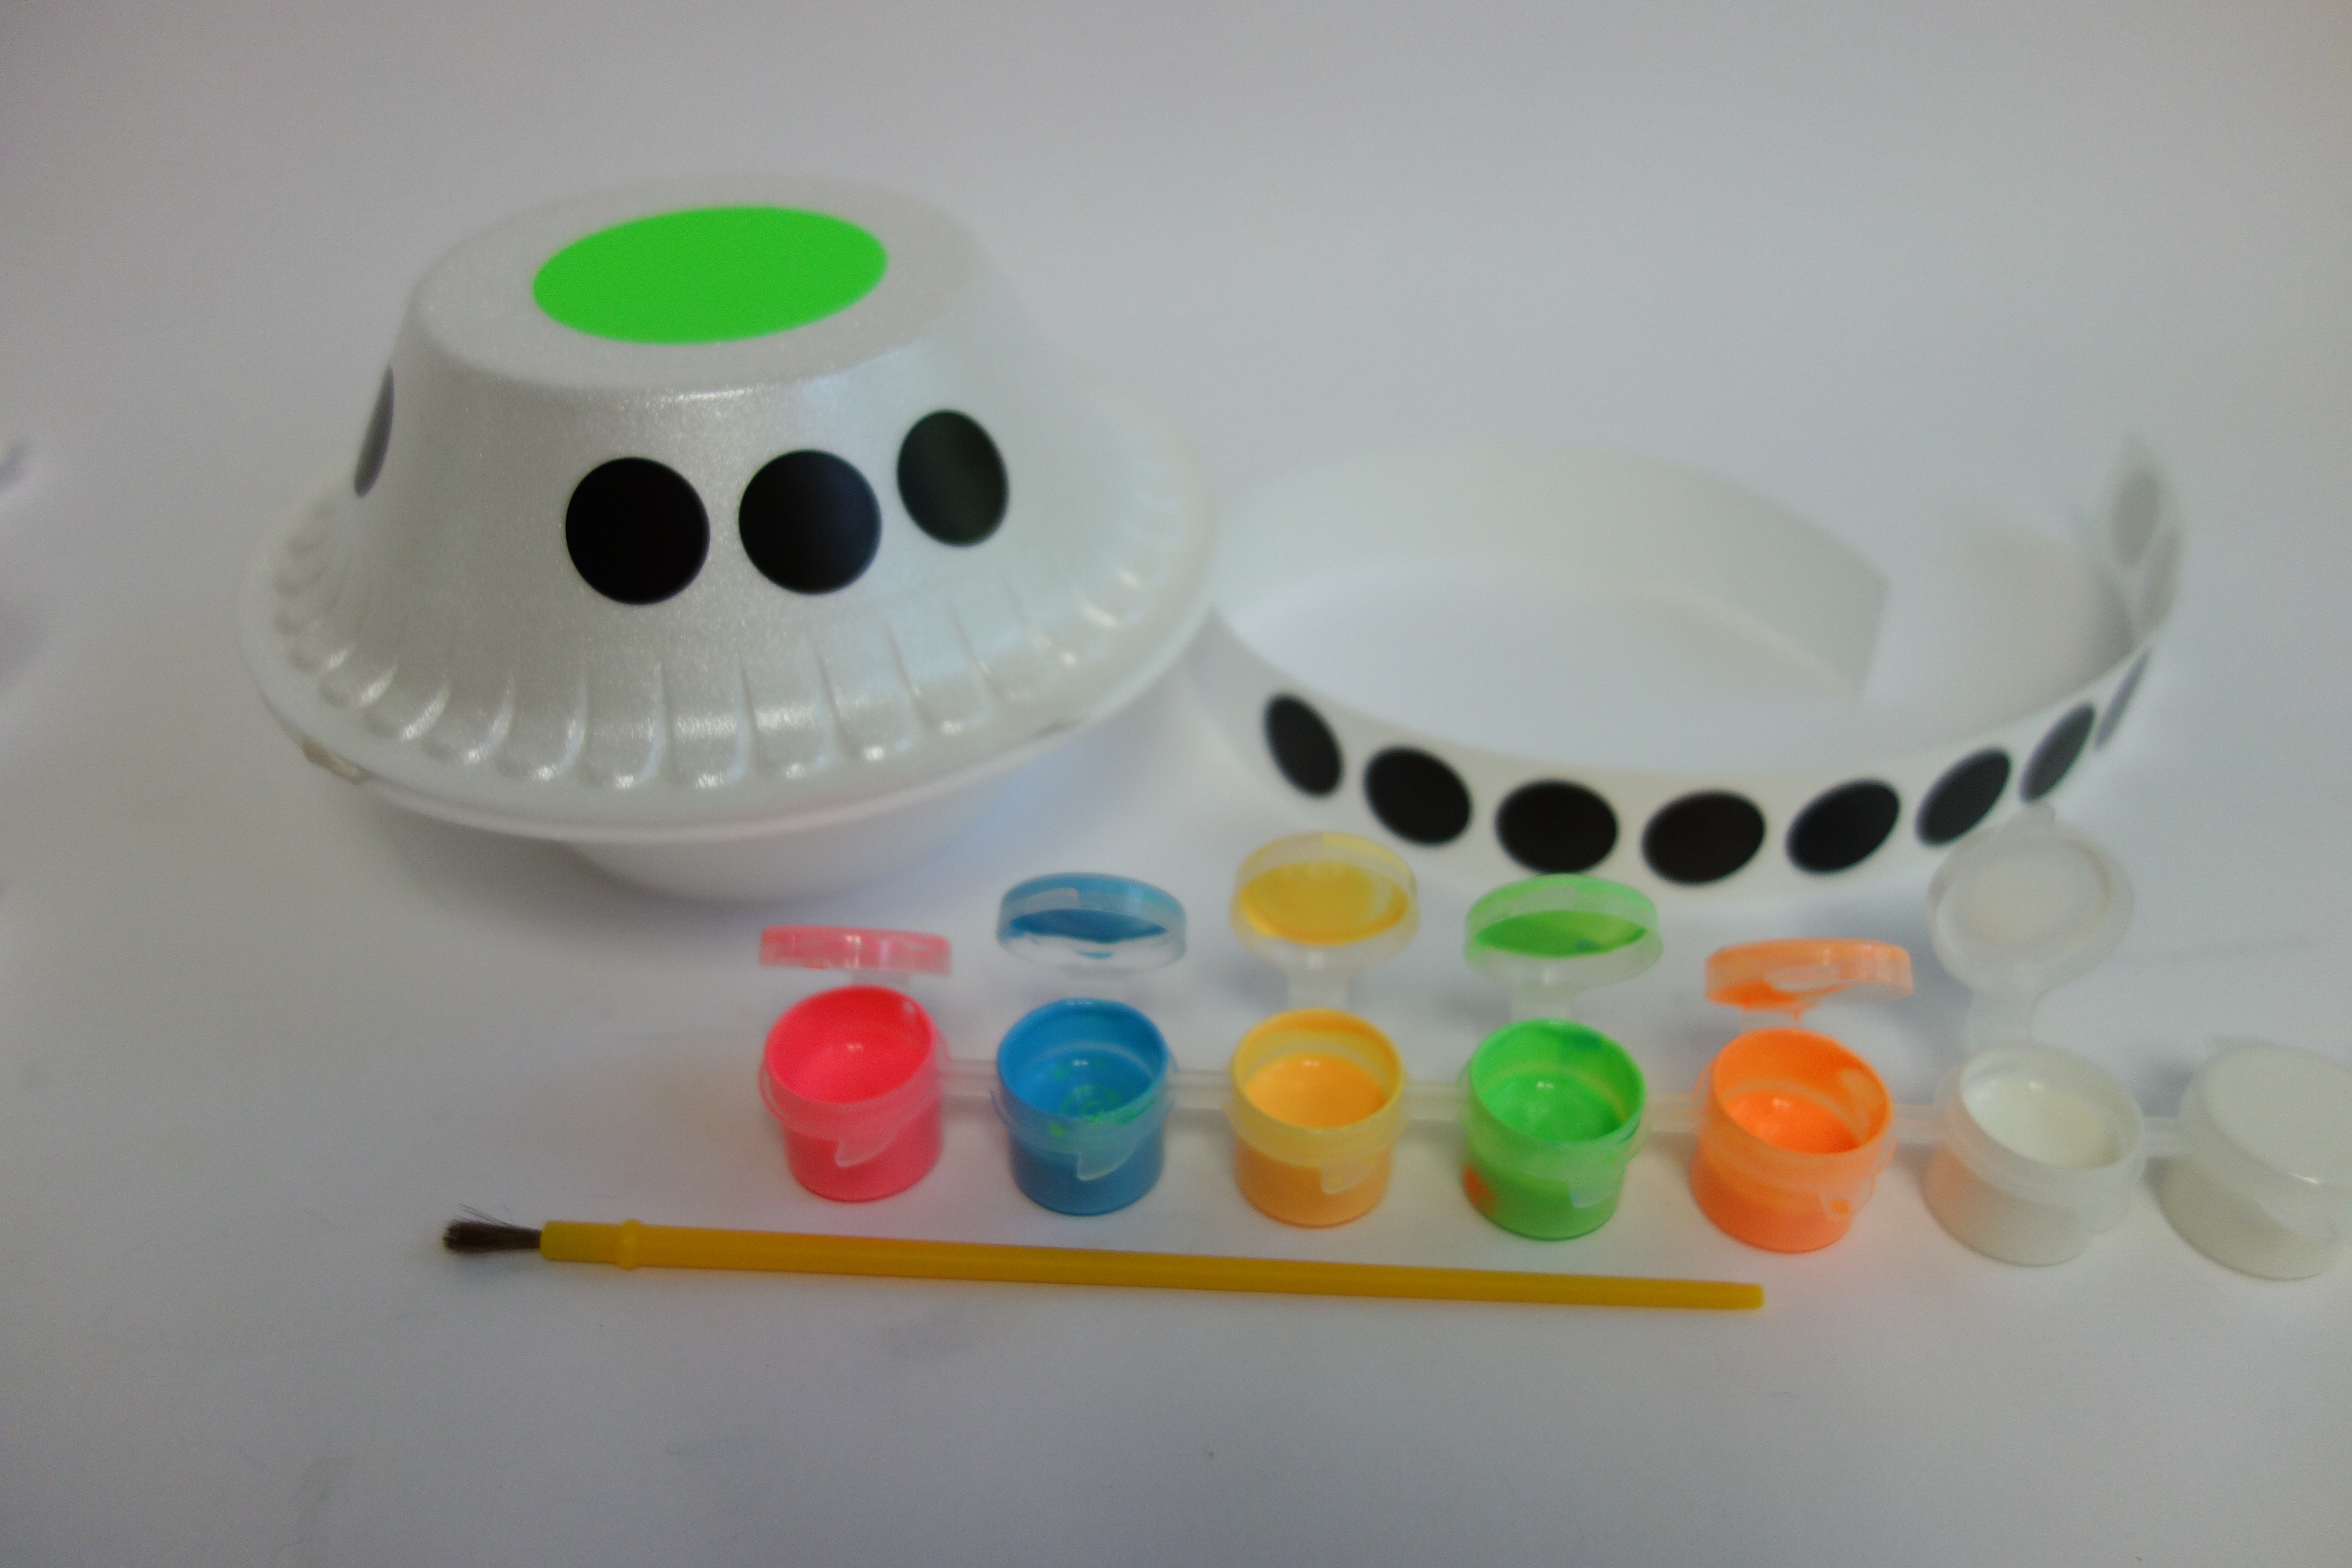
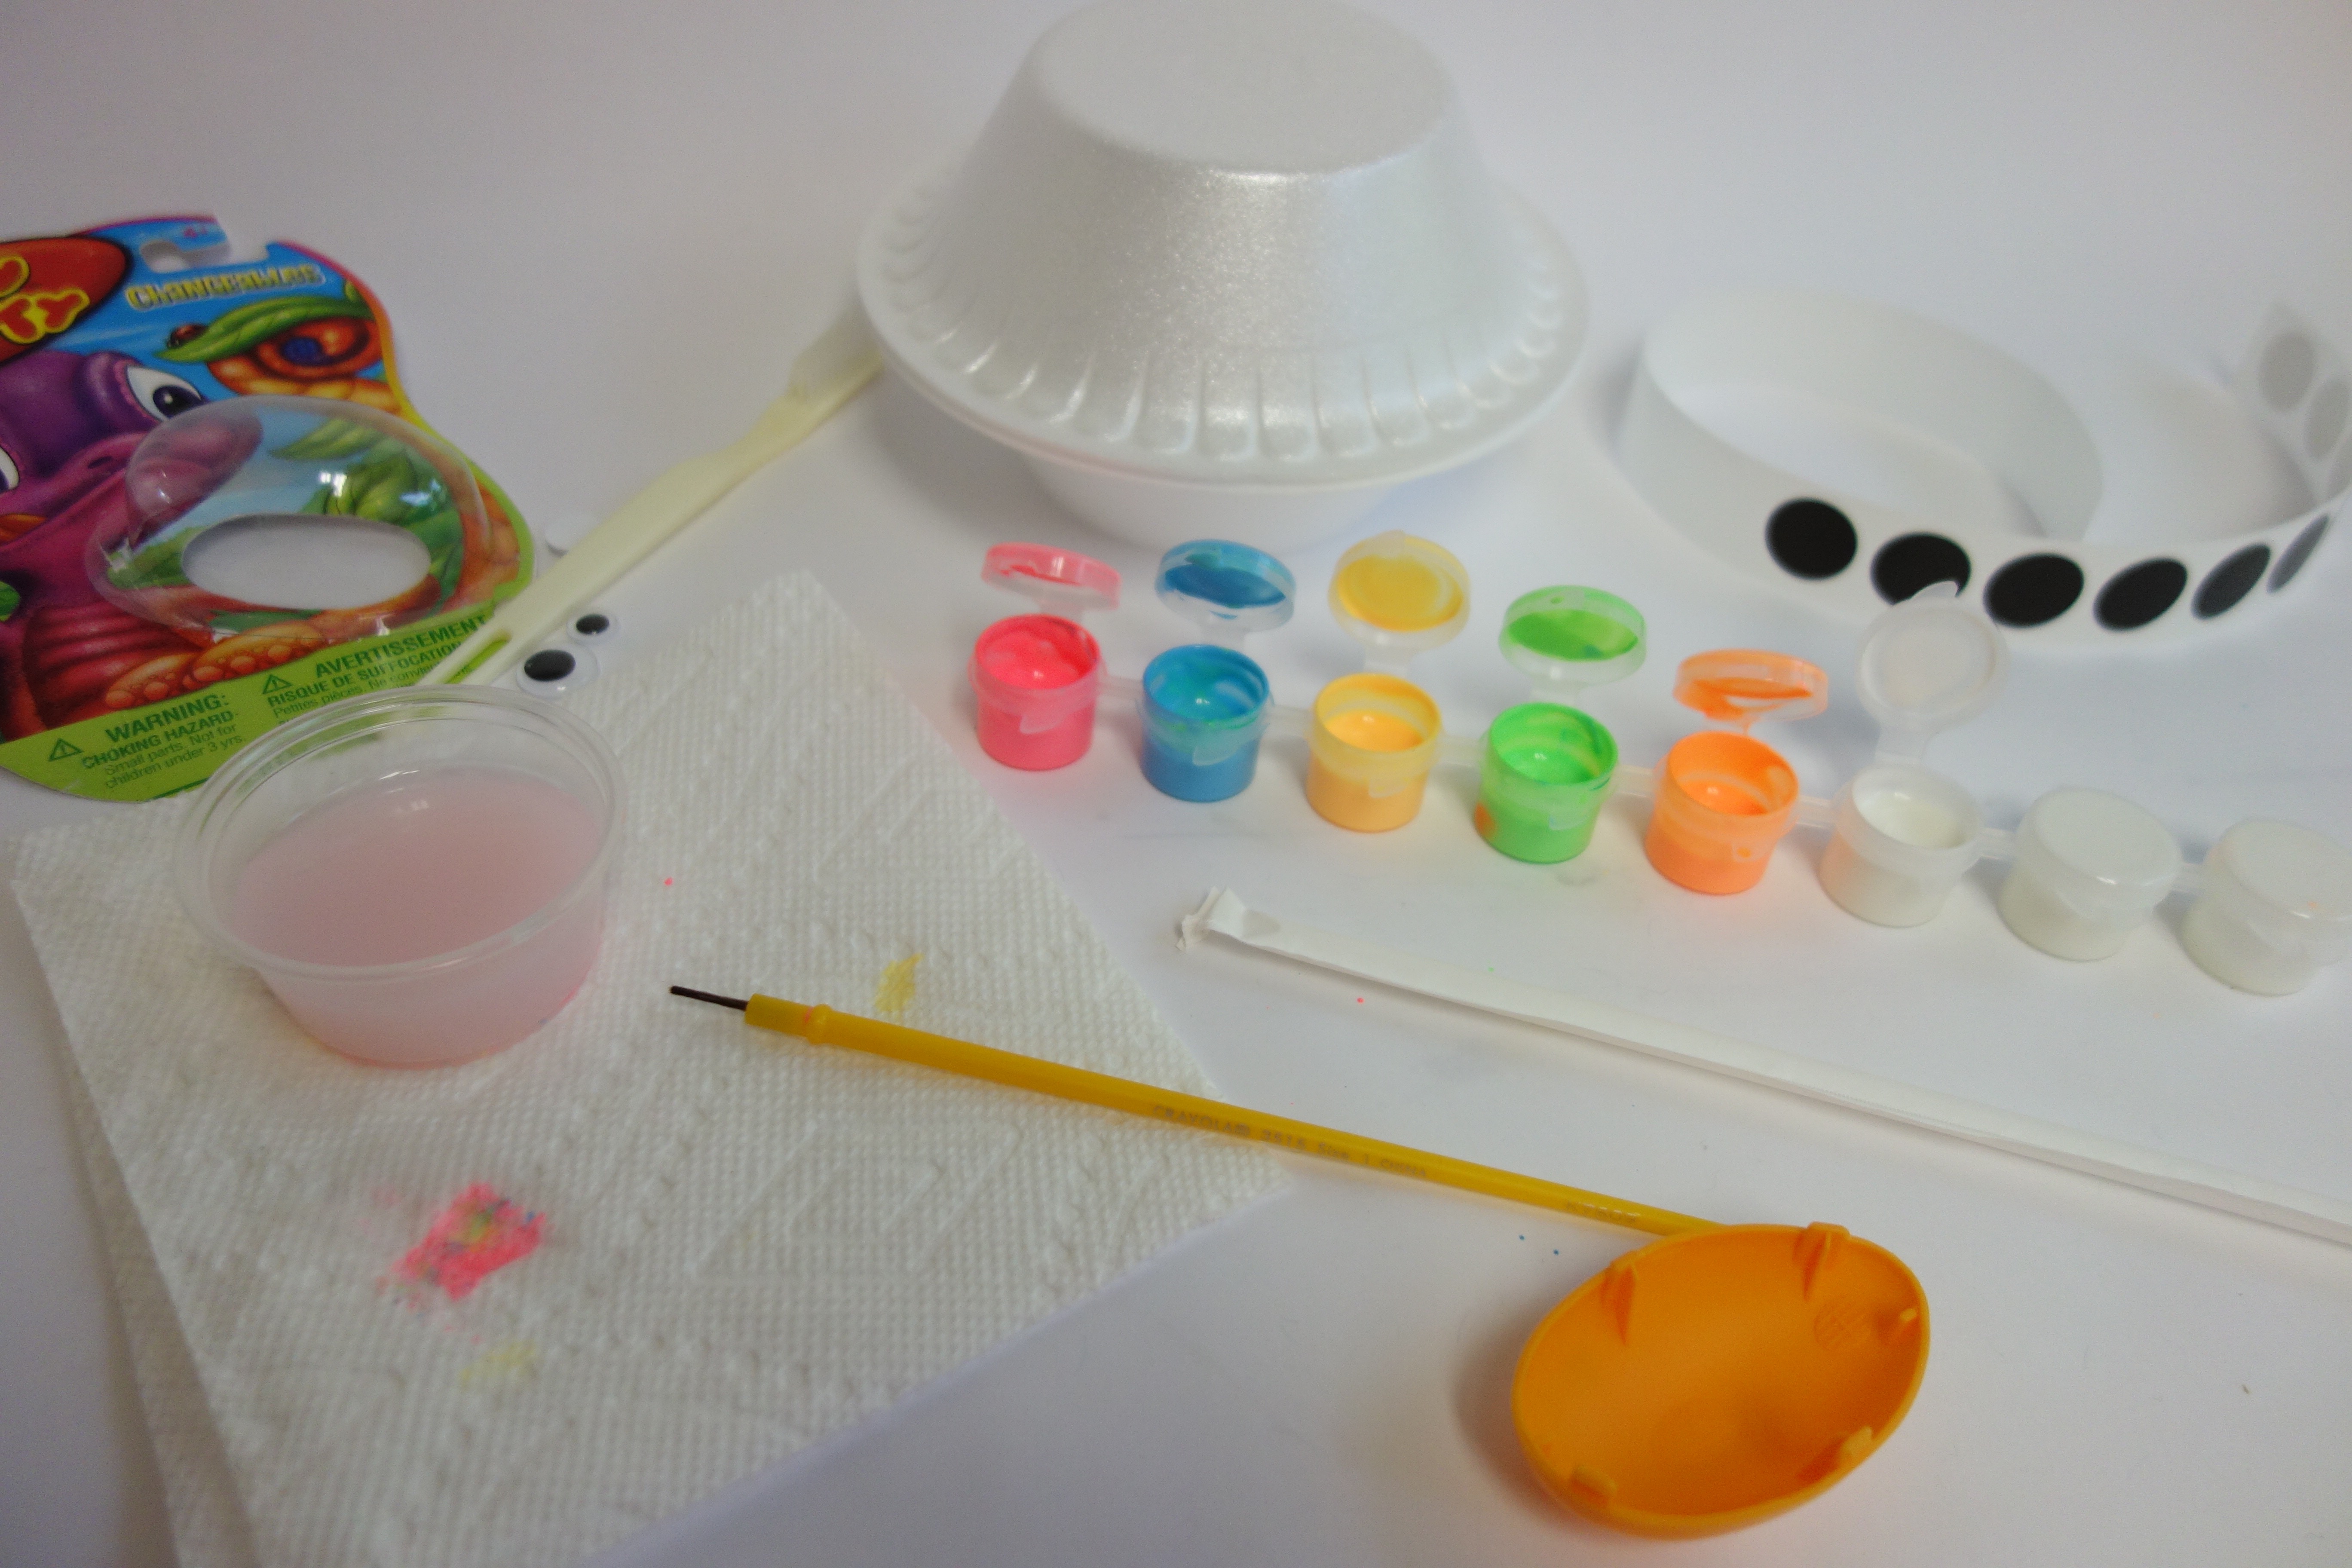
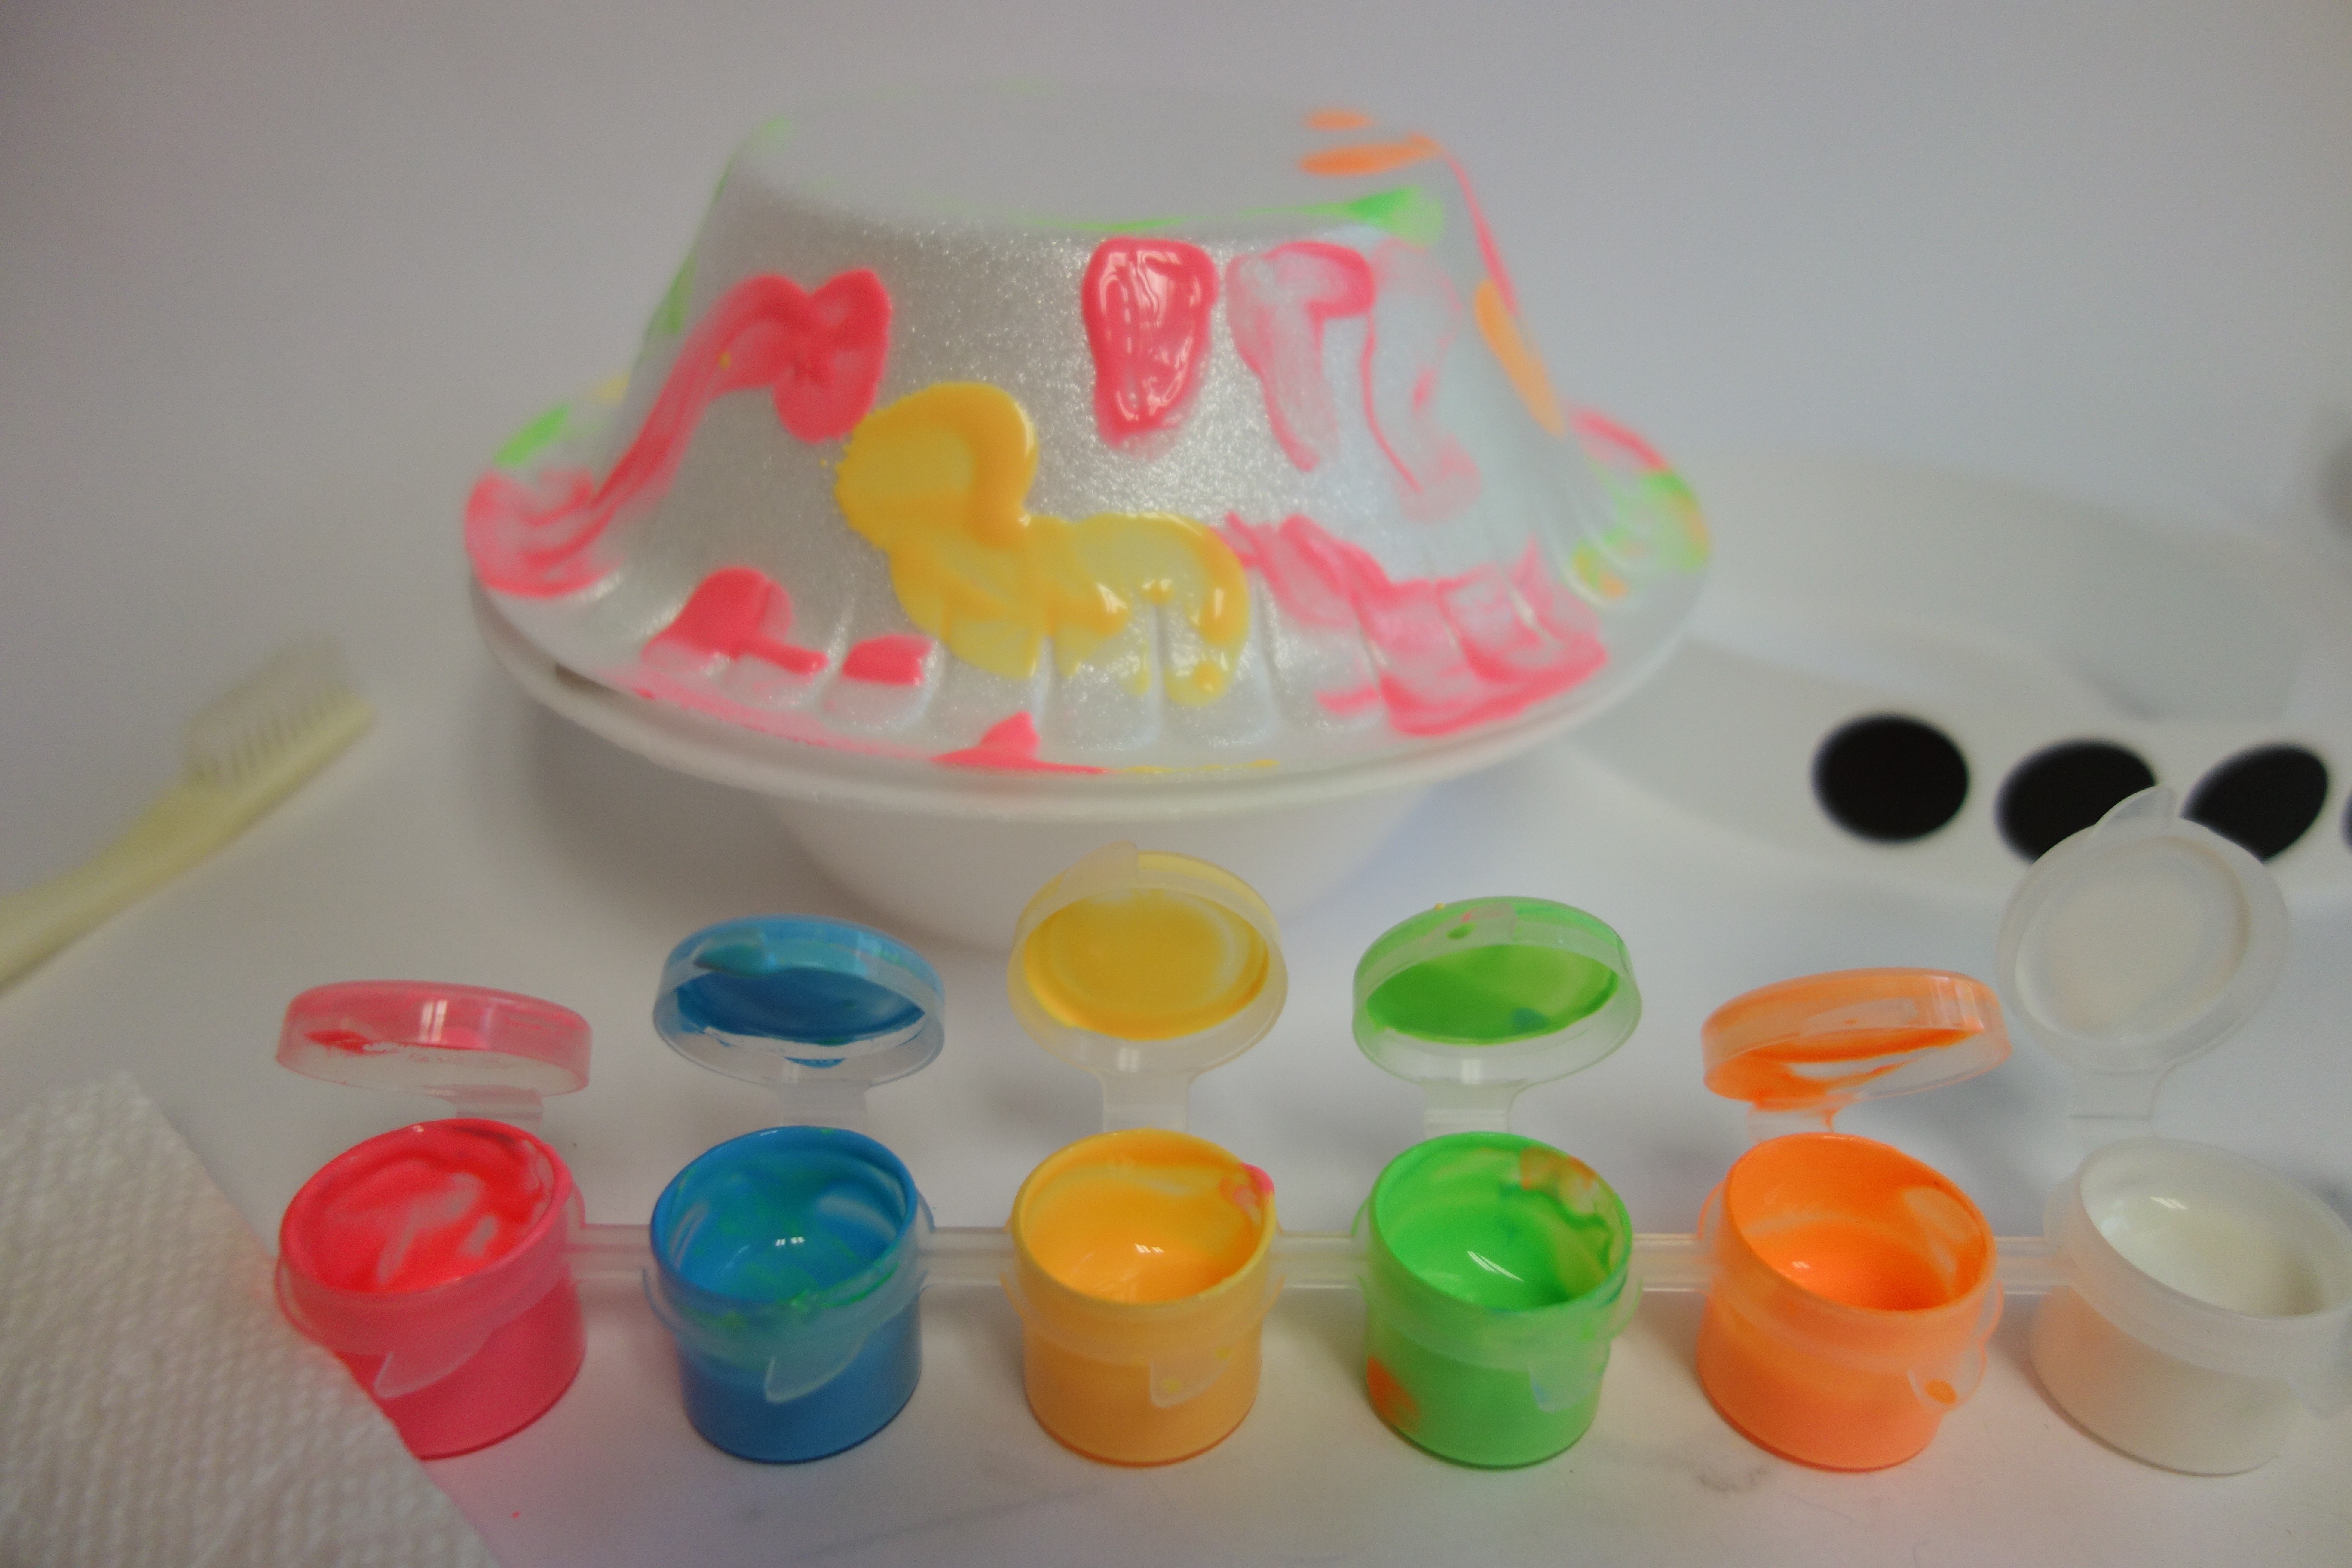
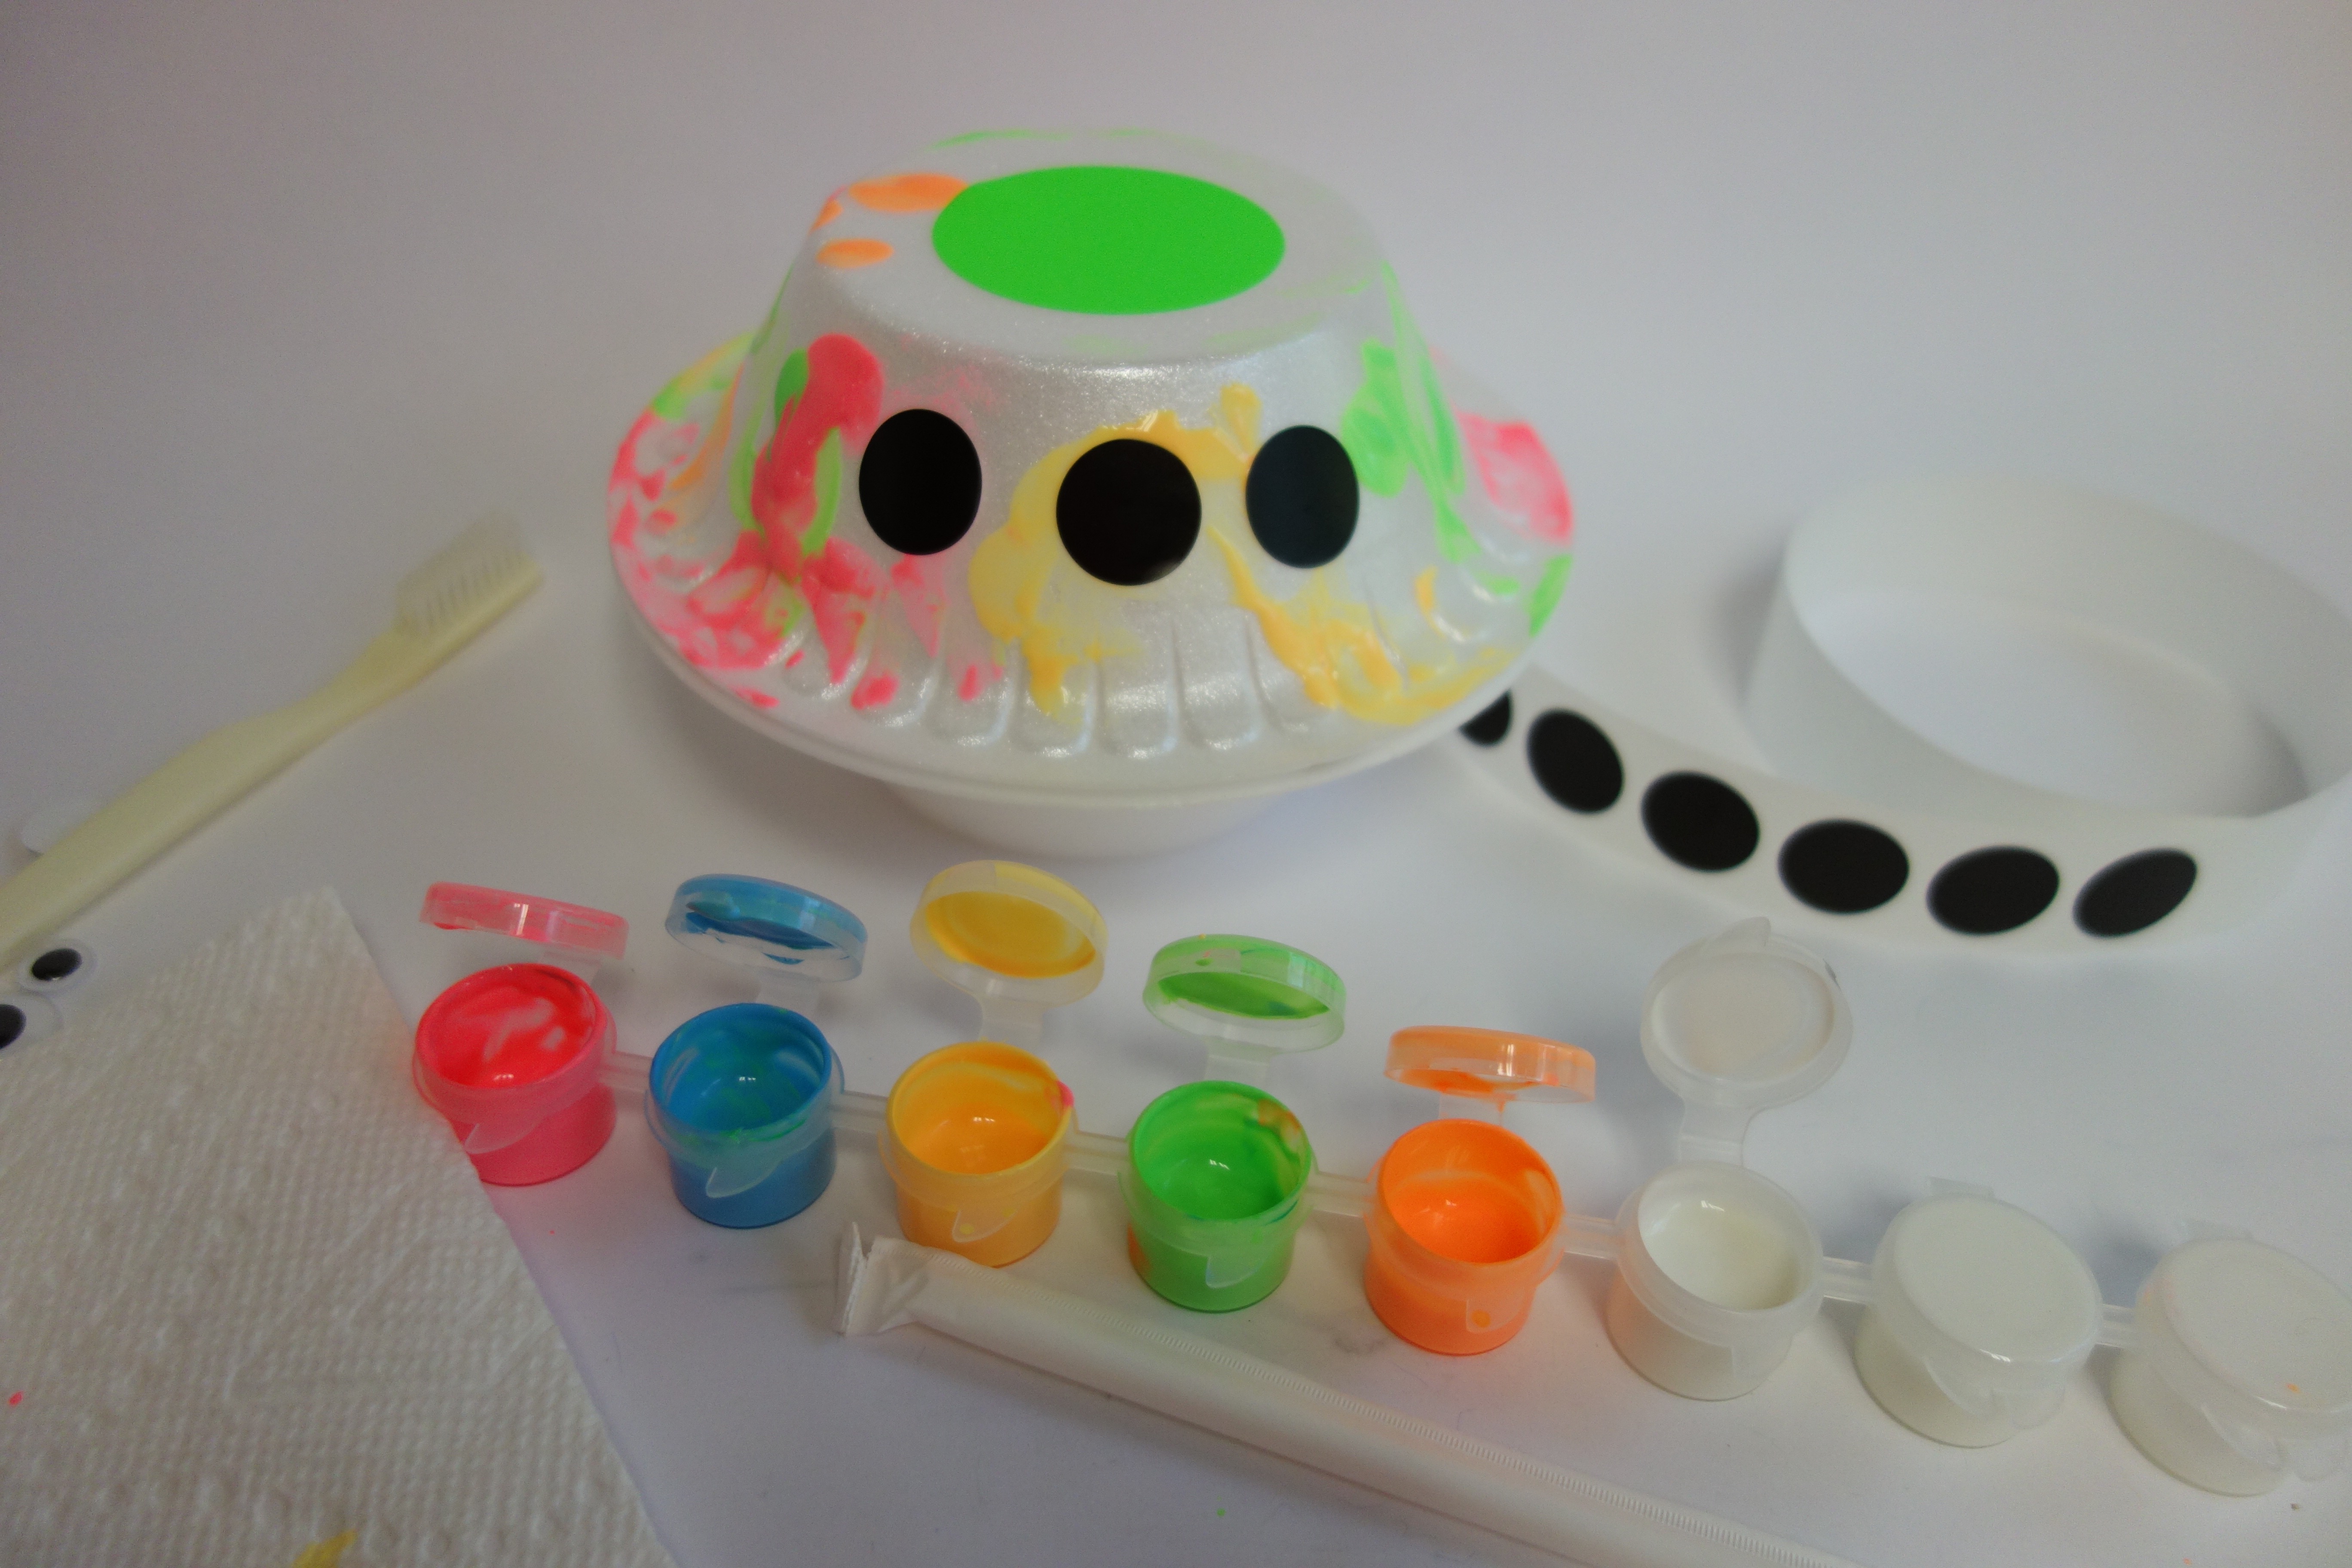
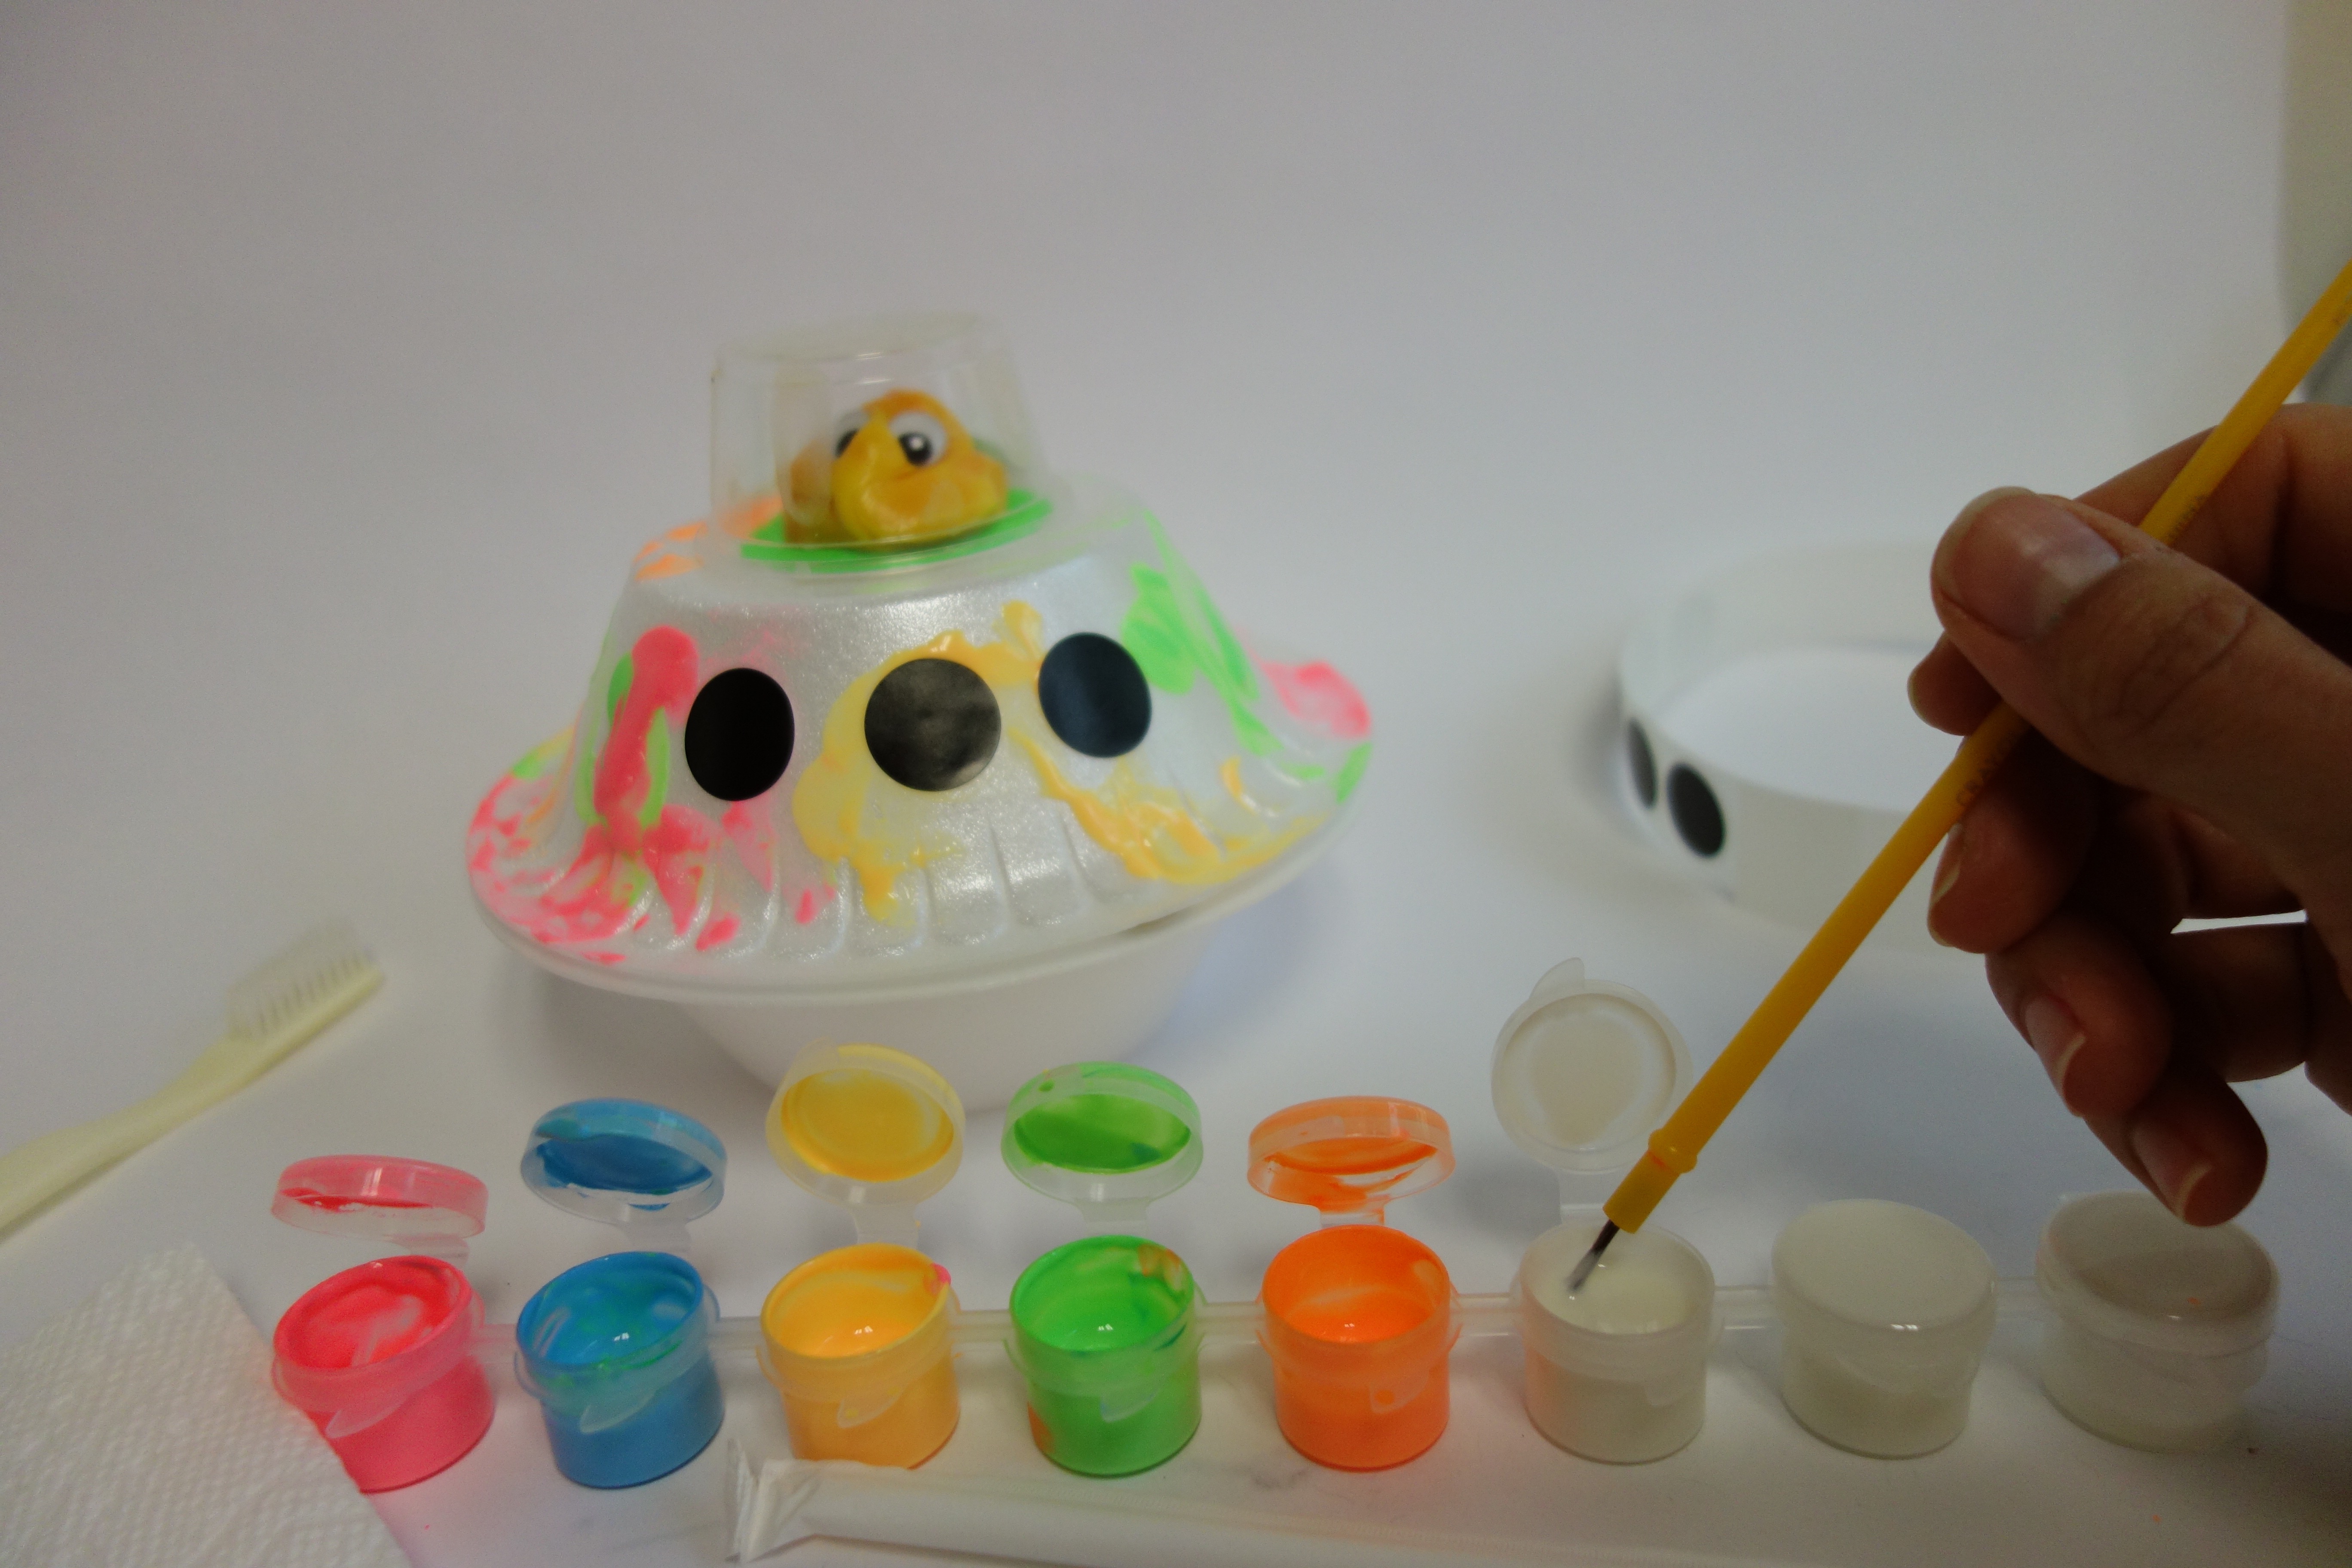
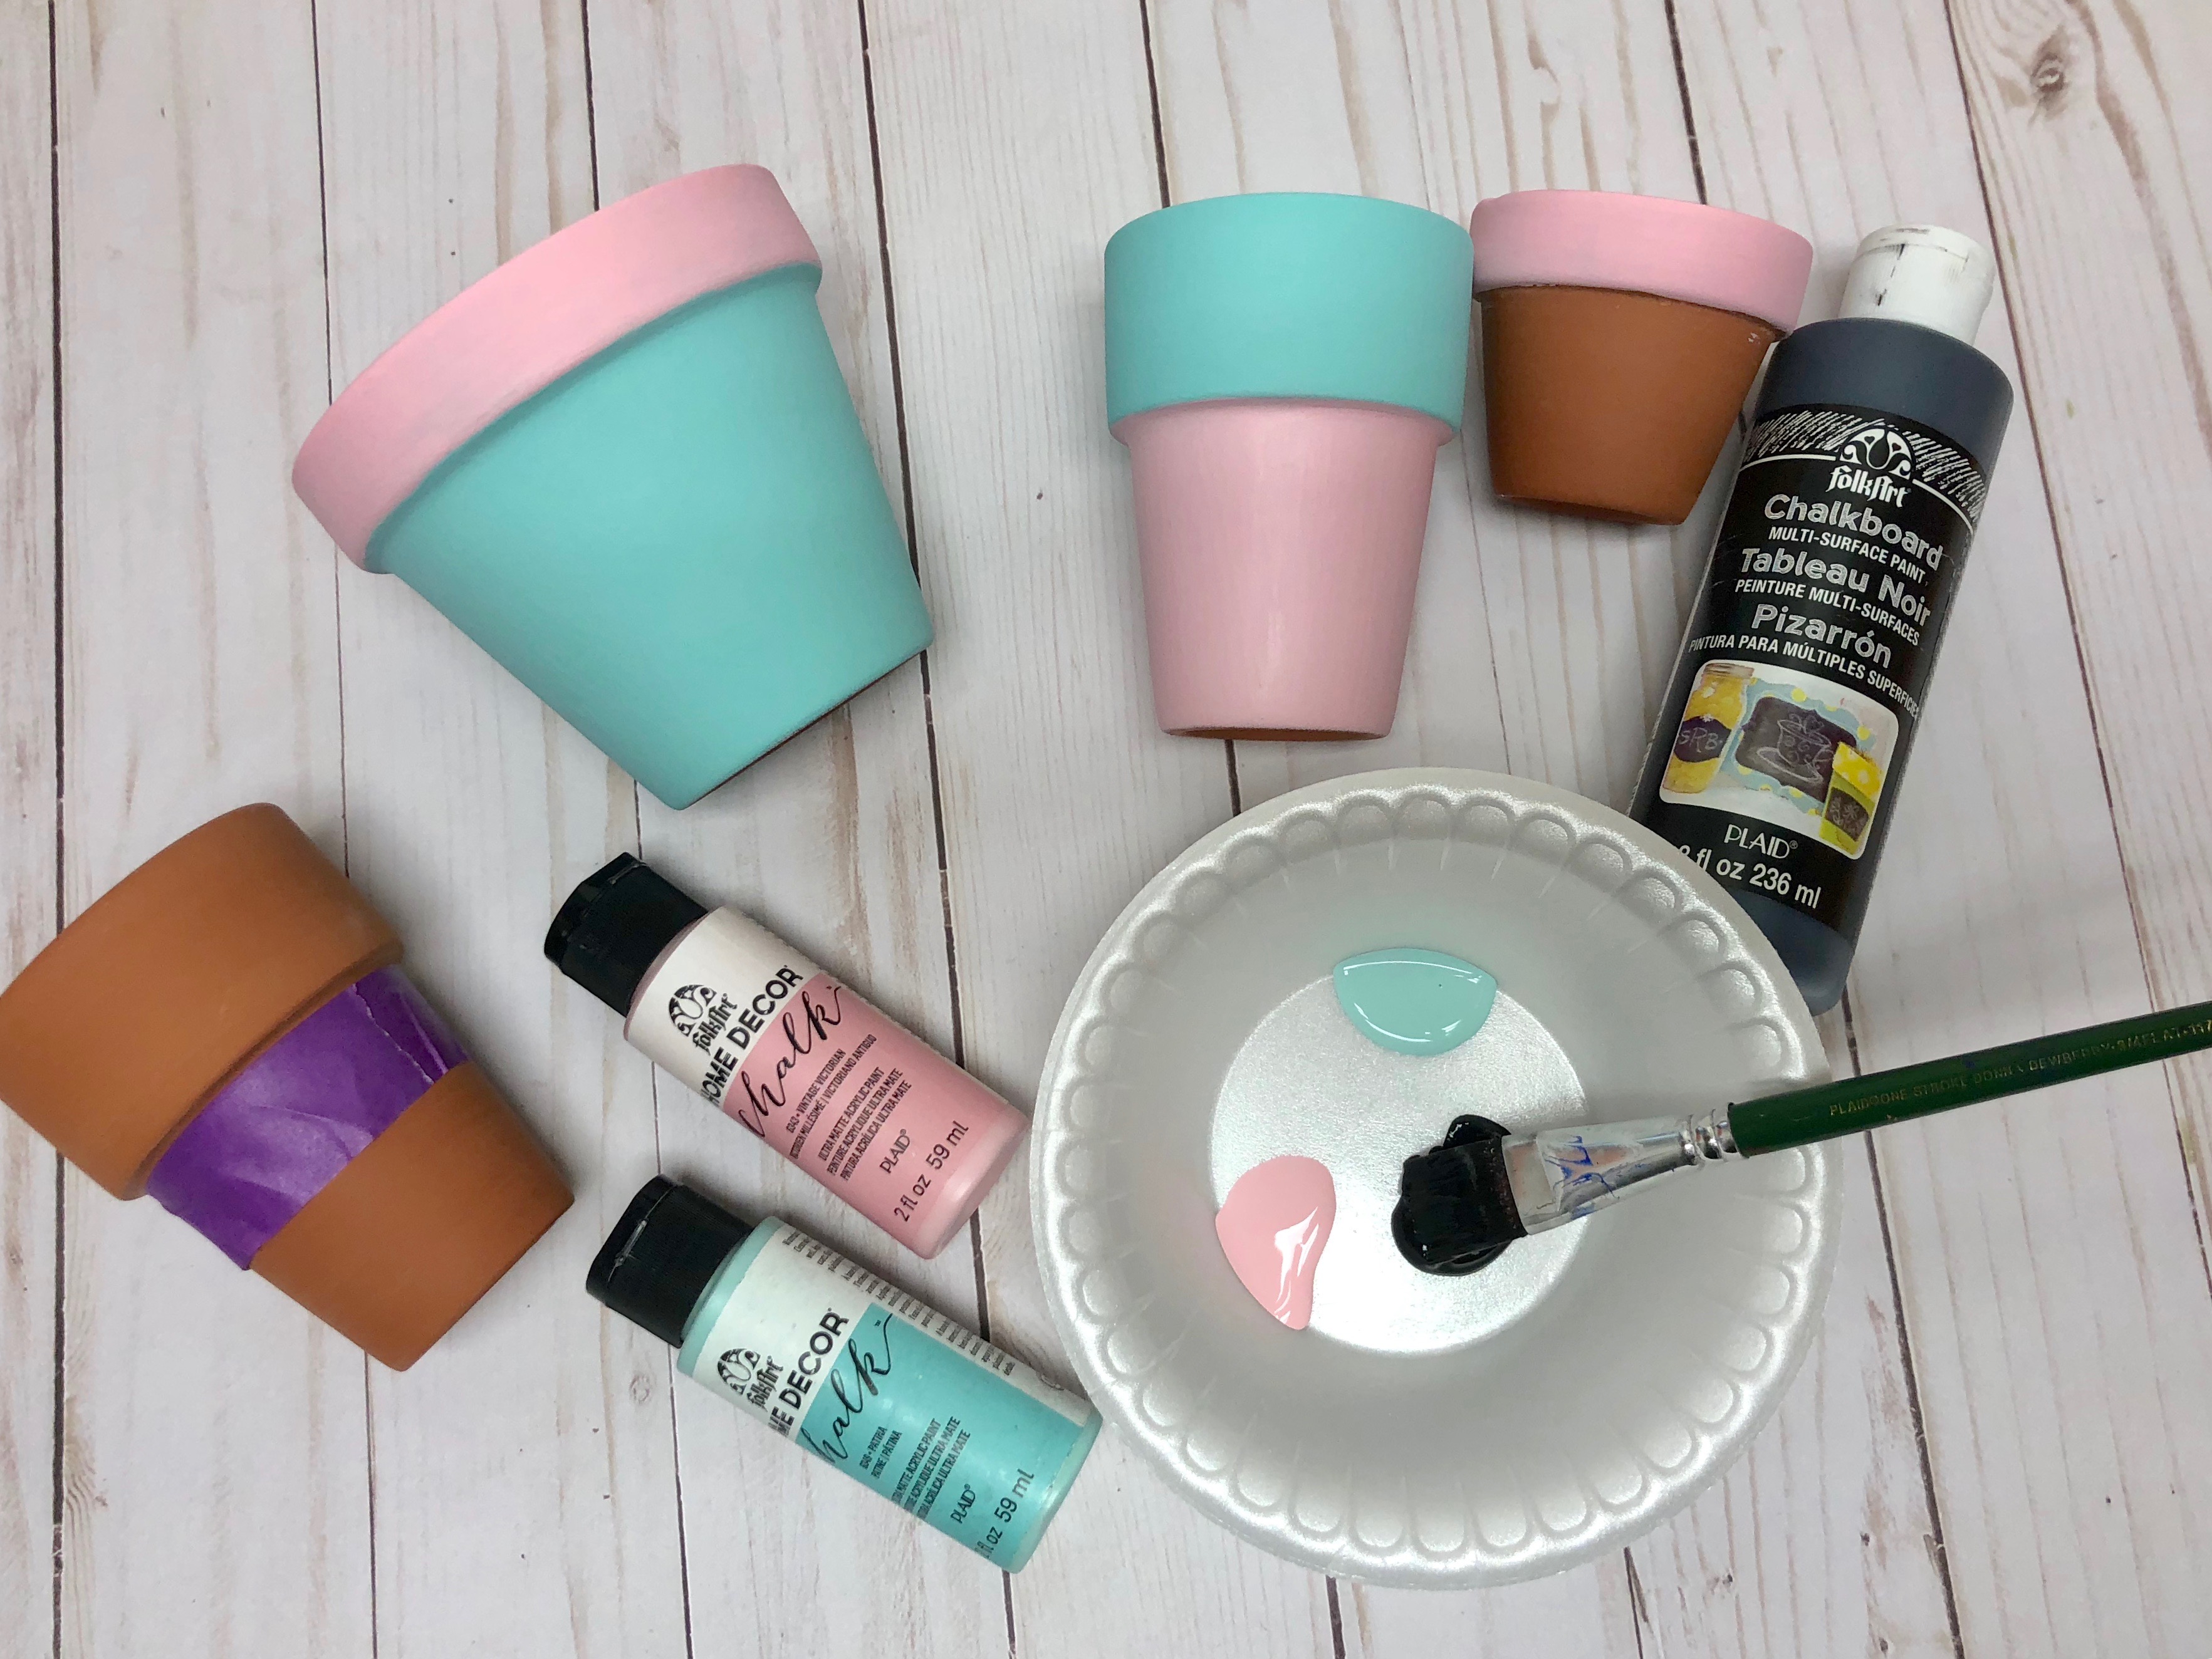 Materials
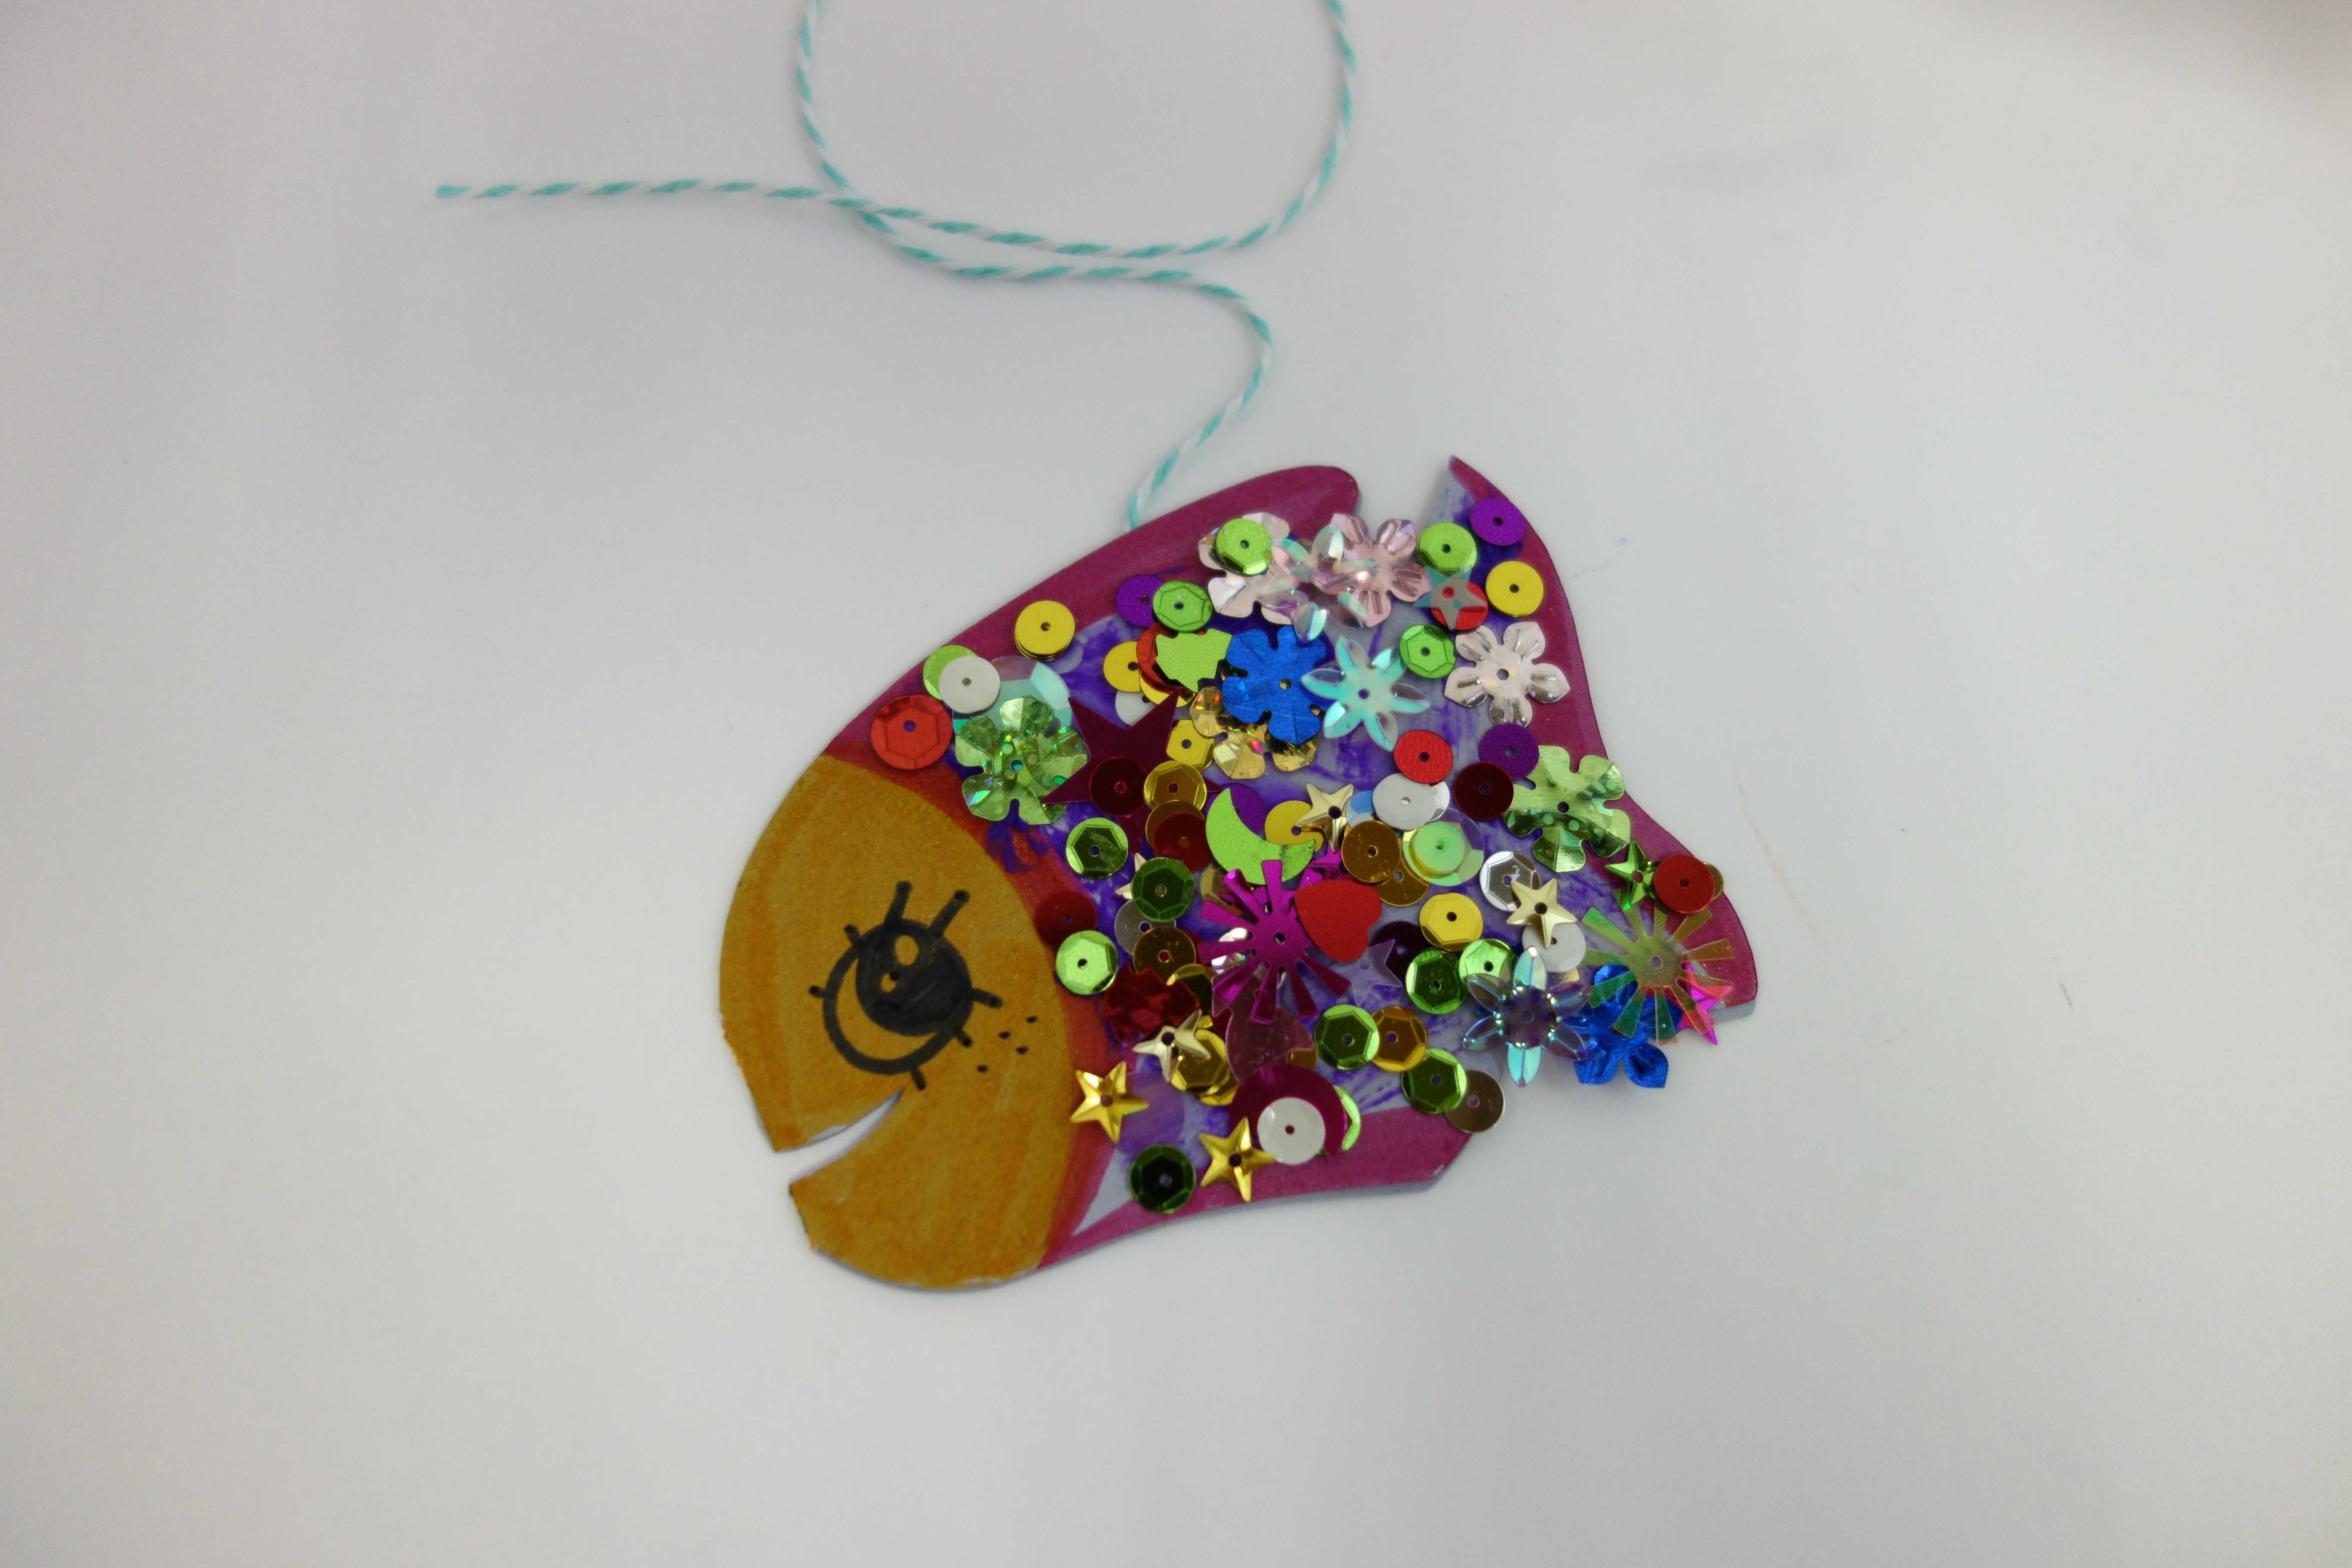