Crafts for Teacher Appreciation Week!

Next week is teacher appreciation week, so we are sharing four fun crafts that will show your kiddo’s teachers how much you appreciate them!

Craft 1.

Show your kiddo’s teachers how much they have helped them grow with this fun hand-print flower craft! 

It will turn out super adorable and the kiddos will love the paint on their hands!

Original Link: https://teachingmama.org/thank-you-for-helping-me-grow-craft/

Craft 2.

Let the kiddos show their appreciation for their teachers with this cute apple mason jar. 

Teachers can fill this jar up with class goodies and will always remember your student for crafting such a sweet gift!

Original Link: https://www.the36thavenue.com/diy-apple-mason-jar-tutorial/

Craft 3. 

This pencil flower vase is perfect for any teacher and will be an awesome decoration for the classroom! 

Original Link: https://savingdollarsandsense.com/teacher-appreciation-gift-pencil-vase/#_a5y_p=3738405

Craft 4.

Say thank you to the teachers with this cute lady bug thank you card! 

It will certainly buzz around in the teacher’s heart and make them feel loved!

Original Link: https://thesoccermomblog.com/ladybug-teacher-thank-you-card/

Happy Teacher Appreciation Week to all of our crafters and thank you to all of the wonderful teachers out there!

Last Day of School Sign


I can’t believe that the school year is over! Time really does fly with the little ones. And while I know there are a billion other things going on, one of my favorite things to do is a first and last day of school sign. I’ve been working on my brush lettering and put it to the test with some fun techniques that are super easy to do. so even if you are just writing in two colors here you can get a beautiful watercolor effect too!


What you need:

  • Thick watercolor paper of any size
  • Washable markers (I’m partial to Crayola)
  • Bling Bling – I went with Glitter and Sequins
  • Glitter washi tape or stickers could be an easy hack for bling too
  • Paint brush and water or a water pen
  • Your trusty glue stick

I always write out my type on a scratch piece of paper to see what spacing should look like before getting started – its kinda like a rough draft. If you want to play it safe you can very highly draw in your layout to limit error. Then go for it! I start by doing all caps with one color then adding a complimentary color next to it, or a color that will blend with it nicely. Once you have all your base colors in you can add the water! this is so simple and easy – I love it! All you have to do it add water to the washable markers and they become watercolor… how stinking easy is that?! bend your colors as you’d like, if things get too soupy blot with a dry paper towel to control. if you want some fun effects toss some sea salt on the watercolor while its wet for a star like speckled look.

Now you can keep going or hit that bad boy with a hair dryer so you don’t smudge. Next you can use your glue stick to make your glitter design. I just did some simple lines, but you could draw stars, or even add to your type.

Use the same method above with your sequins. be sure to press down gently to be sure they are adhering to the paper well.


Let your piece dry completely. Once dry curve your paper a bit and dump the excess glitter into the trash (or a tupperware for re-use). And you’re all set! I love comparing the first day and last day too, so don’t forget to do a side by side after your official last day of school shot.

Wishing you all a fun and happy summer!

Betsy

Painted Pots – Kids DIY – Perfect Handmade Gift

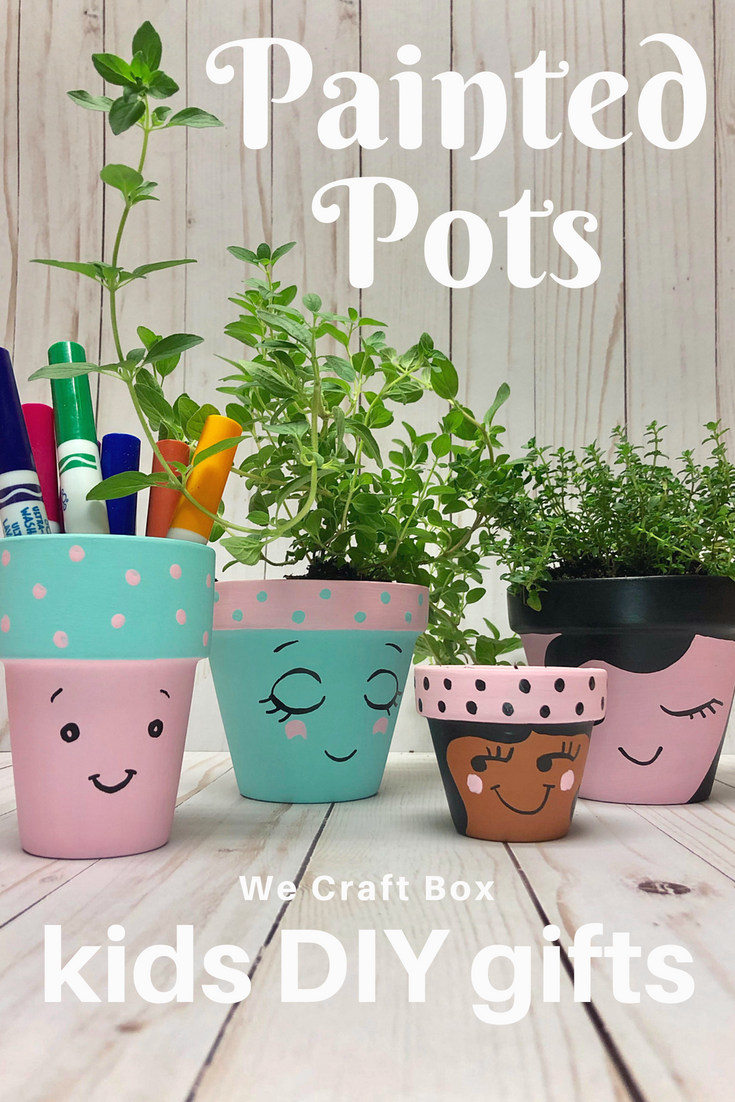
Mother’s Day is just around the corner and I wanted to share with you an easy and fun crafts to do with the kids. This is one of those sweet keepsake gifts that will be cherished, and be fun in the making. I like the idea of filling the pot with herbs, so it could live in the kitchen, by a sink… perhaps and if your Mom is anything like me maybe that location will give the plant a fighting chance at life, rather than a quick, and parched death 😀

IMG_3465

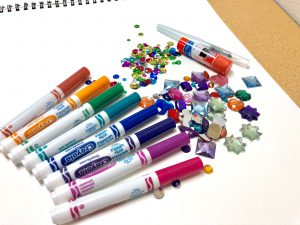
Lets start off with materials. You’ll need some basic things that can be picked up at the craft store or even hardware store. Check out our list below:

IMG_3438Materials

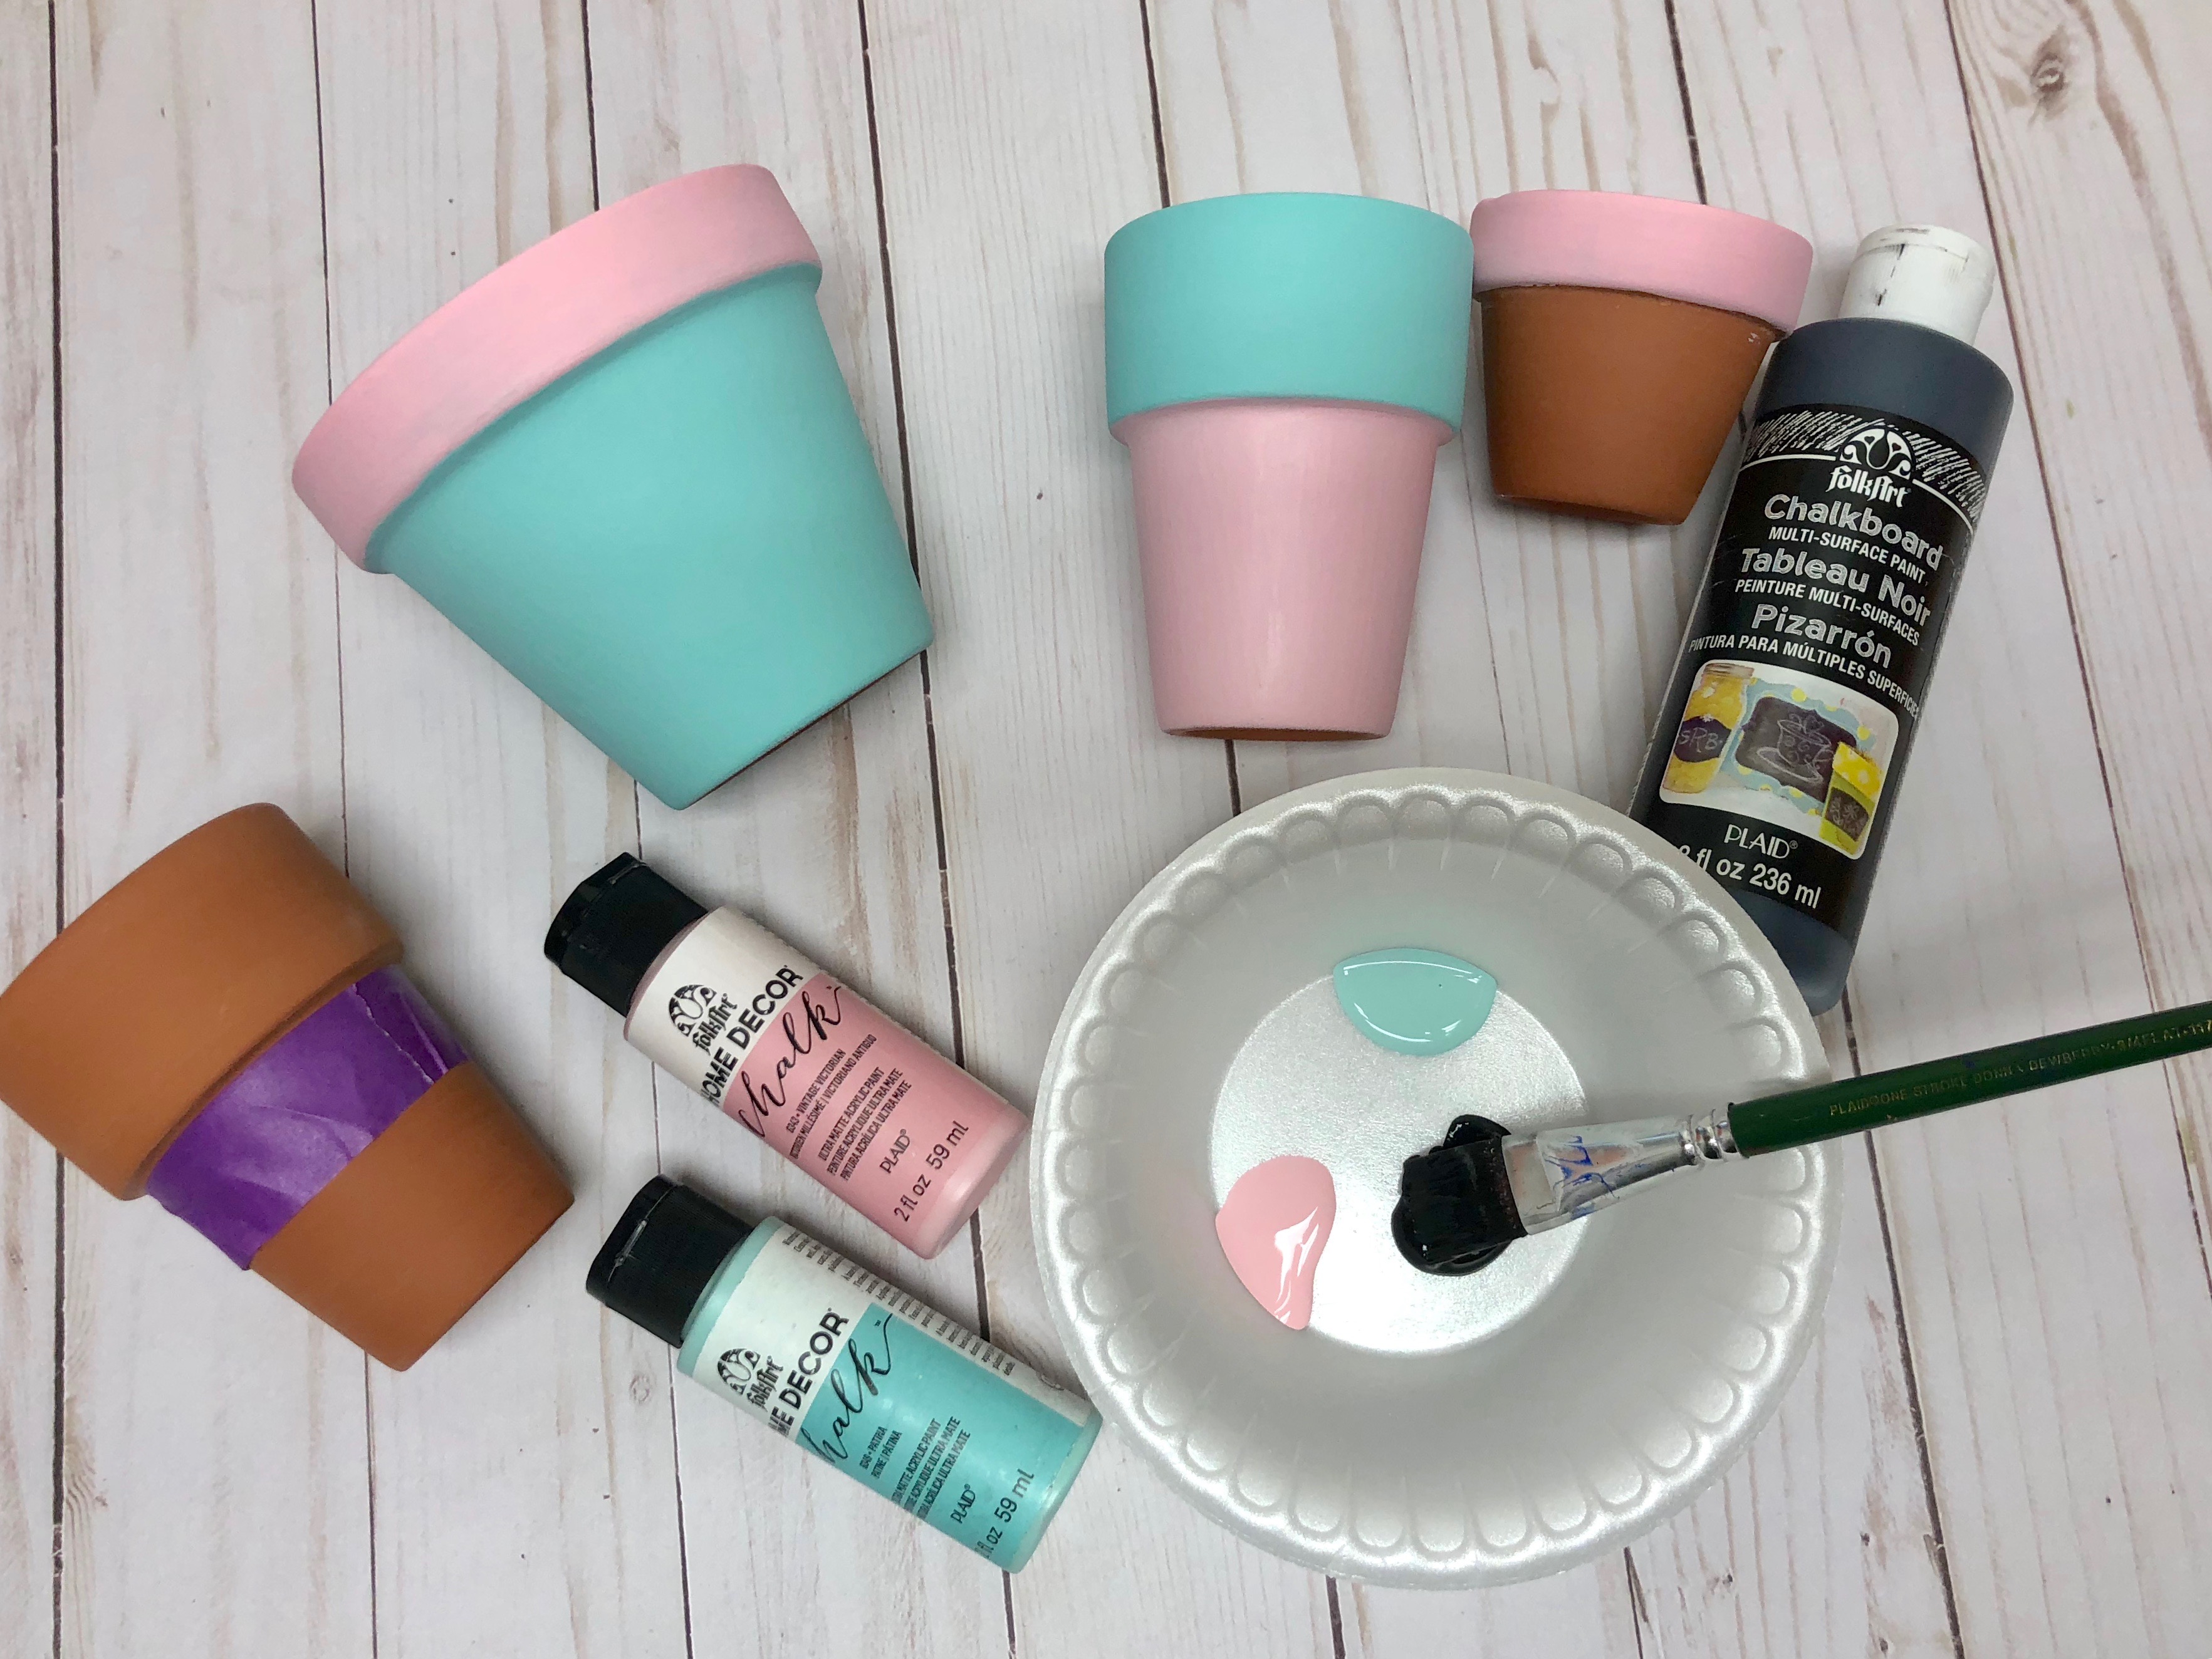
  • Terra cotta pots of various sizes
  • Chalk paint (2-3 colors)
  • Black sharpie parker, or paint pen
  • Paintbrush (various sizes)
  • Masking or painters tape
  • Cup of water for painting
  • Paper plates or bowl (to put paint on)
  • Q-tips
  • Plants for your pots

To get started, decide on your color scheme. Then using your painters tape, mask off the top of your pot so you can paint it a differnt color from your bottom. Bet sure to press along the edge of the tape to ensure a good seal. To get started with paint, I like to dip my brush in the water before going straight into the paint (it makes the paint go on smoother). Then load up your brush and start painting! I like to put my hand in the pot to hold it so I can easily paint and not get fingerprints on it. Ok, the top is painted, let it dry for a few minutes then remove the tape and paint the bottom portion.

IMG_3441

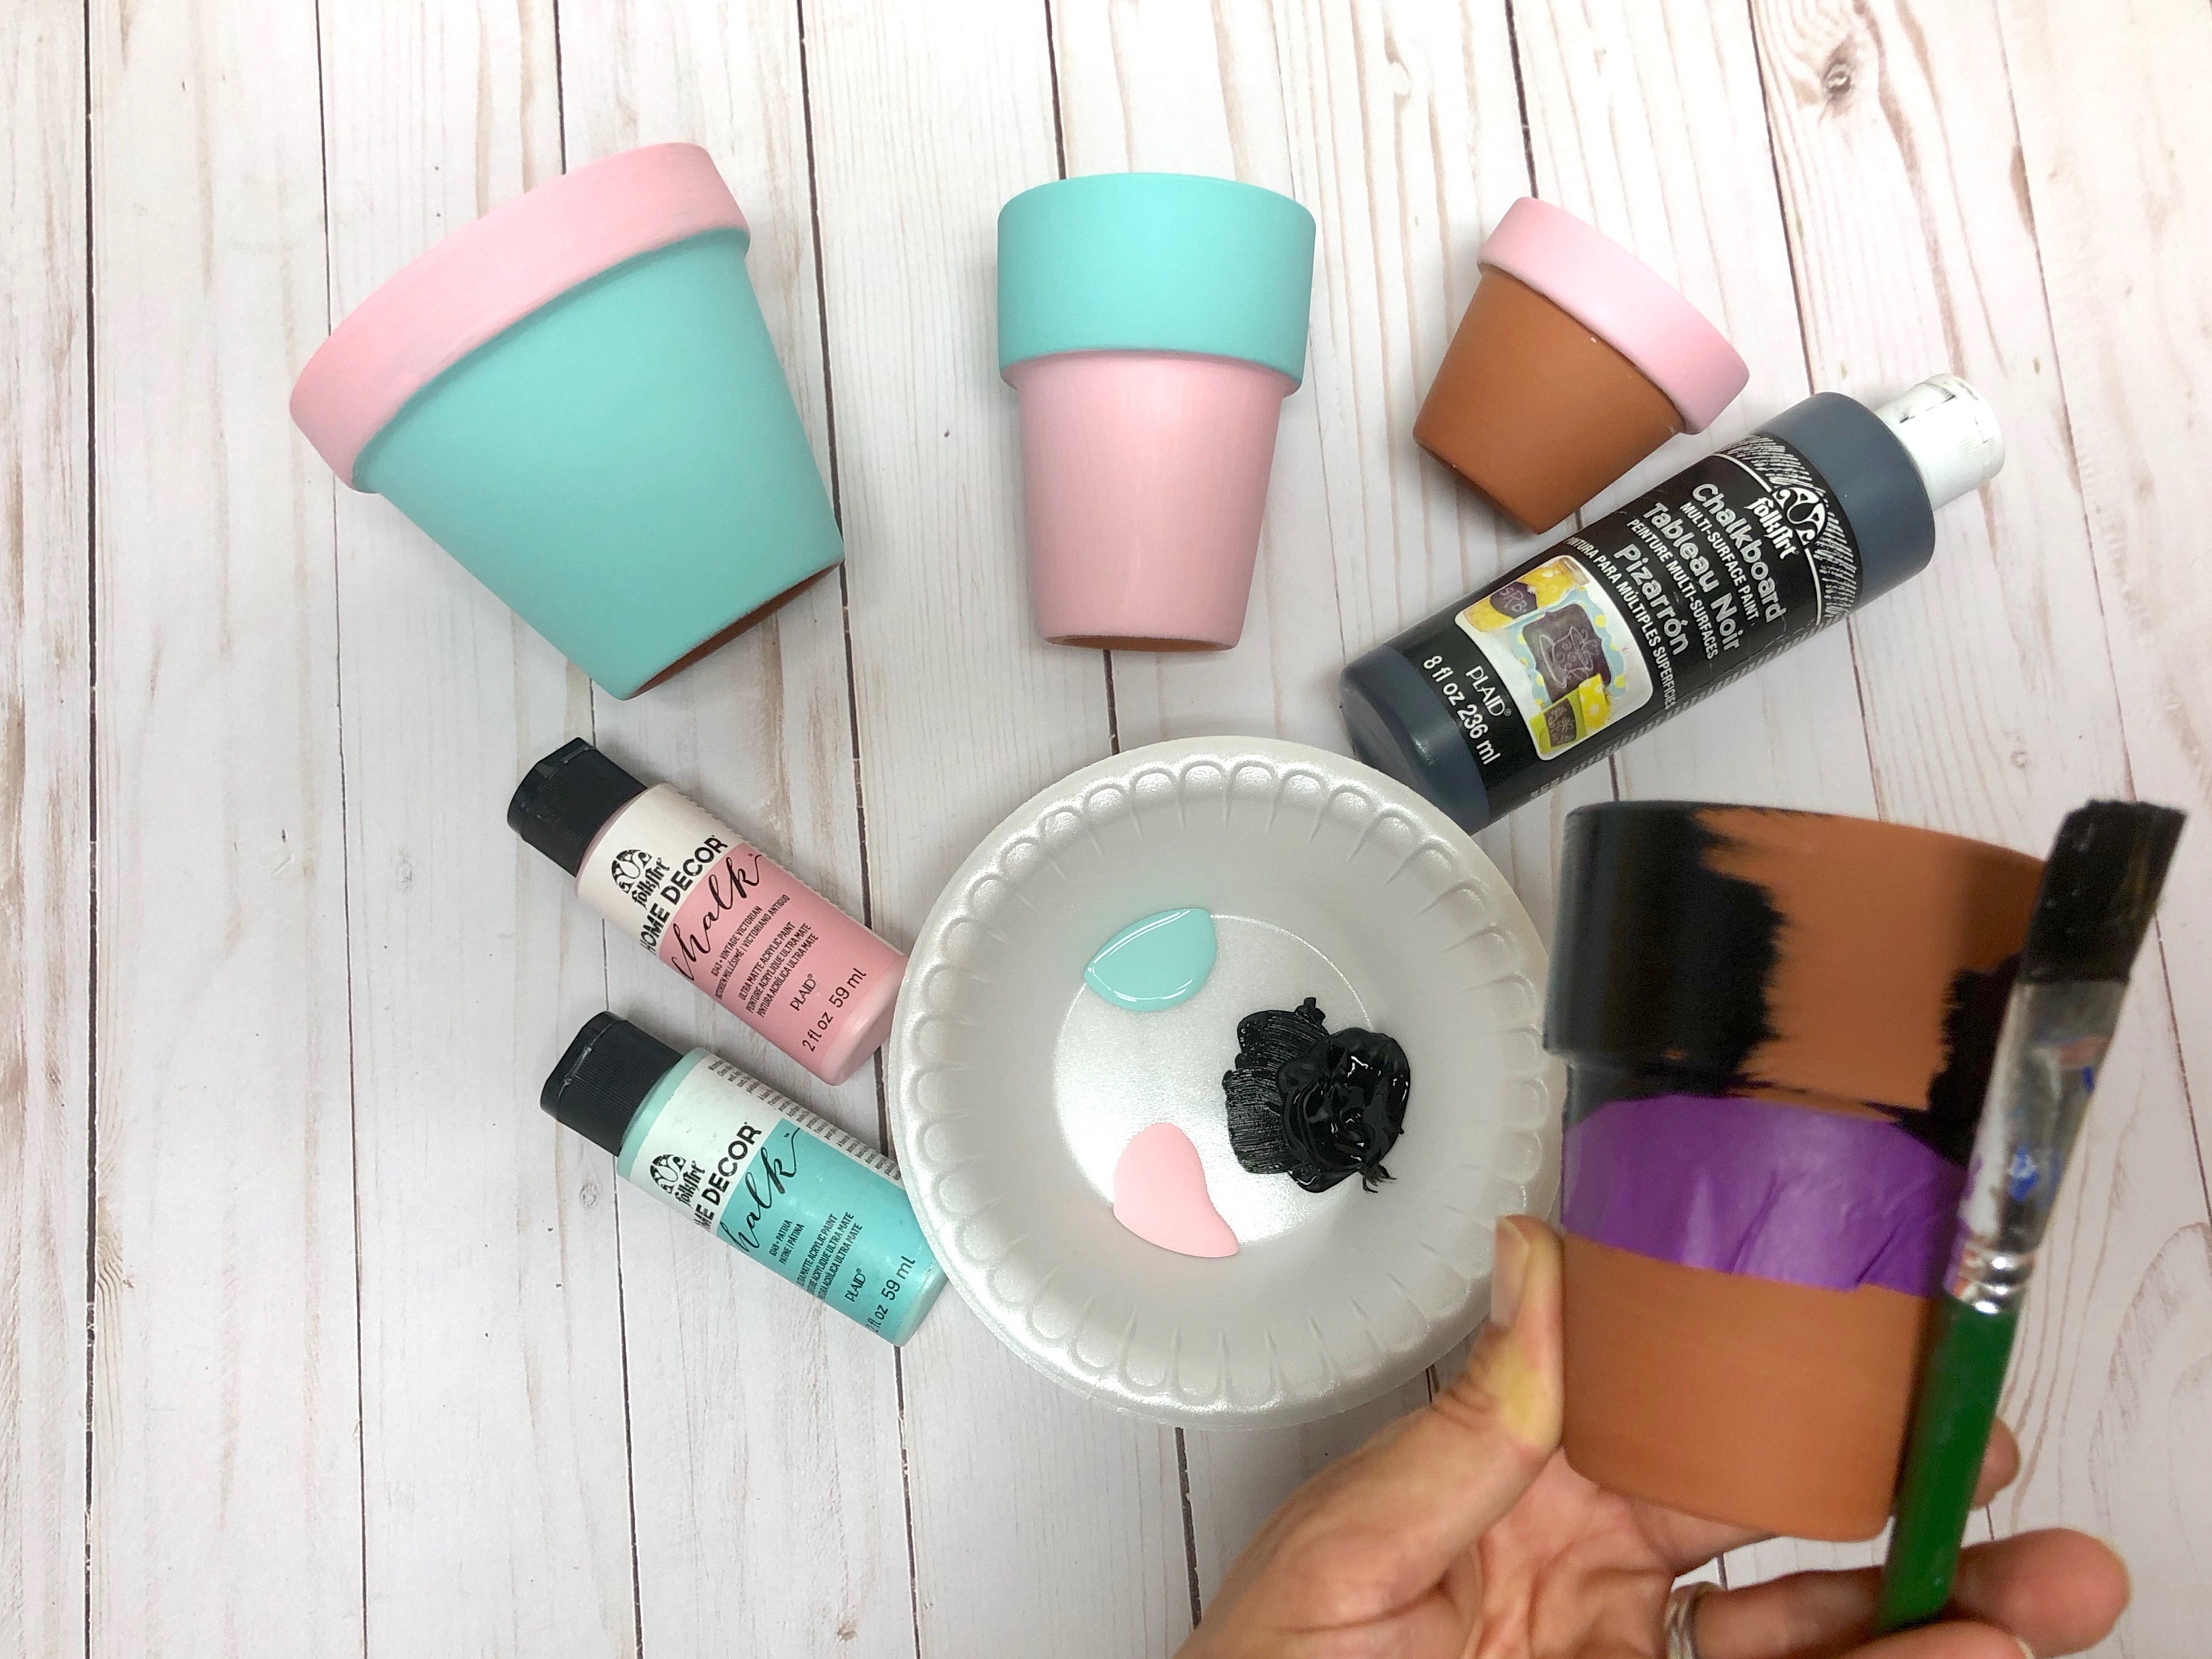
You may need a few coats if you are using a lighter color. I did about 2-3 to get the brightness I was shooting for. The nice thing about the chalk paint is that it dries quickly! So doing a couple of coats is a snap! Now that we have our base colors on its time to “zhuzh”! Get fabulous friends, bring out all the polka dots and lashes!

IMG_3451

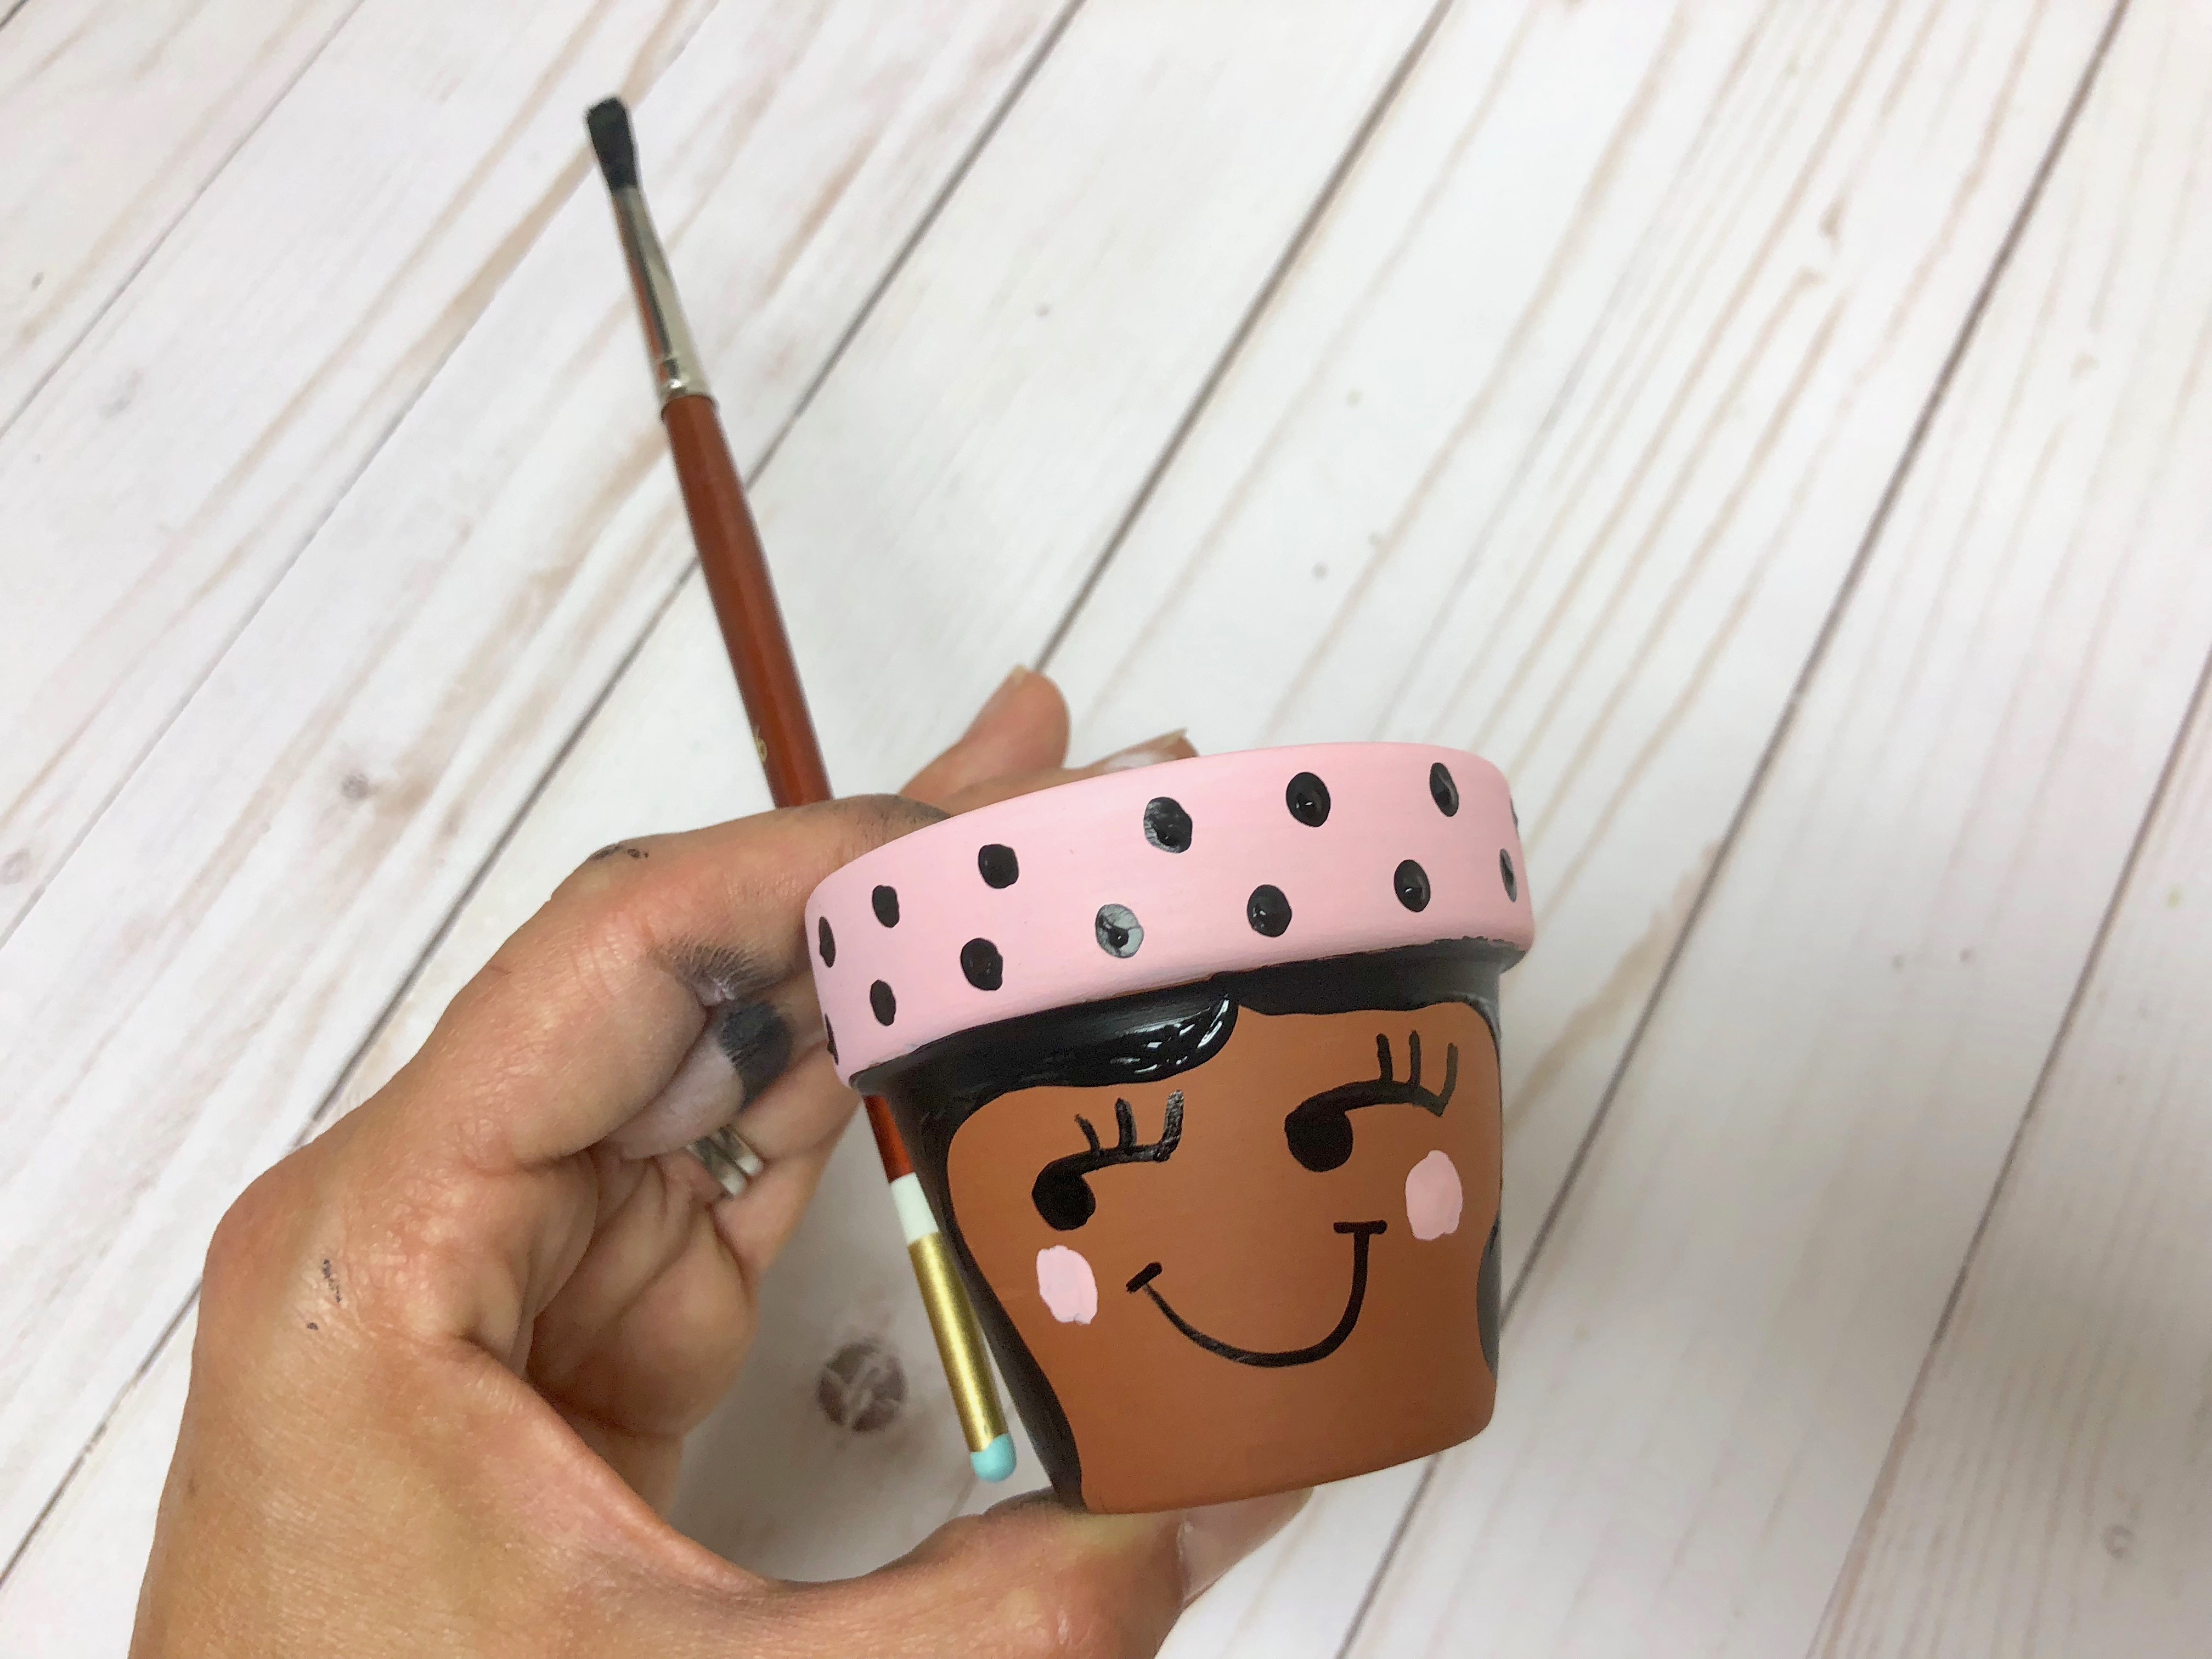
To get the dots on in an easy way for you or the kids, use the other end of your paintbrush. You can also use a Q-tip, I recommend this for the littles, it makes this job lots of fun. I liked adding hair to the ones we did… gave them a bit more personality!

IMG_3443

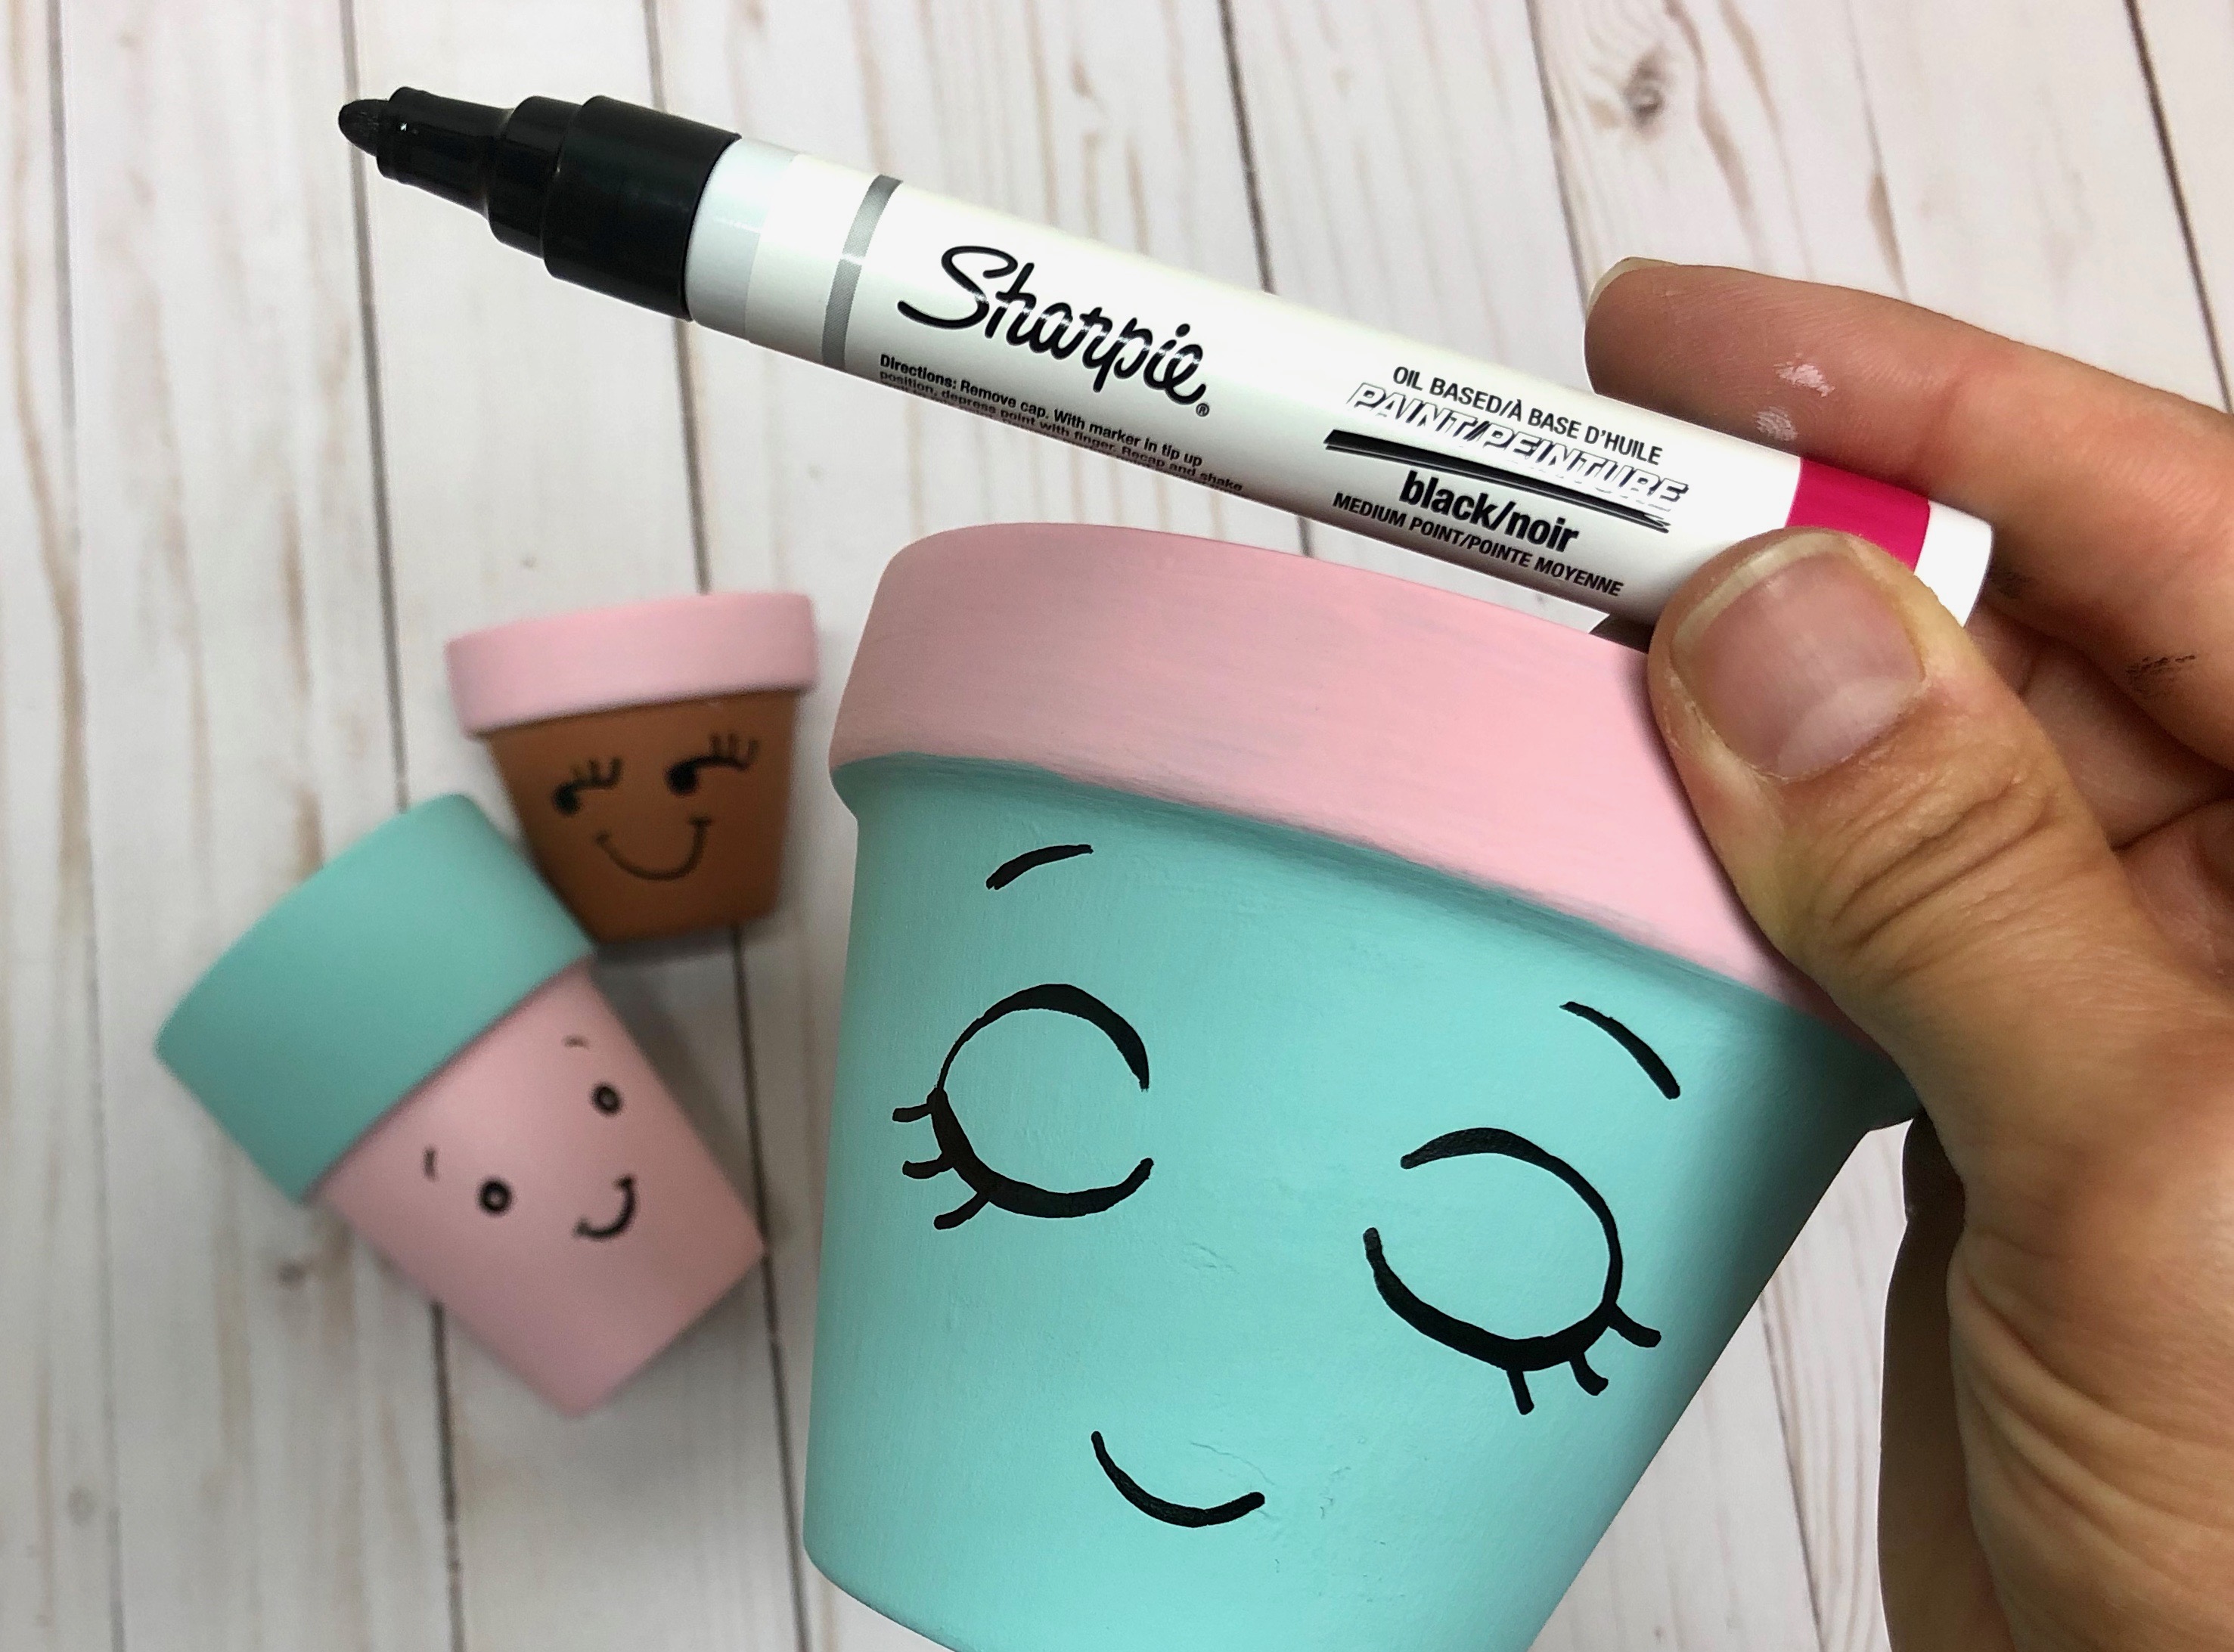
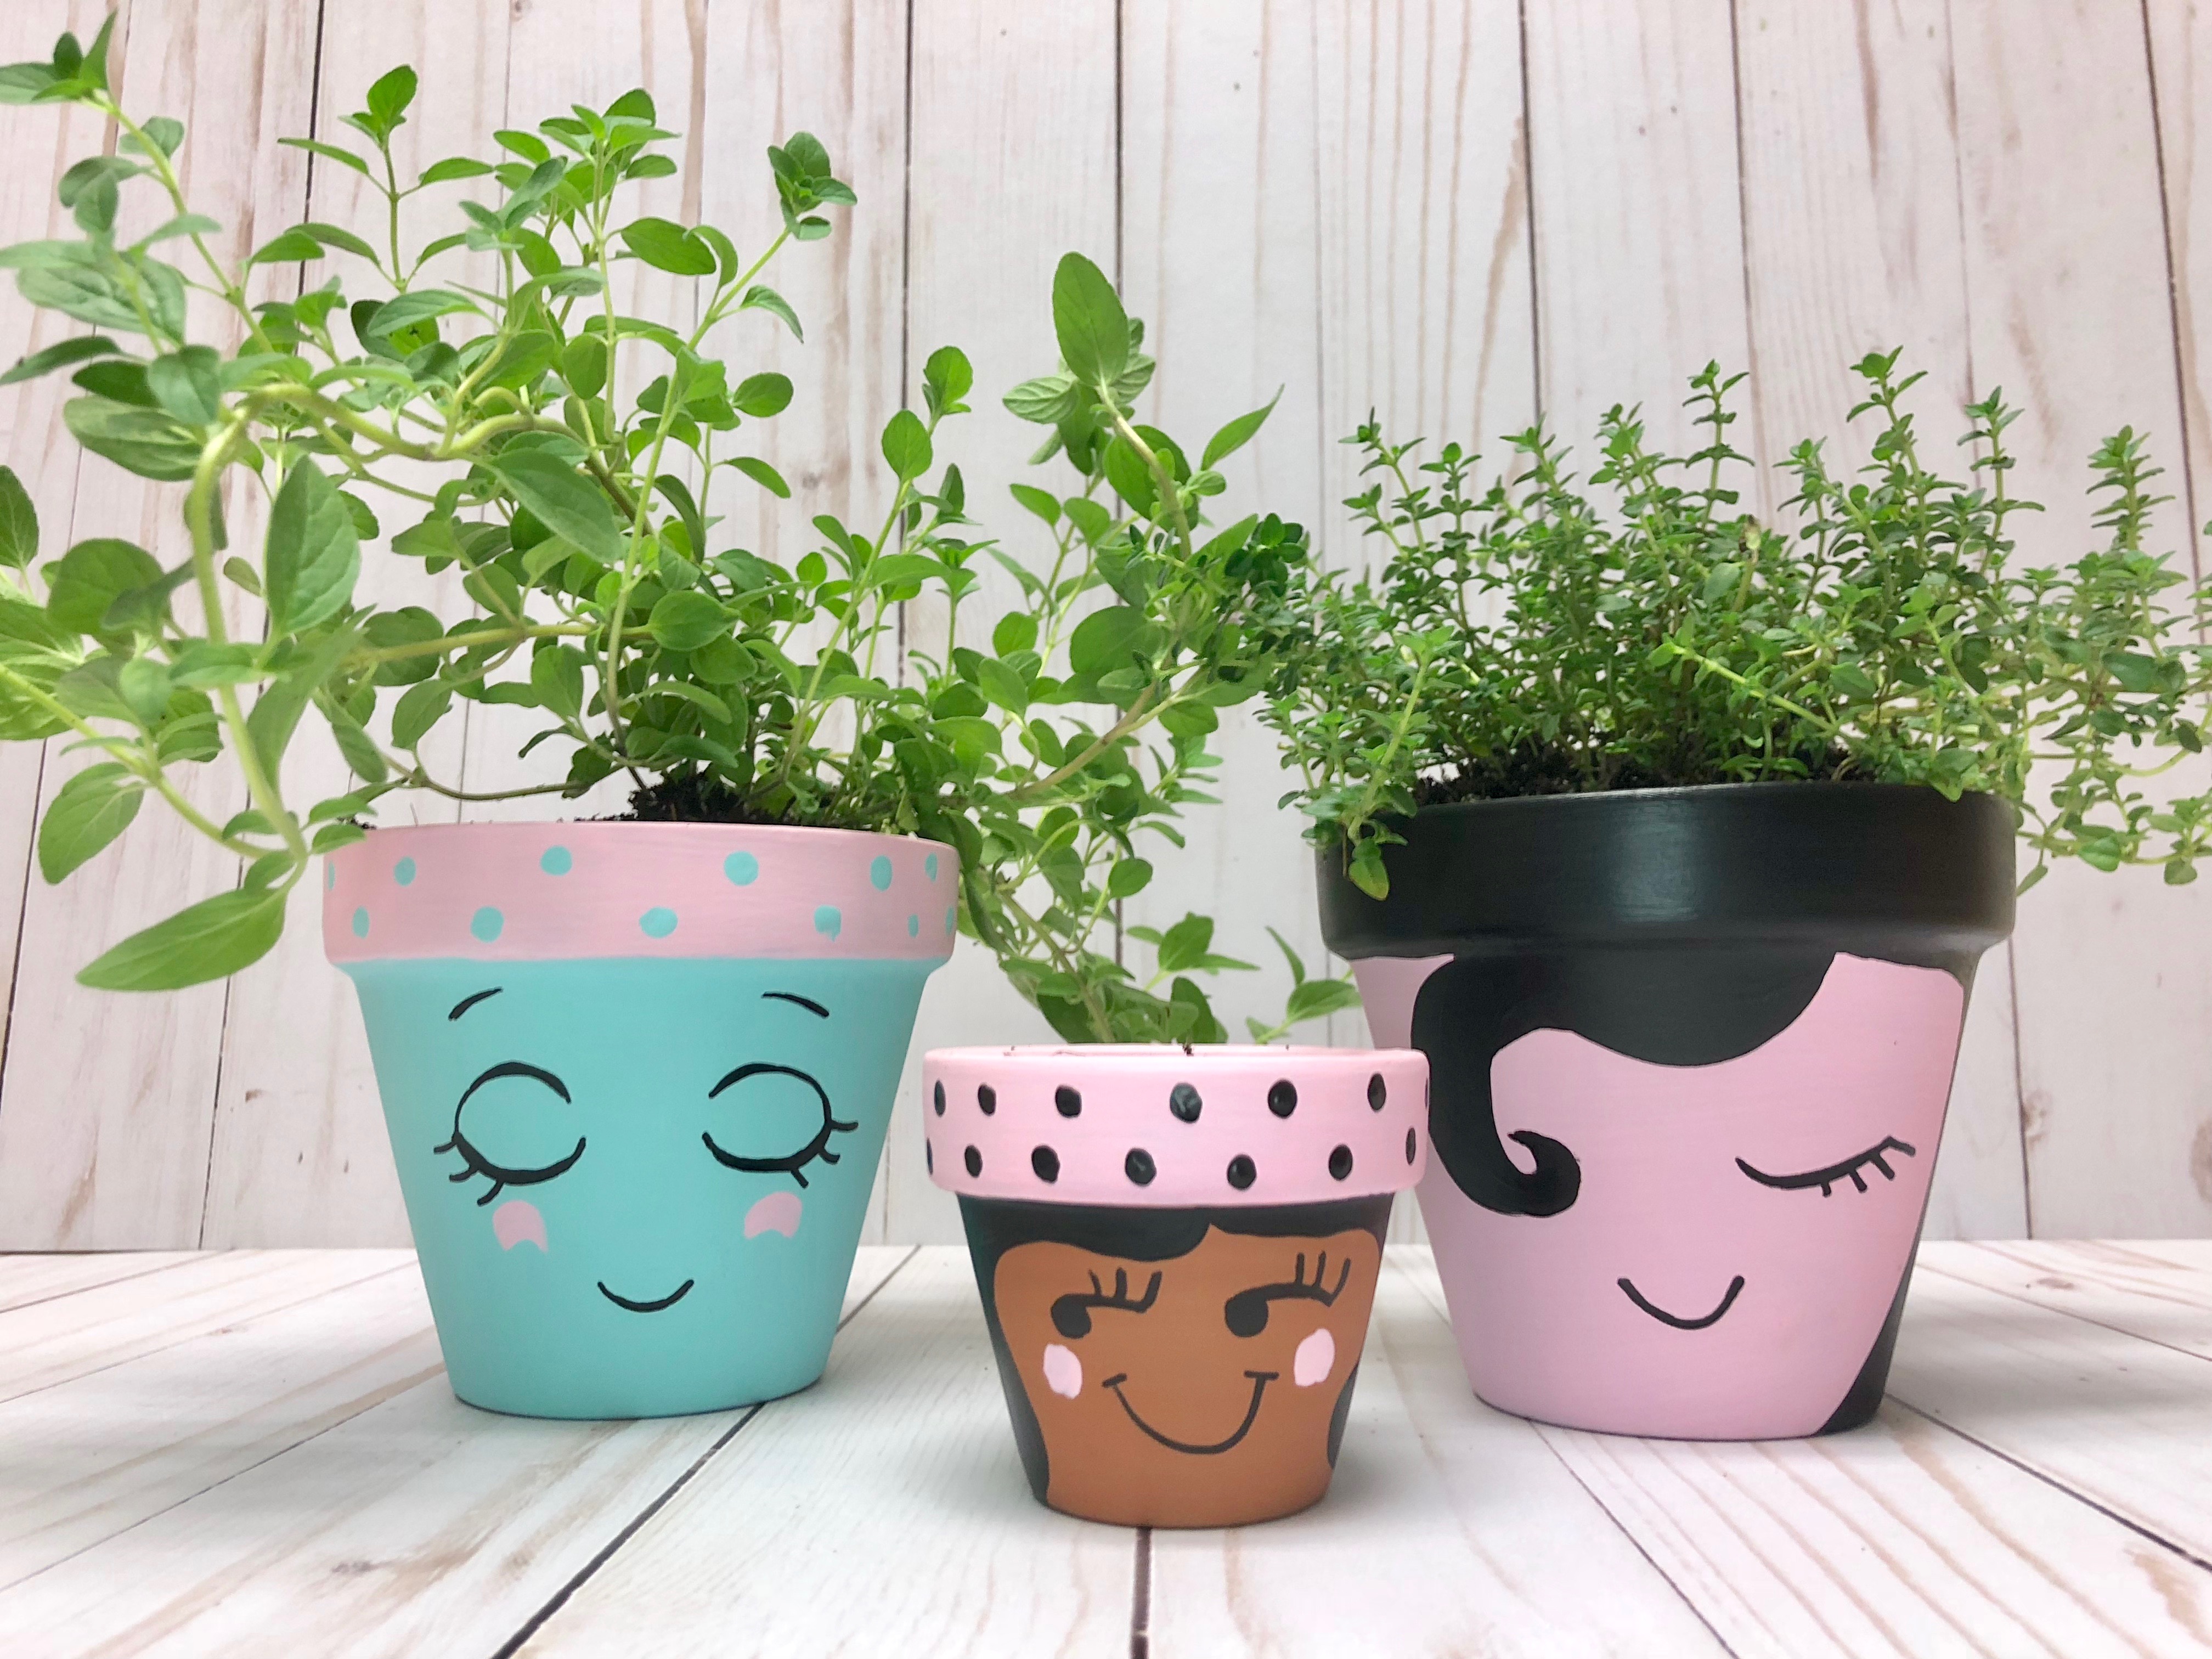
Now we can draw on the face! Really you can do this at any stage… I like using the paint markers from Sharpie, but a regular Sharpie works great too. Add lashes, freckles, smiles, cheeks and lips to those happy pots. You can add a message on the inside or the bottom of the pot, don’t forget the date too! It’s such a treat to pick up something, like this pot, and remember your baby made it… and then upin further inspection… holy cow that was 10 years ago?! Where does the time go? Anyway, add the year, you or your own mother will appreciate it one day 😉

IMG_3462-1

Like I said earlier, I enjoy gifting herbs that can be used in the kitchen. They are useful and a sweet reminder of your little crafter that made it for you. My son and I chose some “hairy herbs” to use… Oregano and Thyme. You can add a few stones in the bottom of the pot then just add you plant and, wallah! A very thoughtful and fun handmade gift to make your Mom or Grandmom smile.

I hope you all enjoy painting pots together! Happy Crafting And Enjoy!

Betsy

Back to School!

It’s time, I can’t believe the summer has flown by so fast, and I can’t believe how big my boys are… slow. down. slow. down! I try to carry on the traditions my Mom established growing up, that, of course, has become a major thing for all parents. So I put together a back to school chalkboard for the obligatory first day of school photo.

DSC05809

This chalkboard is special. But really, I bought it at HomeGoods for $40, 3 years ago, and it has been used for multiple parties, baby showers, holidays, parties, weddings and both my kiddos weekly belly bump chalkboards.  I love this chalkboard!

DSC05801DSC05807DSC05812

I’ve used some fun googly eyes and apple die-cuts from Michaels. Have you ever just scanned their sale rack? These apples were inexpensive and made this project a breeze! I will admit I am also the victim of buying so many great crafting treasures and… adding them to by heap of “will one day be used”. I may just do one giant project and use them all!

DSC05815

I used glue dots to attach the googly eyes, and attached the apples to the chalkboard too. I played around with a few type blocks… and always have a handy wet paper towel to clean up or redo sections.

Anyway, I’m sure you’ll be seeing more of this chalkboard – I may have to rebuild it soon (she’s spent a few nights outside and is a little warped). Maybe I’ll do a how to blog post about it so you all can have this fantastic board too! Are you interested in that? Please comment below: