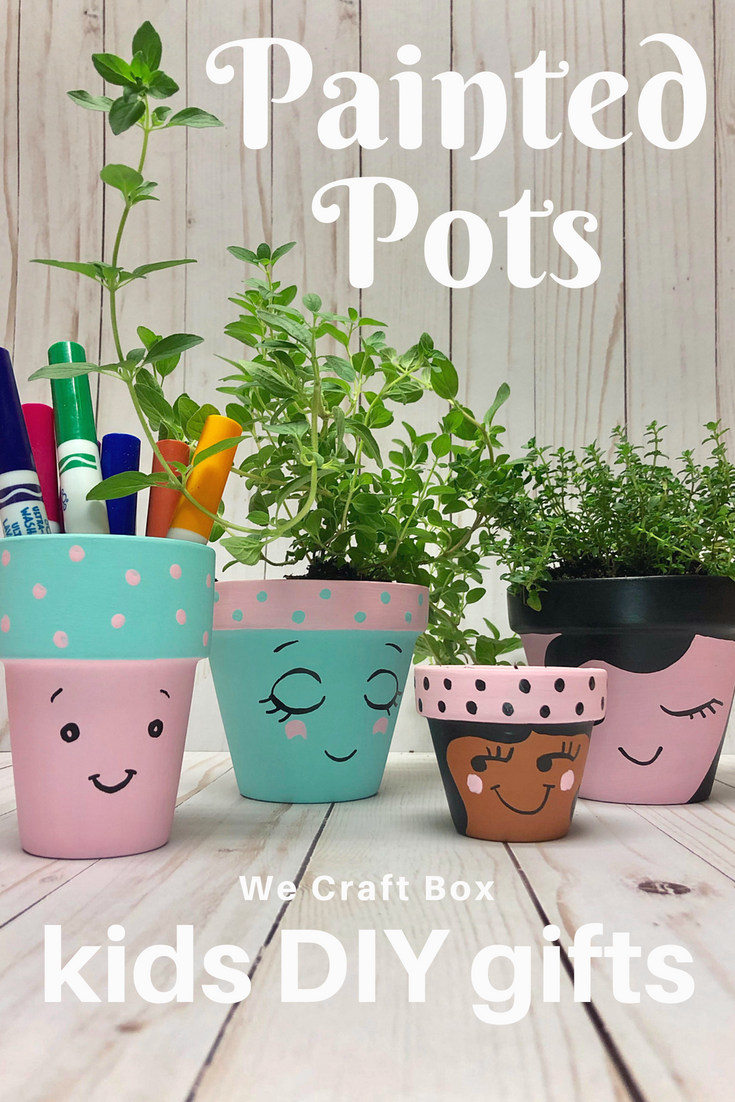
Mother’s Day is just around the corner and I wanted to share with you an easy and fun crafts to do with the kids. This is one of those sweet keepsake gifts that will be cherished, and be fun in the making. I like the idea of filling the pot with herbs, so it could live in the kitchen, by a sink… perhaps and if your Mom is anything like me maybe that location will give the plant a fighting chance at life, rather than a quick, and parched death 😀
Lets start off with materials. You’ll need some basic things that can be picked up at the craft store or even hardware store. Check out our list below:
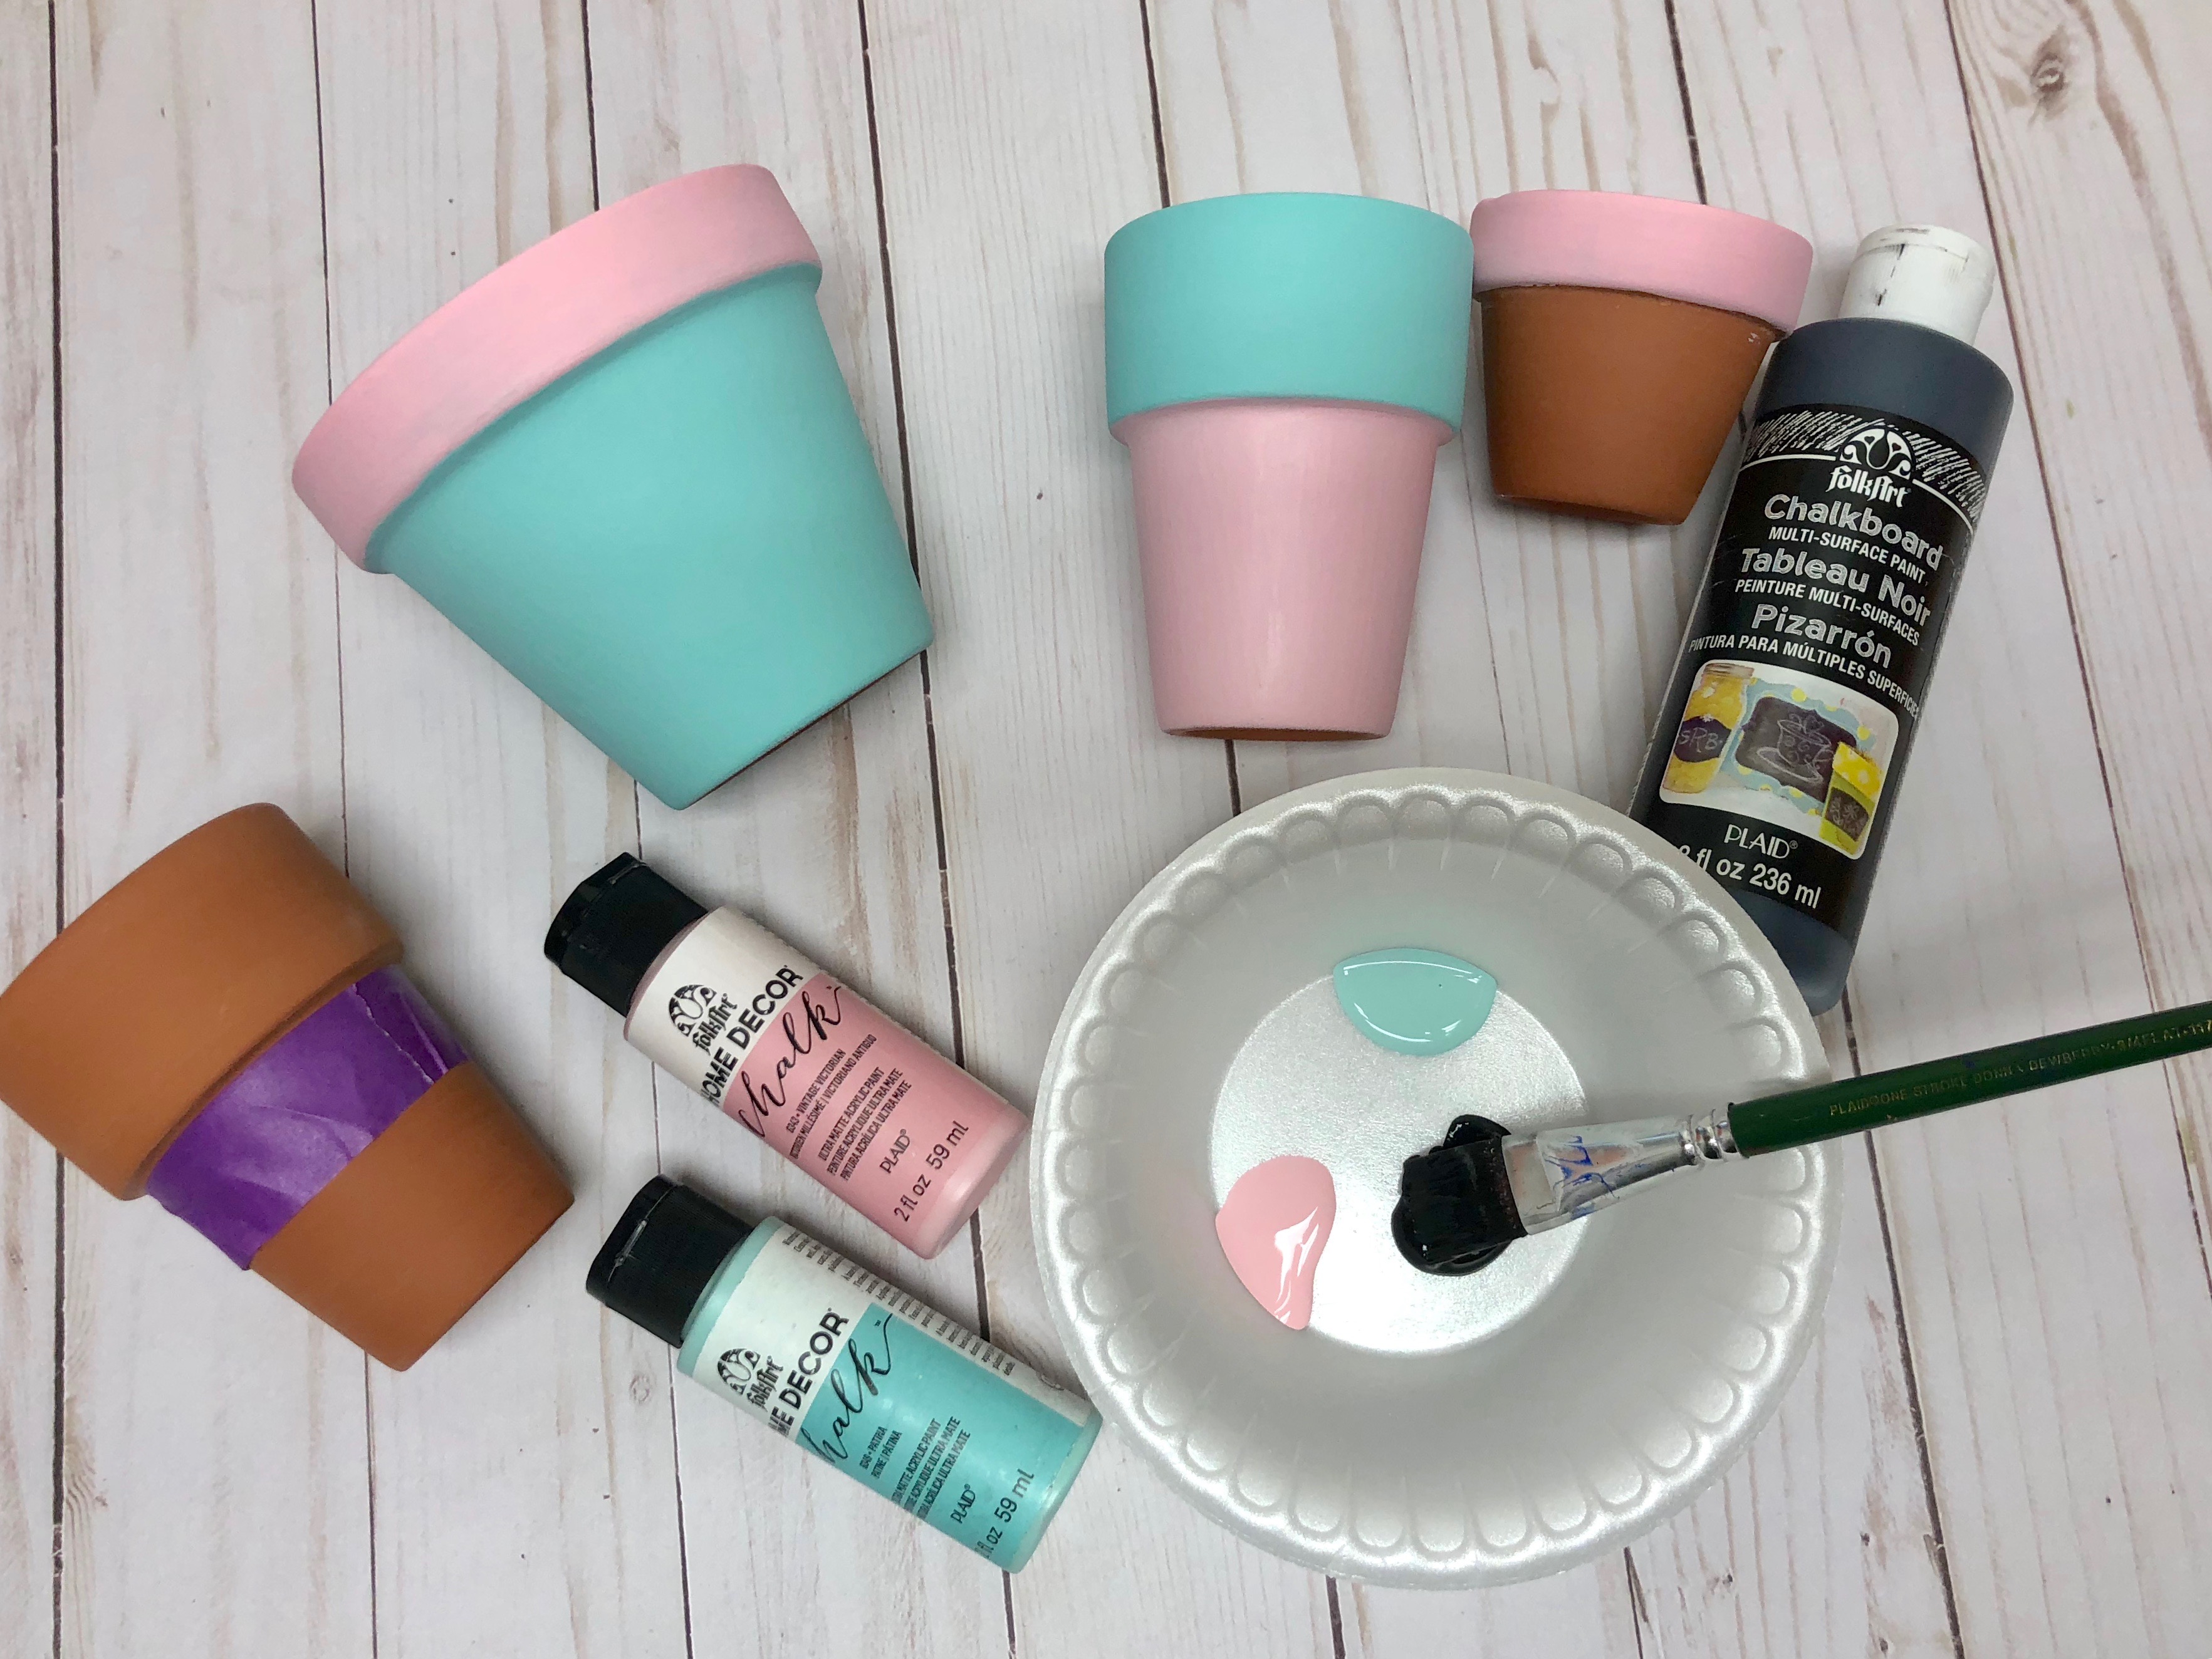 Materials
- Terra cotta pots of various sizes
- Chalk paint (2-3 colors)
- Black sharpie parker, or paint pen
- Paintbrush (various sizes)
- Masking or painters tape
- Cup of water for painting
- Paper plates or bowl (to put paint on)
- Q-tips
- Plants for your pots
To get started, decide on your color scheme. Then using your painters tape, mask off the top of your pot so you can paint it a differnt color from your bottom. Bet sure to press along the edge of the tape to ensure a good seal. To get started with paint, I like to dip my brush in the water before going straight into the paint (it makes the paint go on smoother). Then load up your brush and start painting! I like to put my hand in the pot to hold it so I can easily paint and not get fingerprints on it. Ok, the top is painted, let it dry for a few minutes then remove the tape and paint the bottom portion.
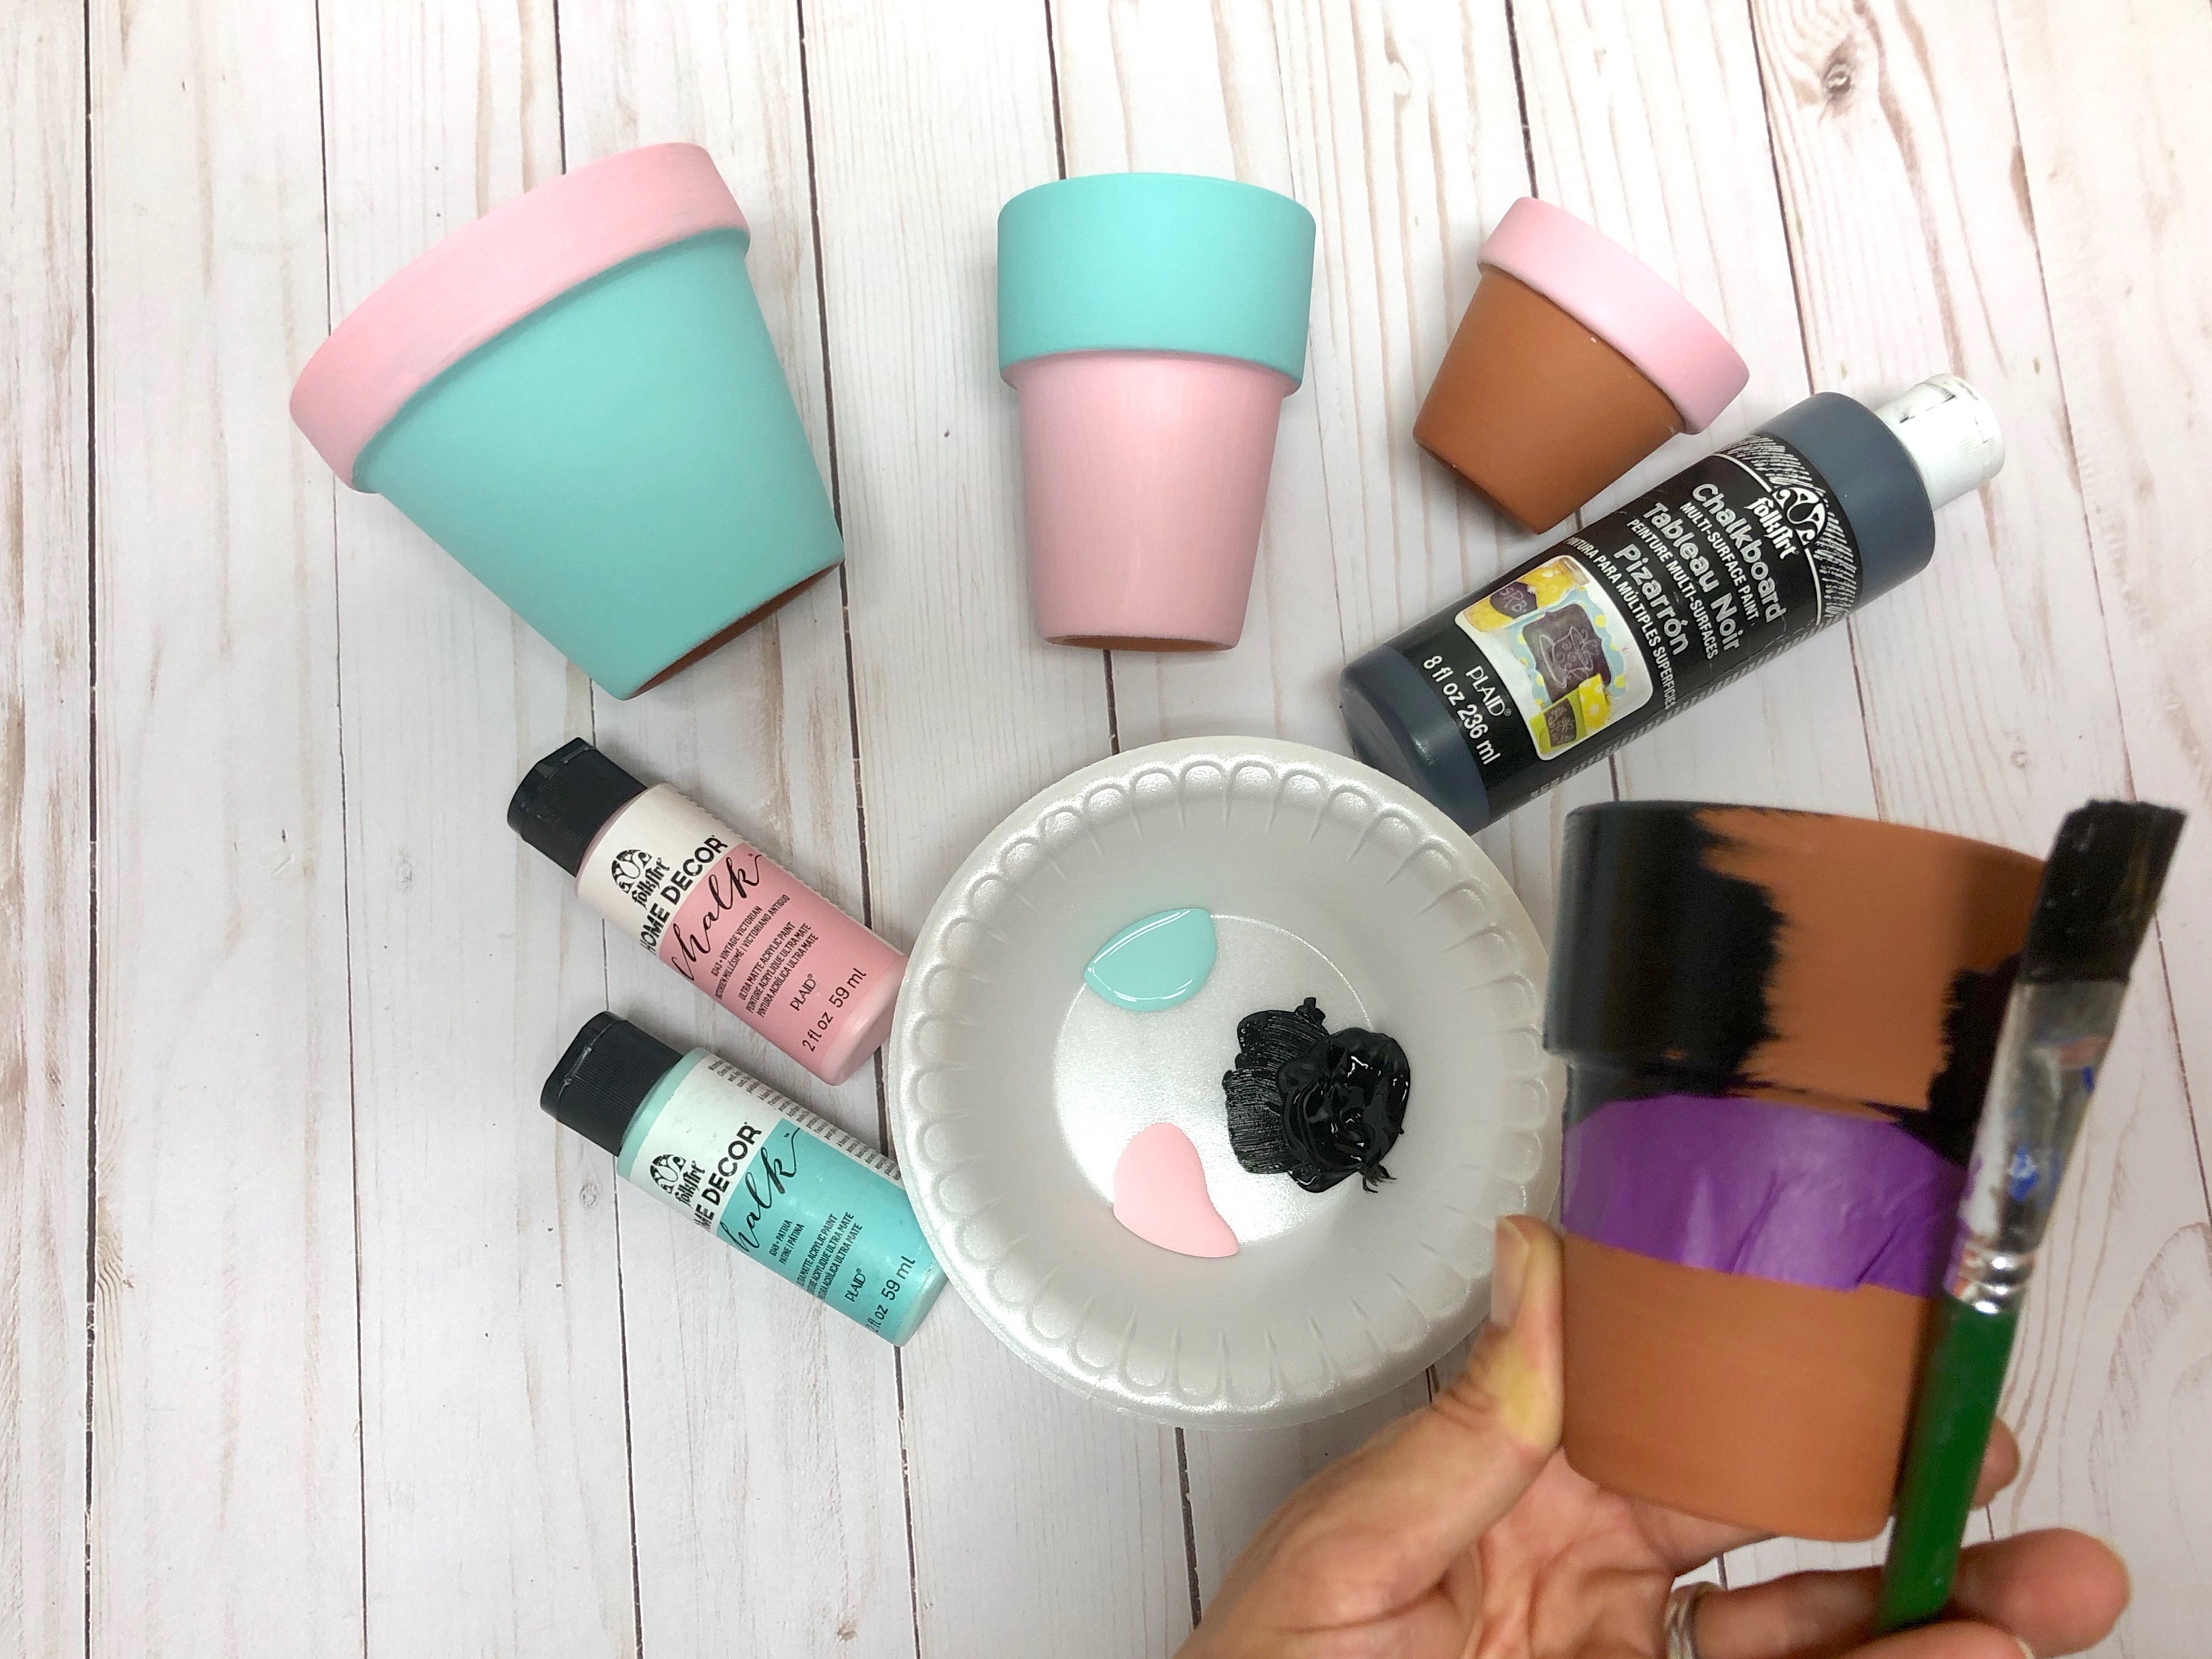
You may need a few coats if you are using a lighter color. I did about 2-3 to get the brightness I was shooting for. The nice thing about the chalk paint is that it dries quickly! So doing a couple of coats is a snap! Now that we have our base colors on its time to “zhuzh”! Get fabulous friends, bring out all the polka dots and lashes!
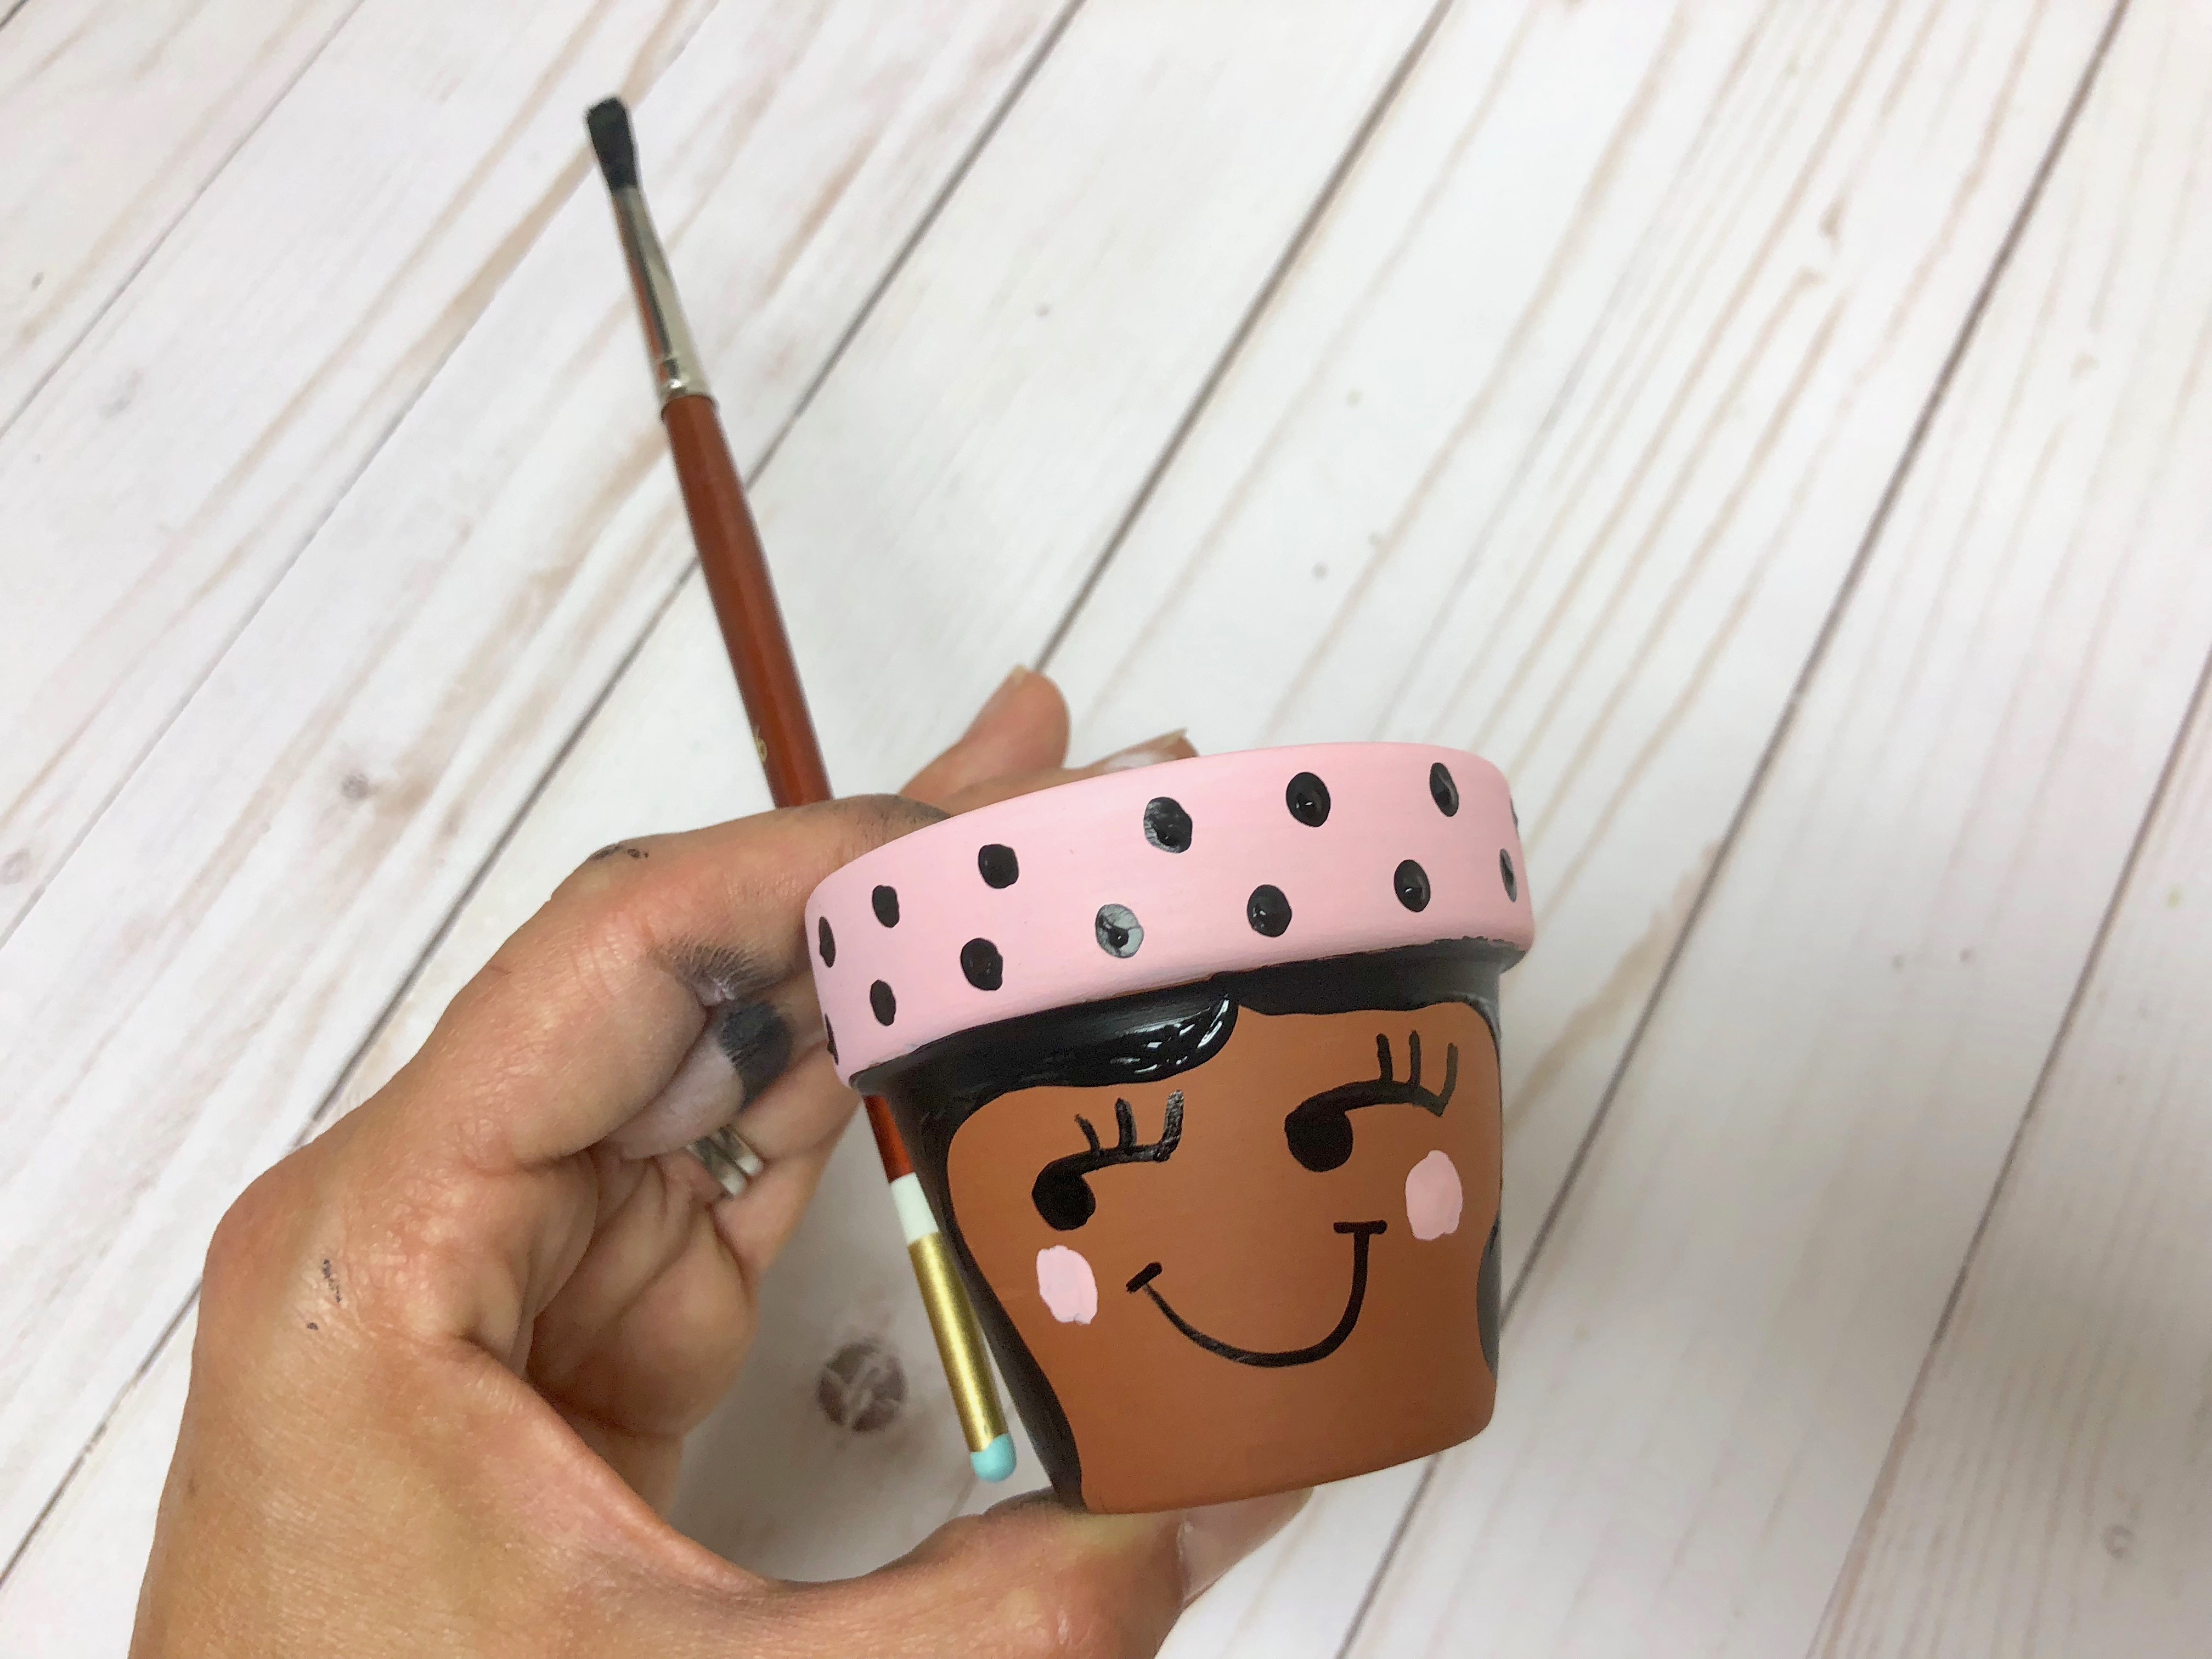
To get the dots on in an easy way for you or the kids, use the other end of your paintbrush. You can also use a Q-tip, I recommend this for the littles, it makes this job lots of fun. I liked adding hair to the ones we did… gave them a bit more personality!
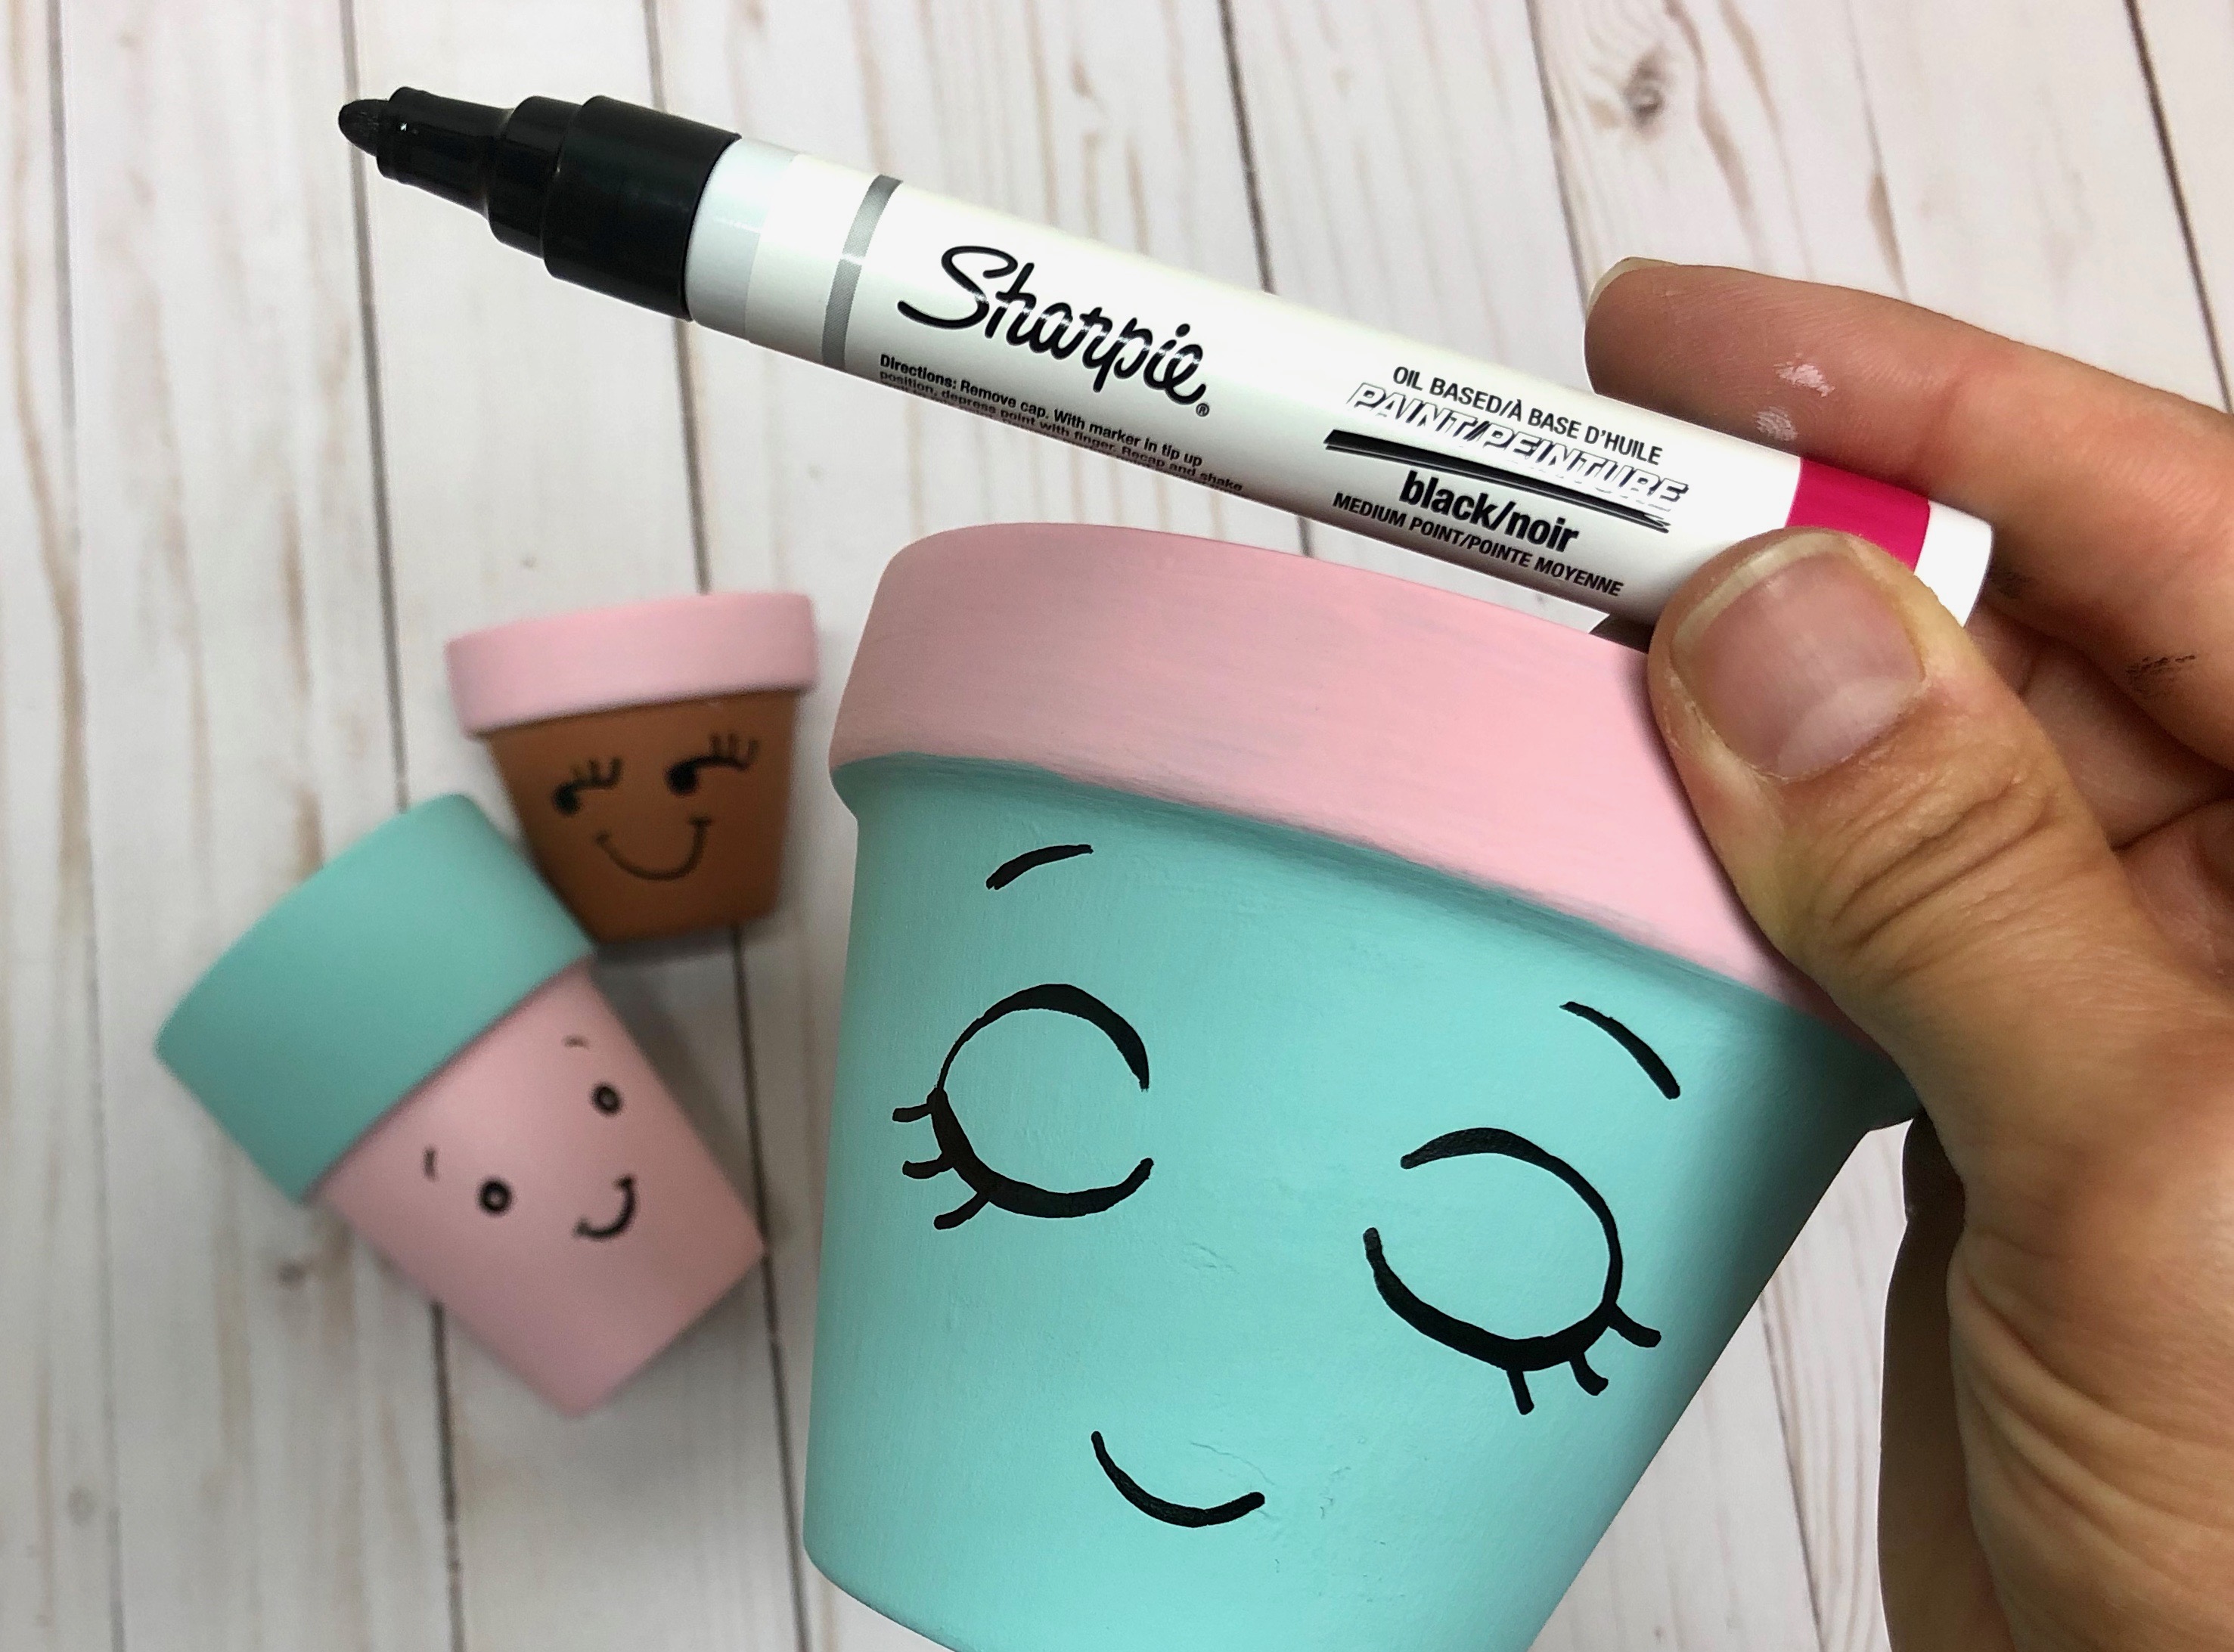
Now we can draw on the face! Really you can do this at any stage… I like using the paint markers from Sharpie, but a regular Sharpie works great too. Add lashes, freckles, smiles, cheeks and lips to those happy pots. You can add a message on the inside or the bottom of the pot, don’t forget the date too! It’s such a treat to pick up something, like this pot, and remember your baby made it… and then upin further inspection… holy cow that was 10 years ago?! Where does the time go? Anyway, add the year, you or your own mother will appreciate it one day 😉
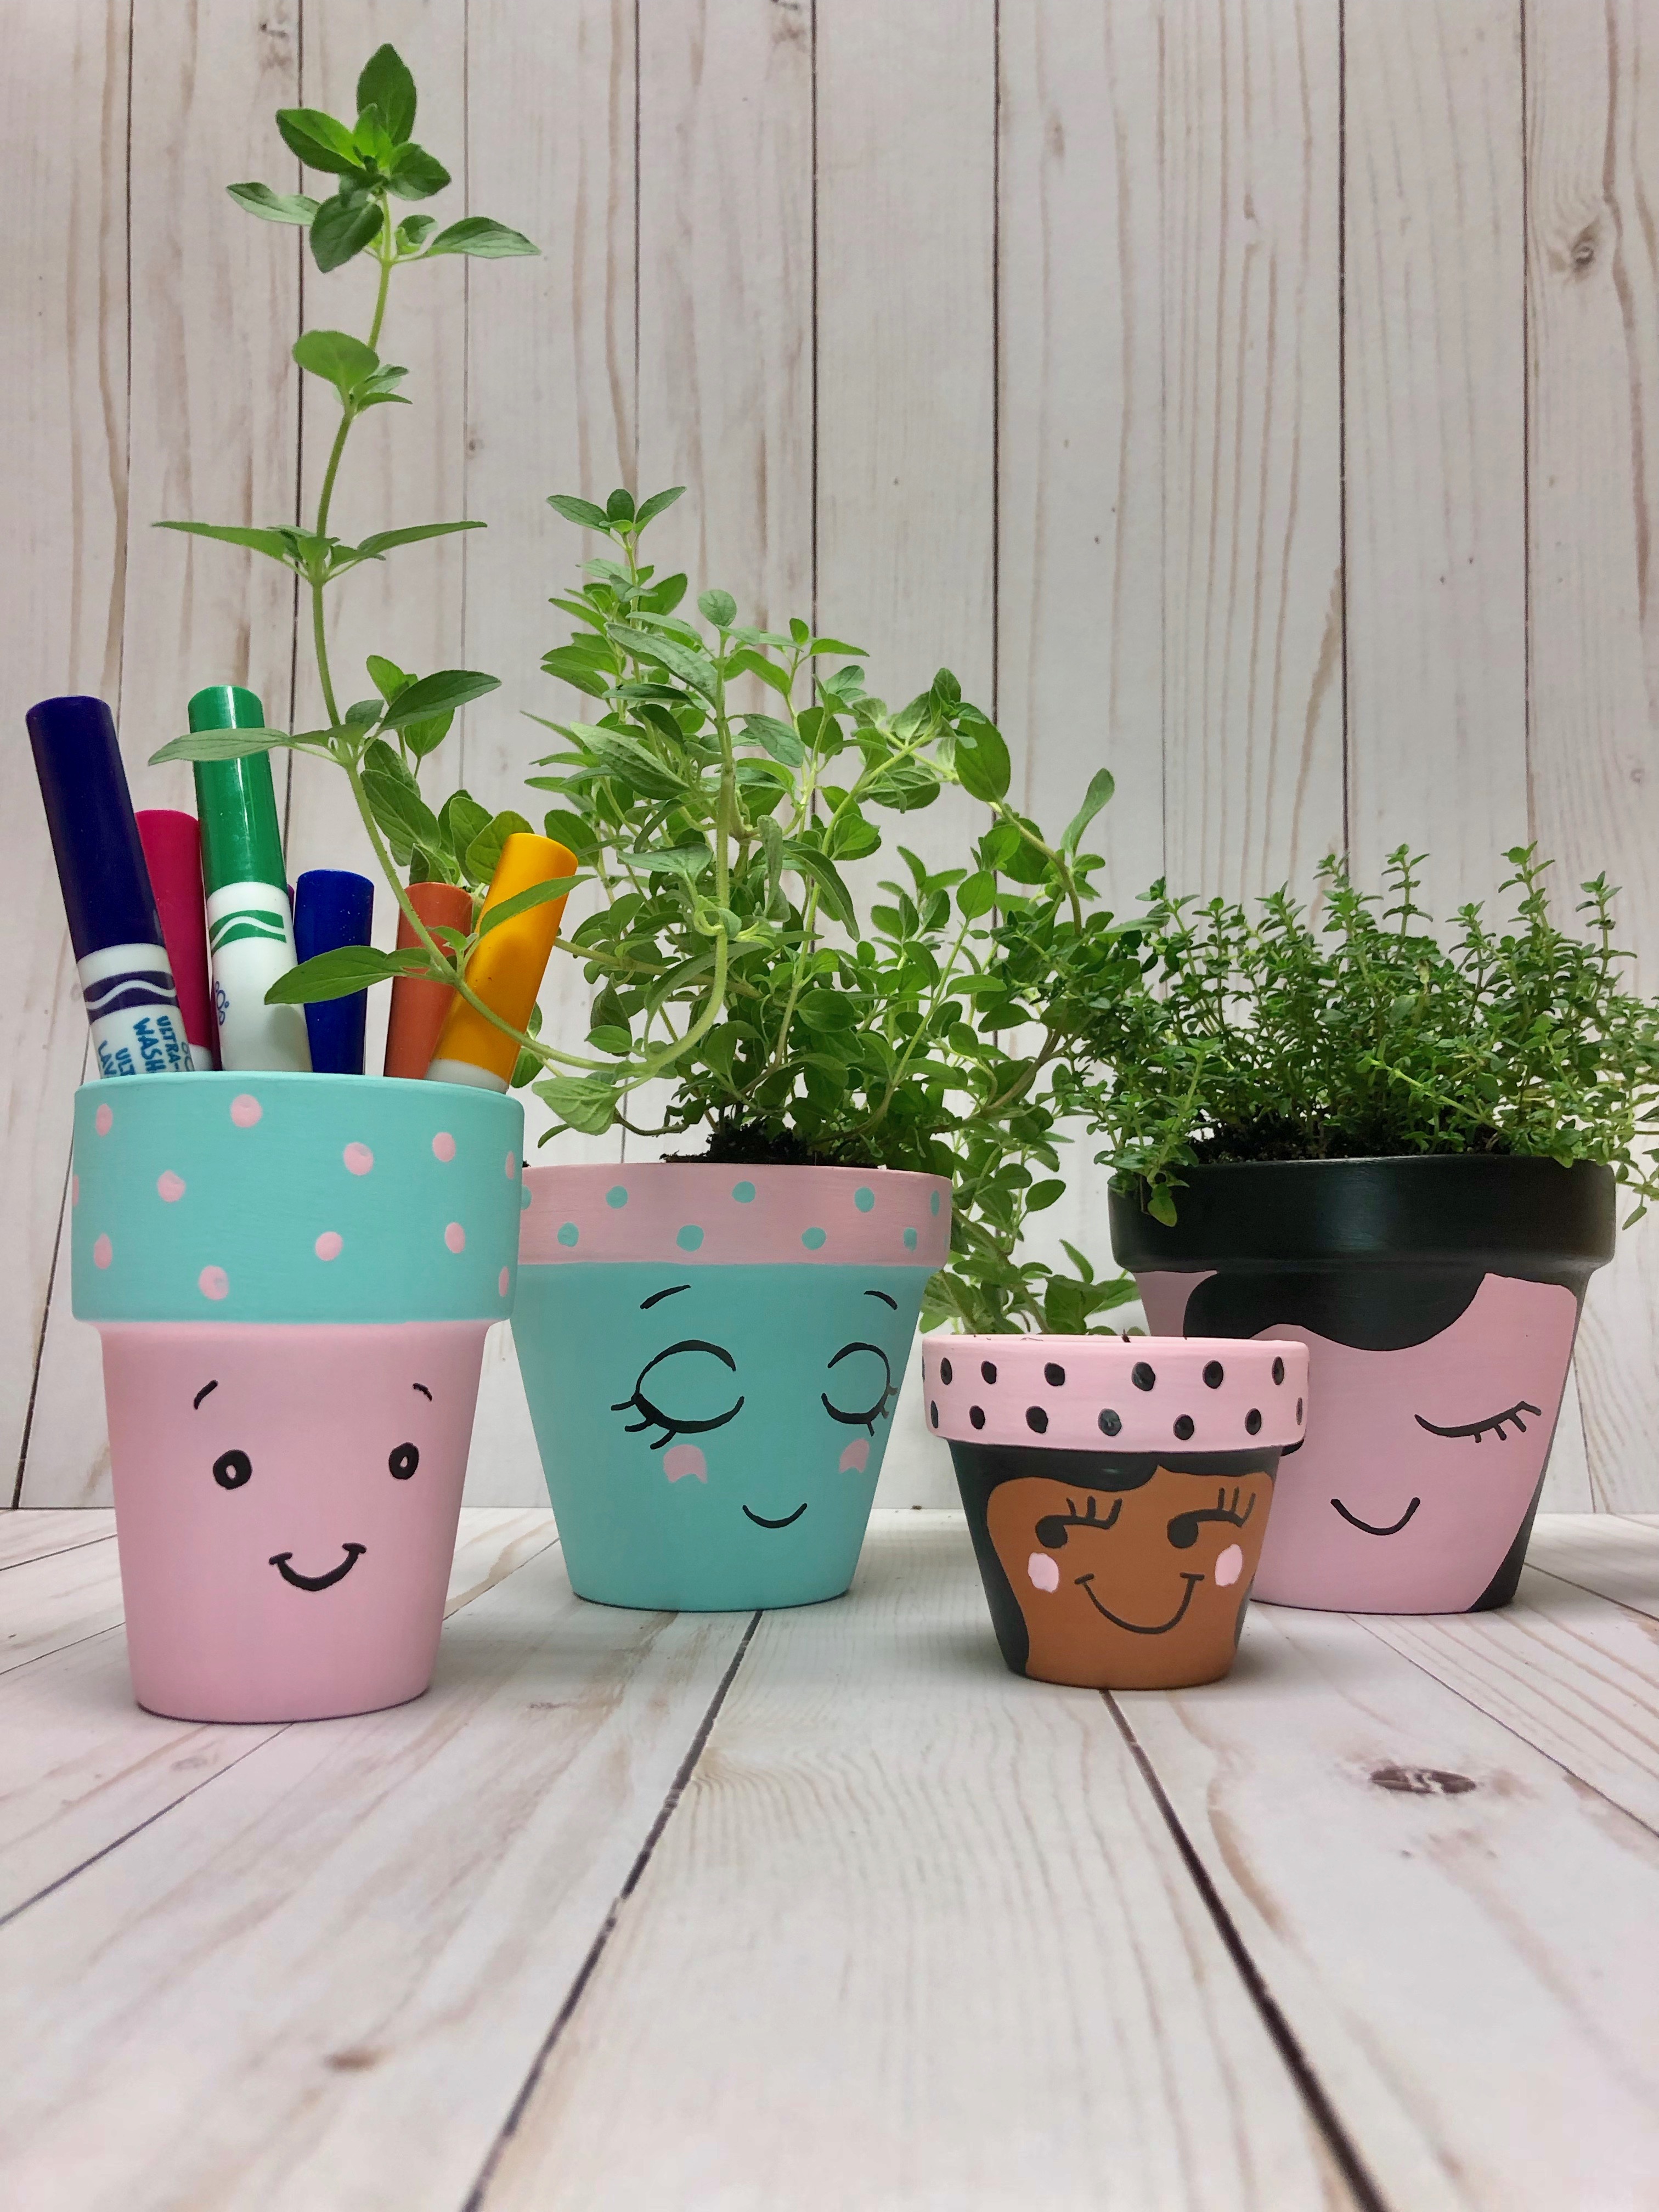
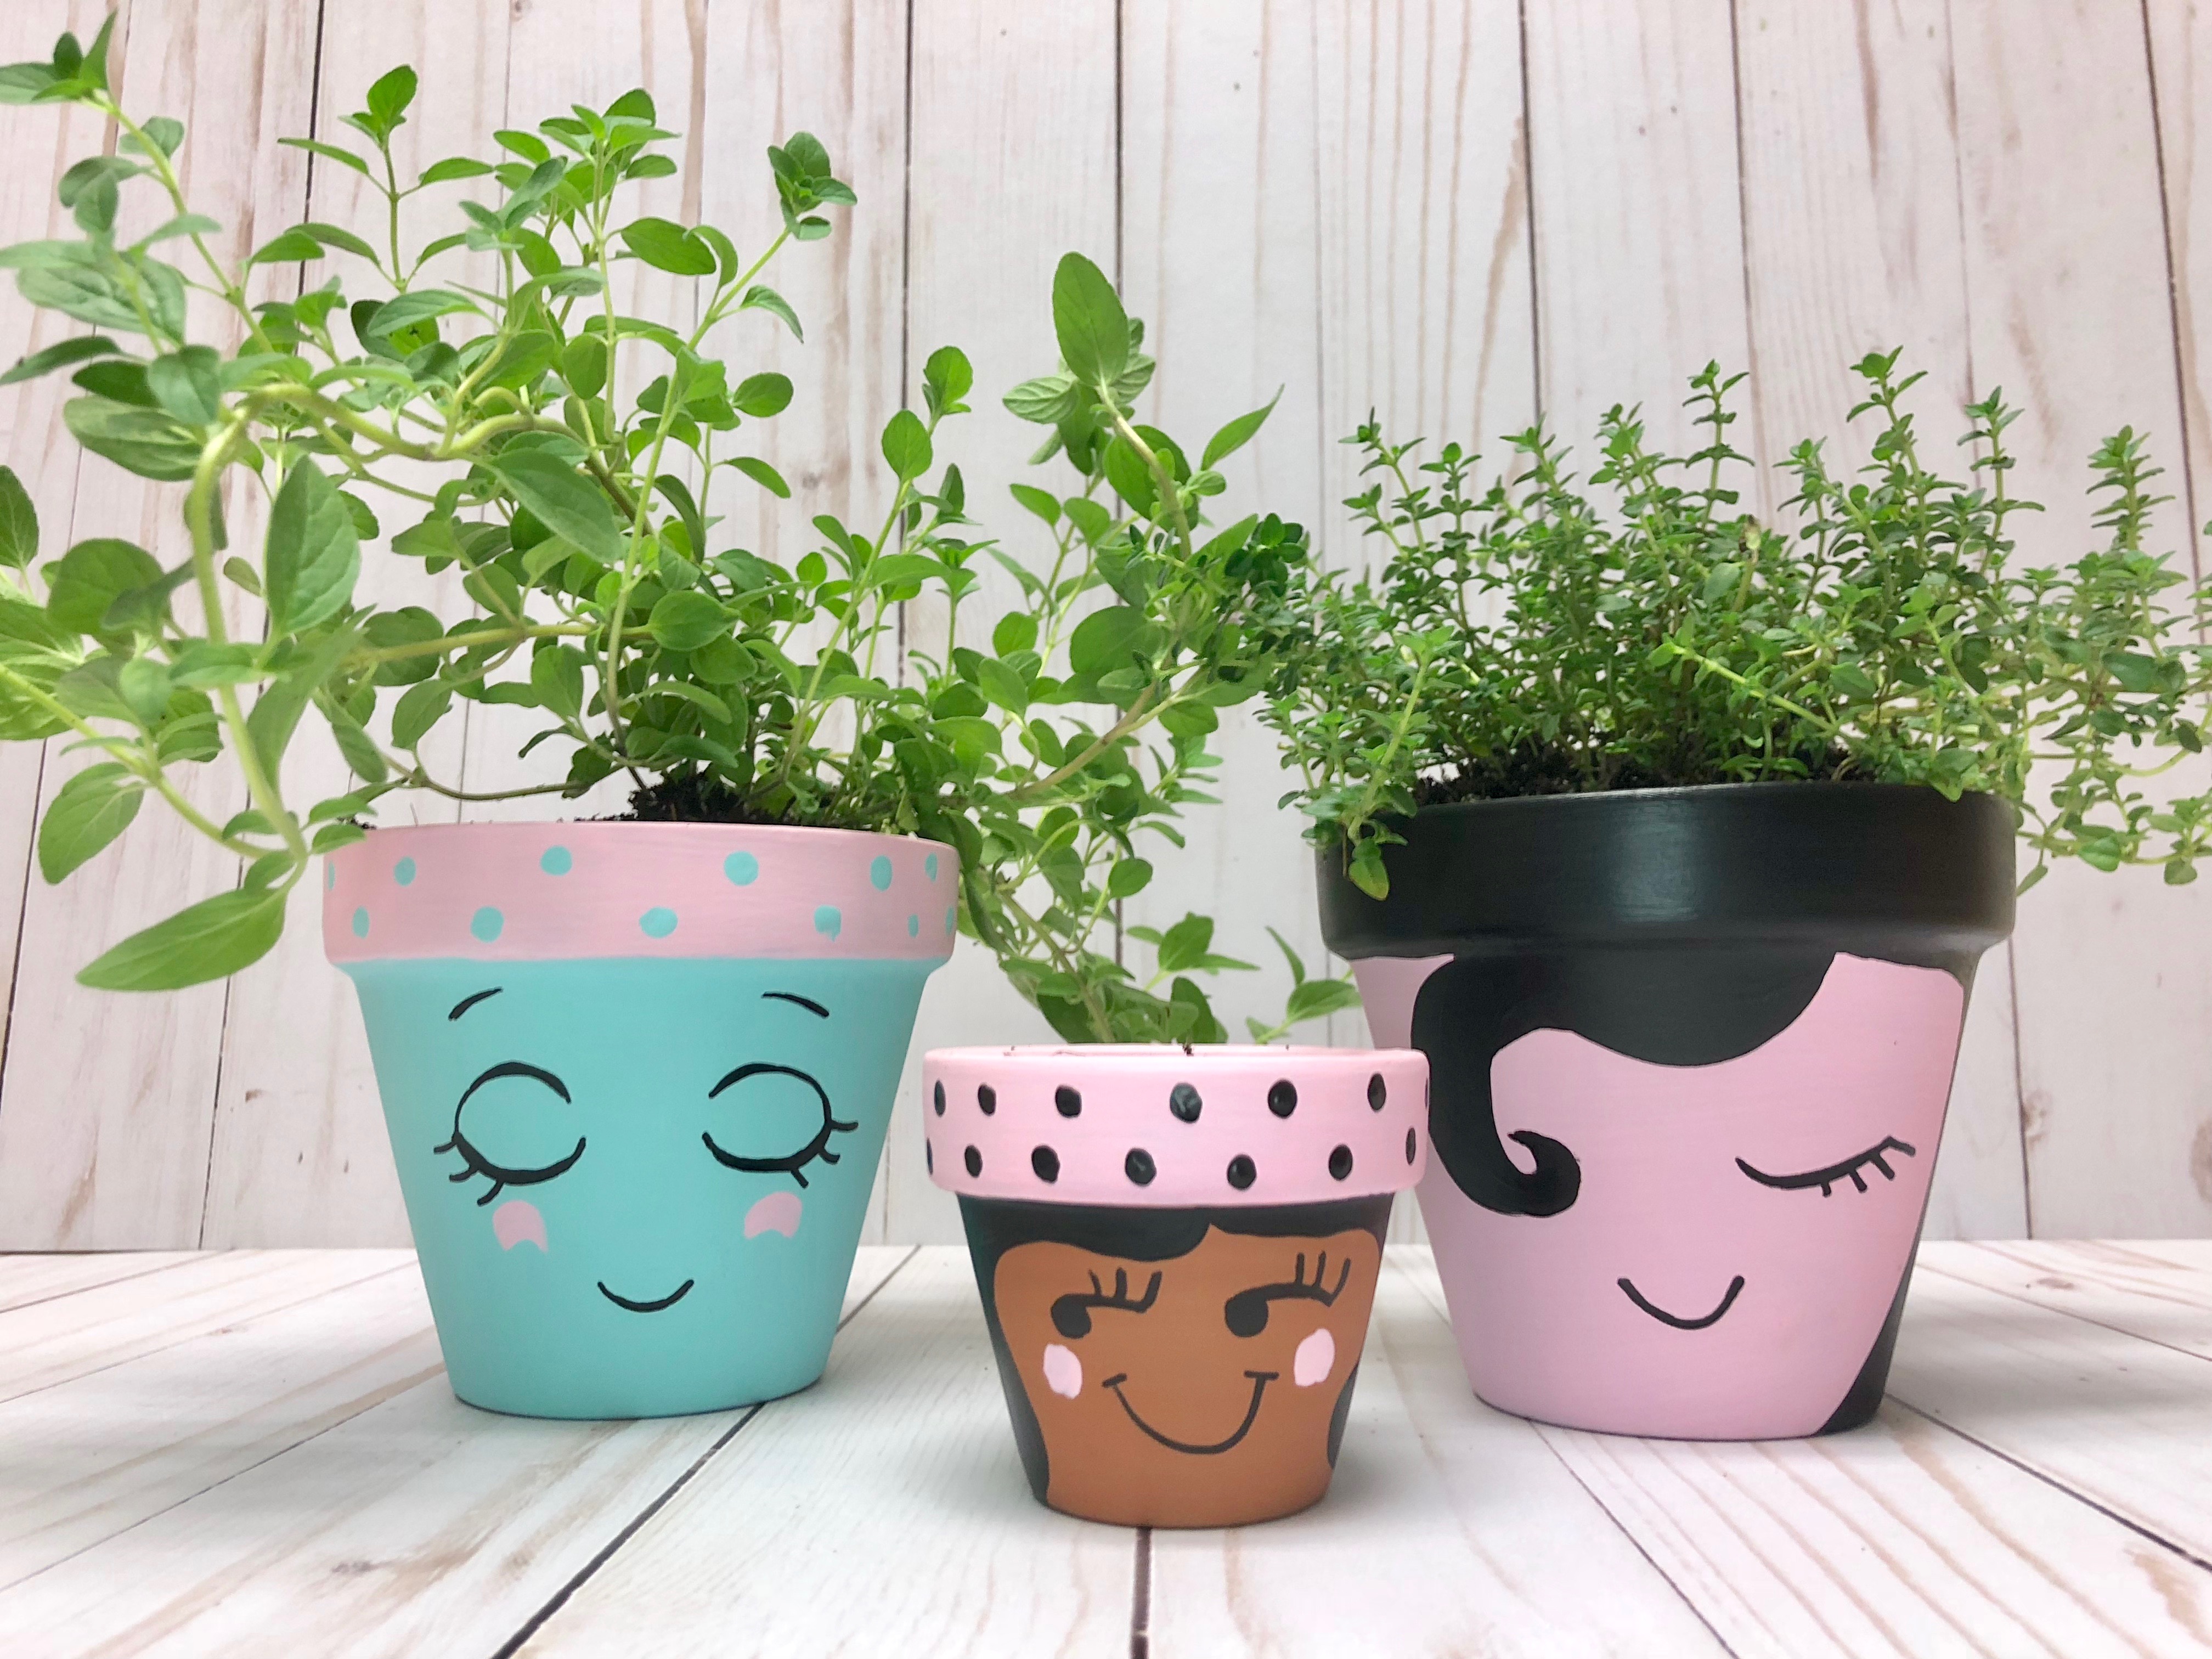
Like I said earlier, I enjoy gifting herbs that can be used in the kitchen. They are useful and a sweet reminder of your little crafter that made it for you. My son and I chose some “hairy herbs” to use… Oregano and Thyme. You can add a few stones in the bottom of the pot then just add you plant and, wallah! A very thoughtful and fun handmade gift to make your Mom or Grandmom smile.
I hope you all enjoy painting pots together! Happy Crafting And Enjoy!
Betsy

